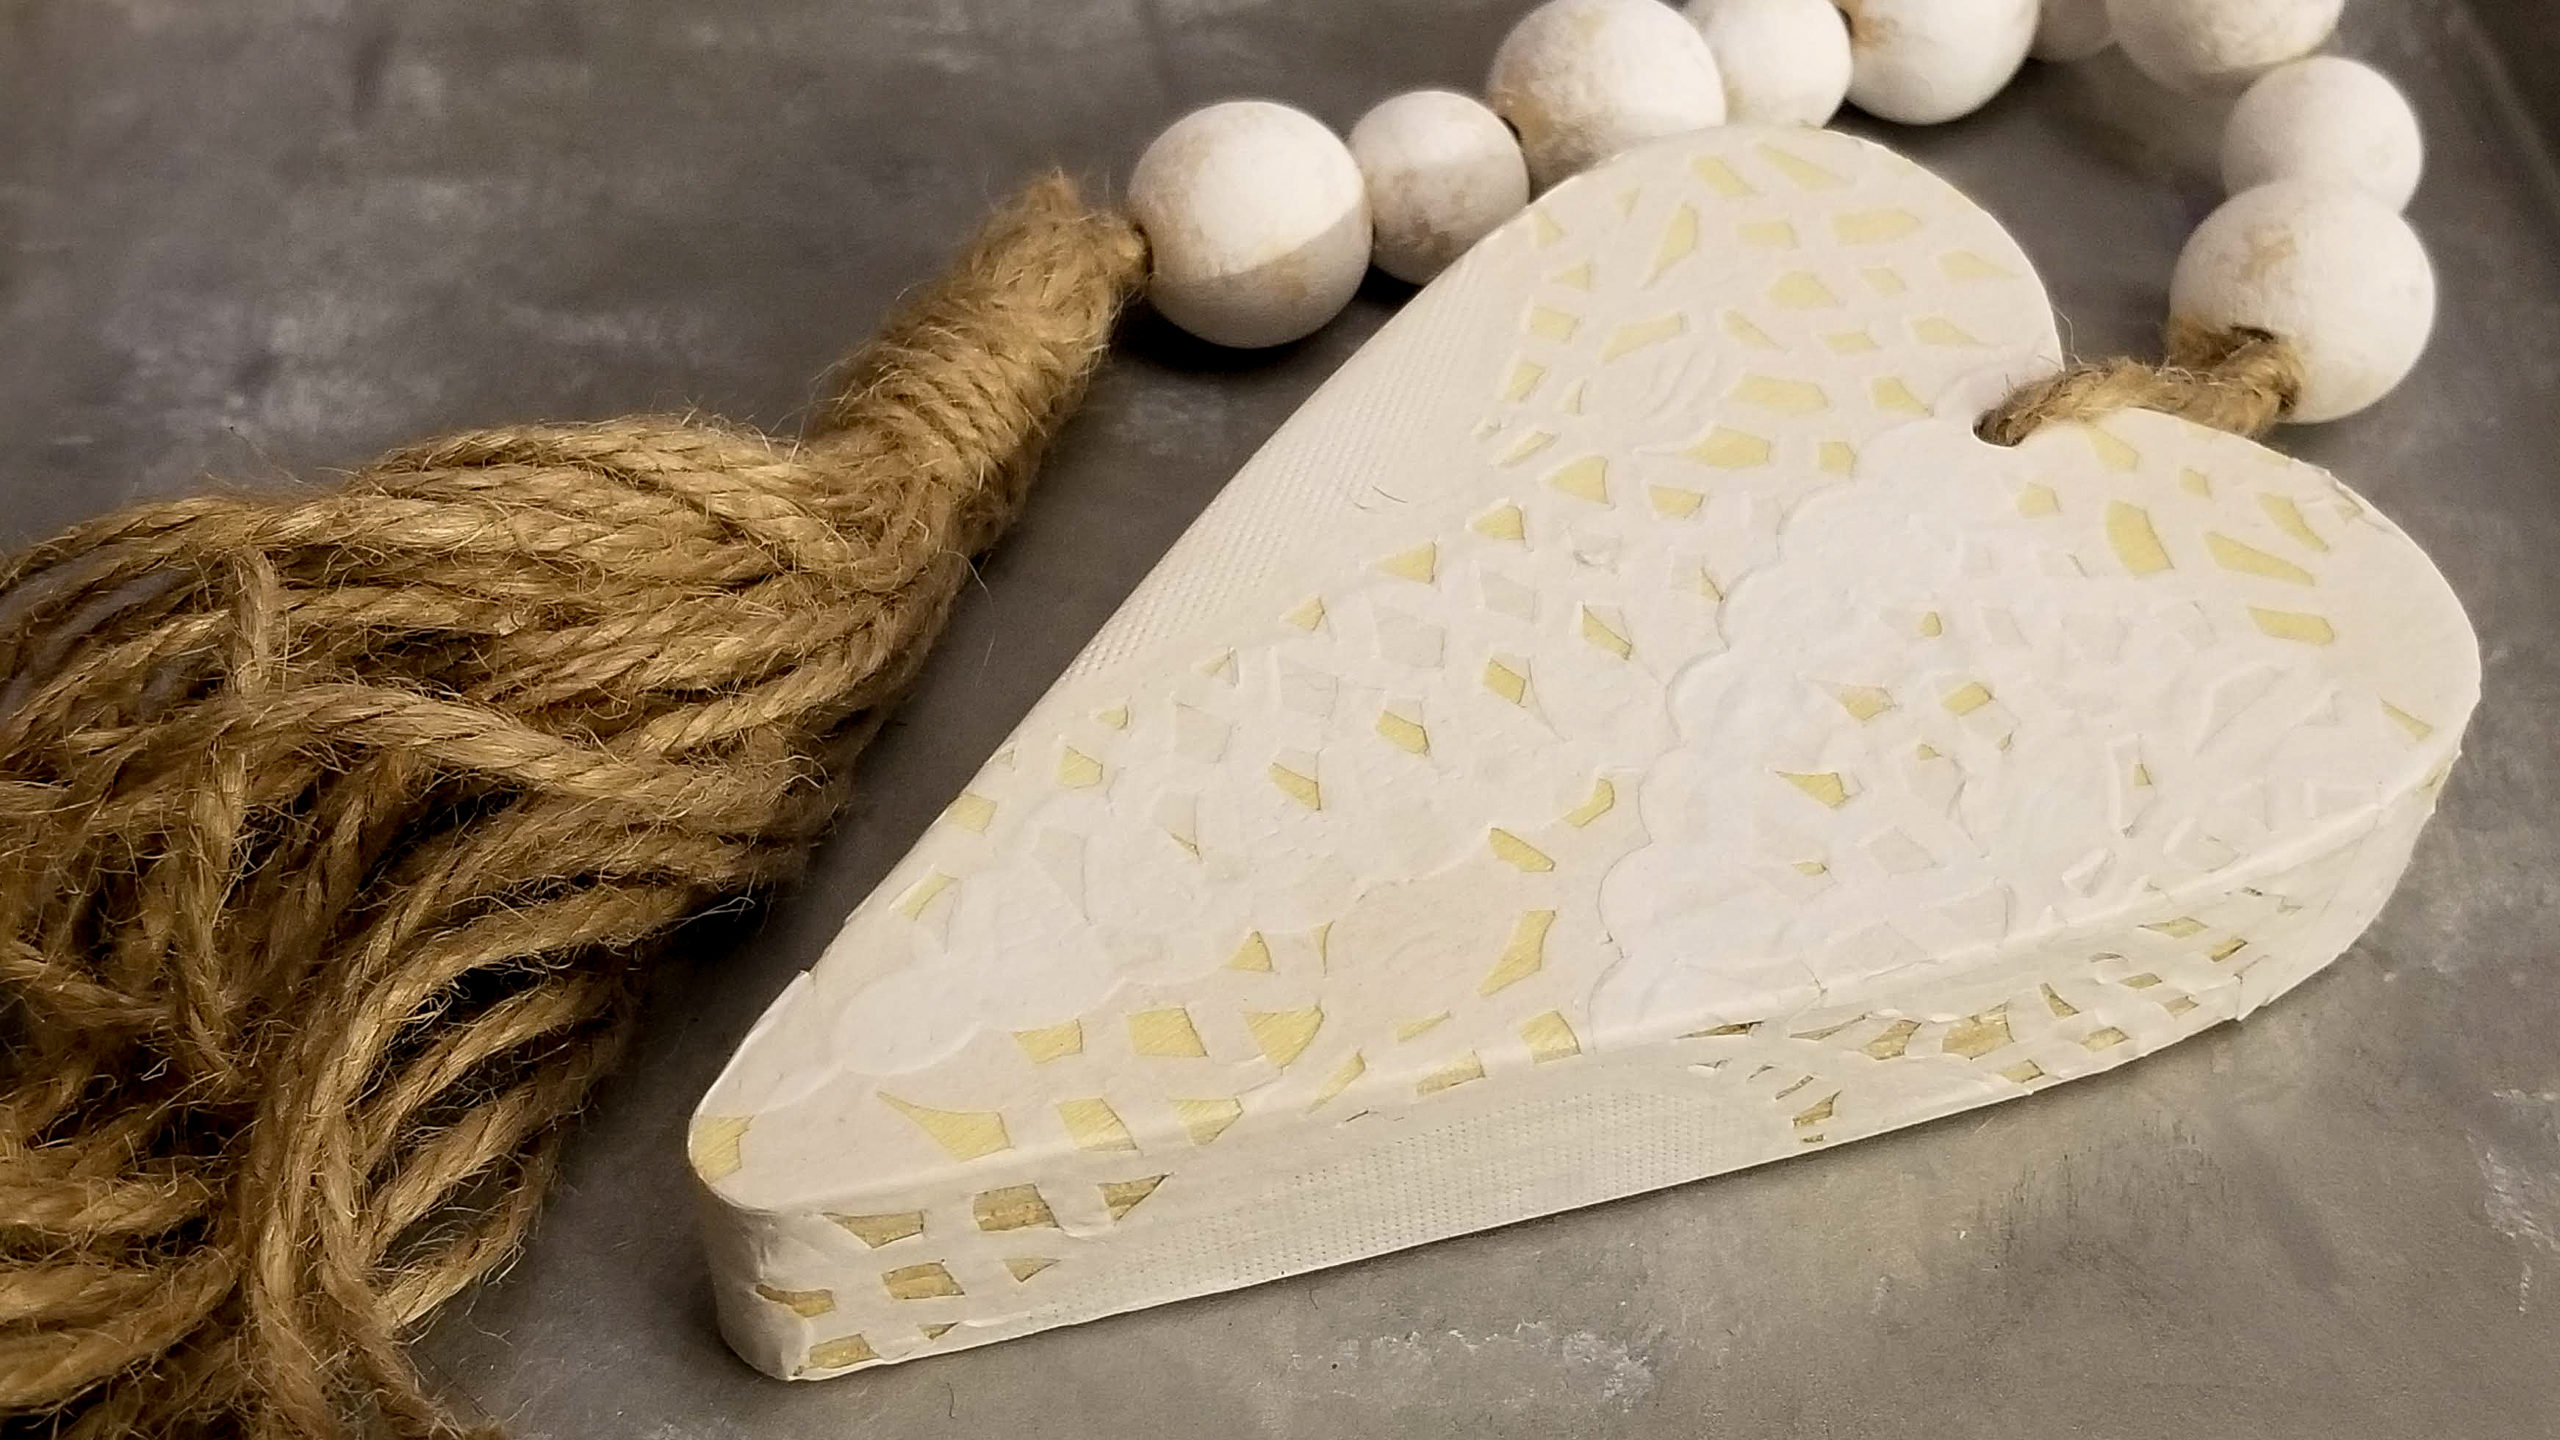

This cute little garland is just the perfect addition to your farmhouse decor. It’s adorable for Valentines Day, wedding decor or your home year round!

Here’s what you’ll need.
- Wood Heart, Dollar Tree
- 28 Wood beads, two sizes
- White heart doilies, Dollar Tree
- Twine
- White chalk paint, FolkArt Adirondack White
- Mod Podge, Dollar Tree
- Stenciling paint brush
- Hot glue gun and glue sticks
- Scissors
- BBQ skewers, optional


The first thing you will do is paint your wood beads. I used 14 of each size, 16mm and 20mm, totaling 28 wood beads. I find it makes painting wood beads easiest if you hot glue them to a BBQ skewer. You only need a small dot of hot glue for this. This keeps your beads from rolling around on you and they can be easily removed after your paint dries.


Once you have your beads glued to your skewers you can start painting. The paint I used is FolkArt brand Adirondack White chalk paint. To apply my paint I used a stenciling brush. Put a small amount of paint on your brush and just dab the paint onto your bead, do not brush. You will want to leave some of your natural wood color to show through. When your beads are all painted set them aside to dry.


Now you will start working on your wood heart. To decorate your wood heart you will use two doilies, I used white paper heart doilies from Dollar tree. You will apply Mod Podge to your heart and attach the doilies with the lacy edges overlapping in a pattern that you like. It helps to cut slits near the curves of the heart to make it easier for your doily to wrap around and gives you a smother finish with less wrinkles. Trim any excess overlapping pieces off.

After your heart has dried you can use the pointy end of your skewer to poke your hole through the paper doily covering the hole in your heart.

You will now cut a long piece of twine, about 36 inches. put one end of your twine through the hole in your heart and tie a knot close to the top of your heart. Trim off the short piece of twine.

Now start stringing your beads onto your twine alternating your large and small beads. Be careful to keep them in an alternating pattern, as you see in the photo above I had to go back and fix my pattern.

Once all your beads are strung you will create your tassel. You will loop twine back and forth about 12 inches long. The more times you go back and forth the thicker your tassel will be. For this one I went back and forth about 18 times.


Next you will find the center of your loops and lay it at that center point across your piece of twine coming out from your last bead. Tie a tight knot and trim off the end if your twine.

Now fold your twine loops together and tie with the end of a long piece of twine. I did learn a new tip after making this that I will share with you. If you put a ball of paper or a small bead inside the top of your tassel it will create a nice rounded shape for the top of your tassel.


You will now wrap the end of the twine around your tassel creating a collar at the top of your tassel. Use small dots of hot glue to hold your twine in place.


to finish off your tassel you will cut all of the loops at the bottom of your tassel and then trim your ends even.
You have now completed this Lacy Heart Bead Garland that will be perfect for Valentines Day, a wedding or just to use in your home any time of year.
If you would like to watch the full video tutorial click here.
If you like this tutorial and would like to see more like it, visit my Facebook page by clicking here.


