Bead garland is all the rage right now. I love every kind of garland and wanted to create a cozy garland to help add to the cozy feel I’m going for in my home right now. In this tutorial I’m going to teach you how to create these yarn beads to create a fun cozy garland.
To see the full video tutorial, click on the link at the bottom of the page.

Here is what you will need for this garland.
- Yarn, I uses a white and a cream colored yarn from Michael’s
- Paper straw
- Twine
- Wood beads
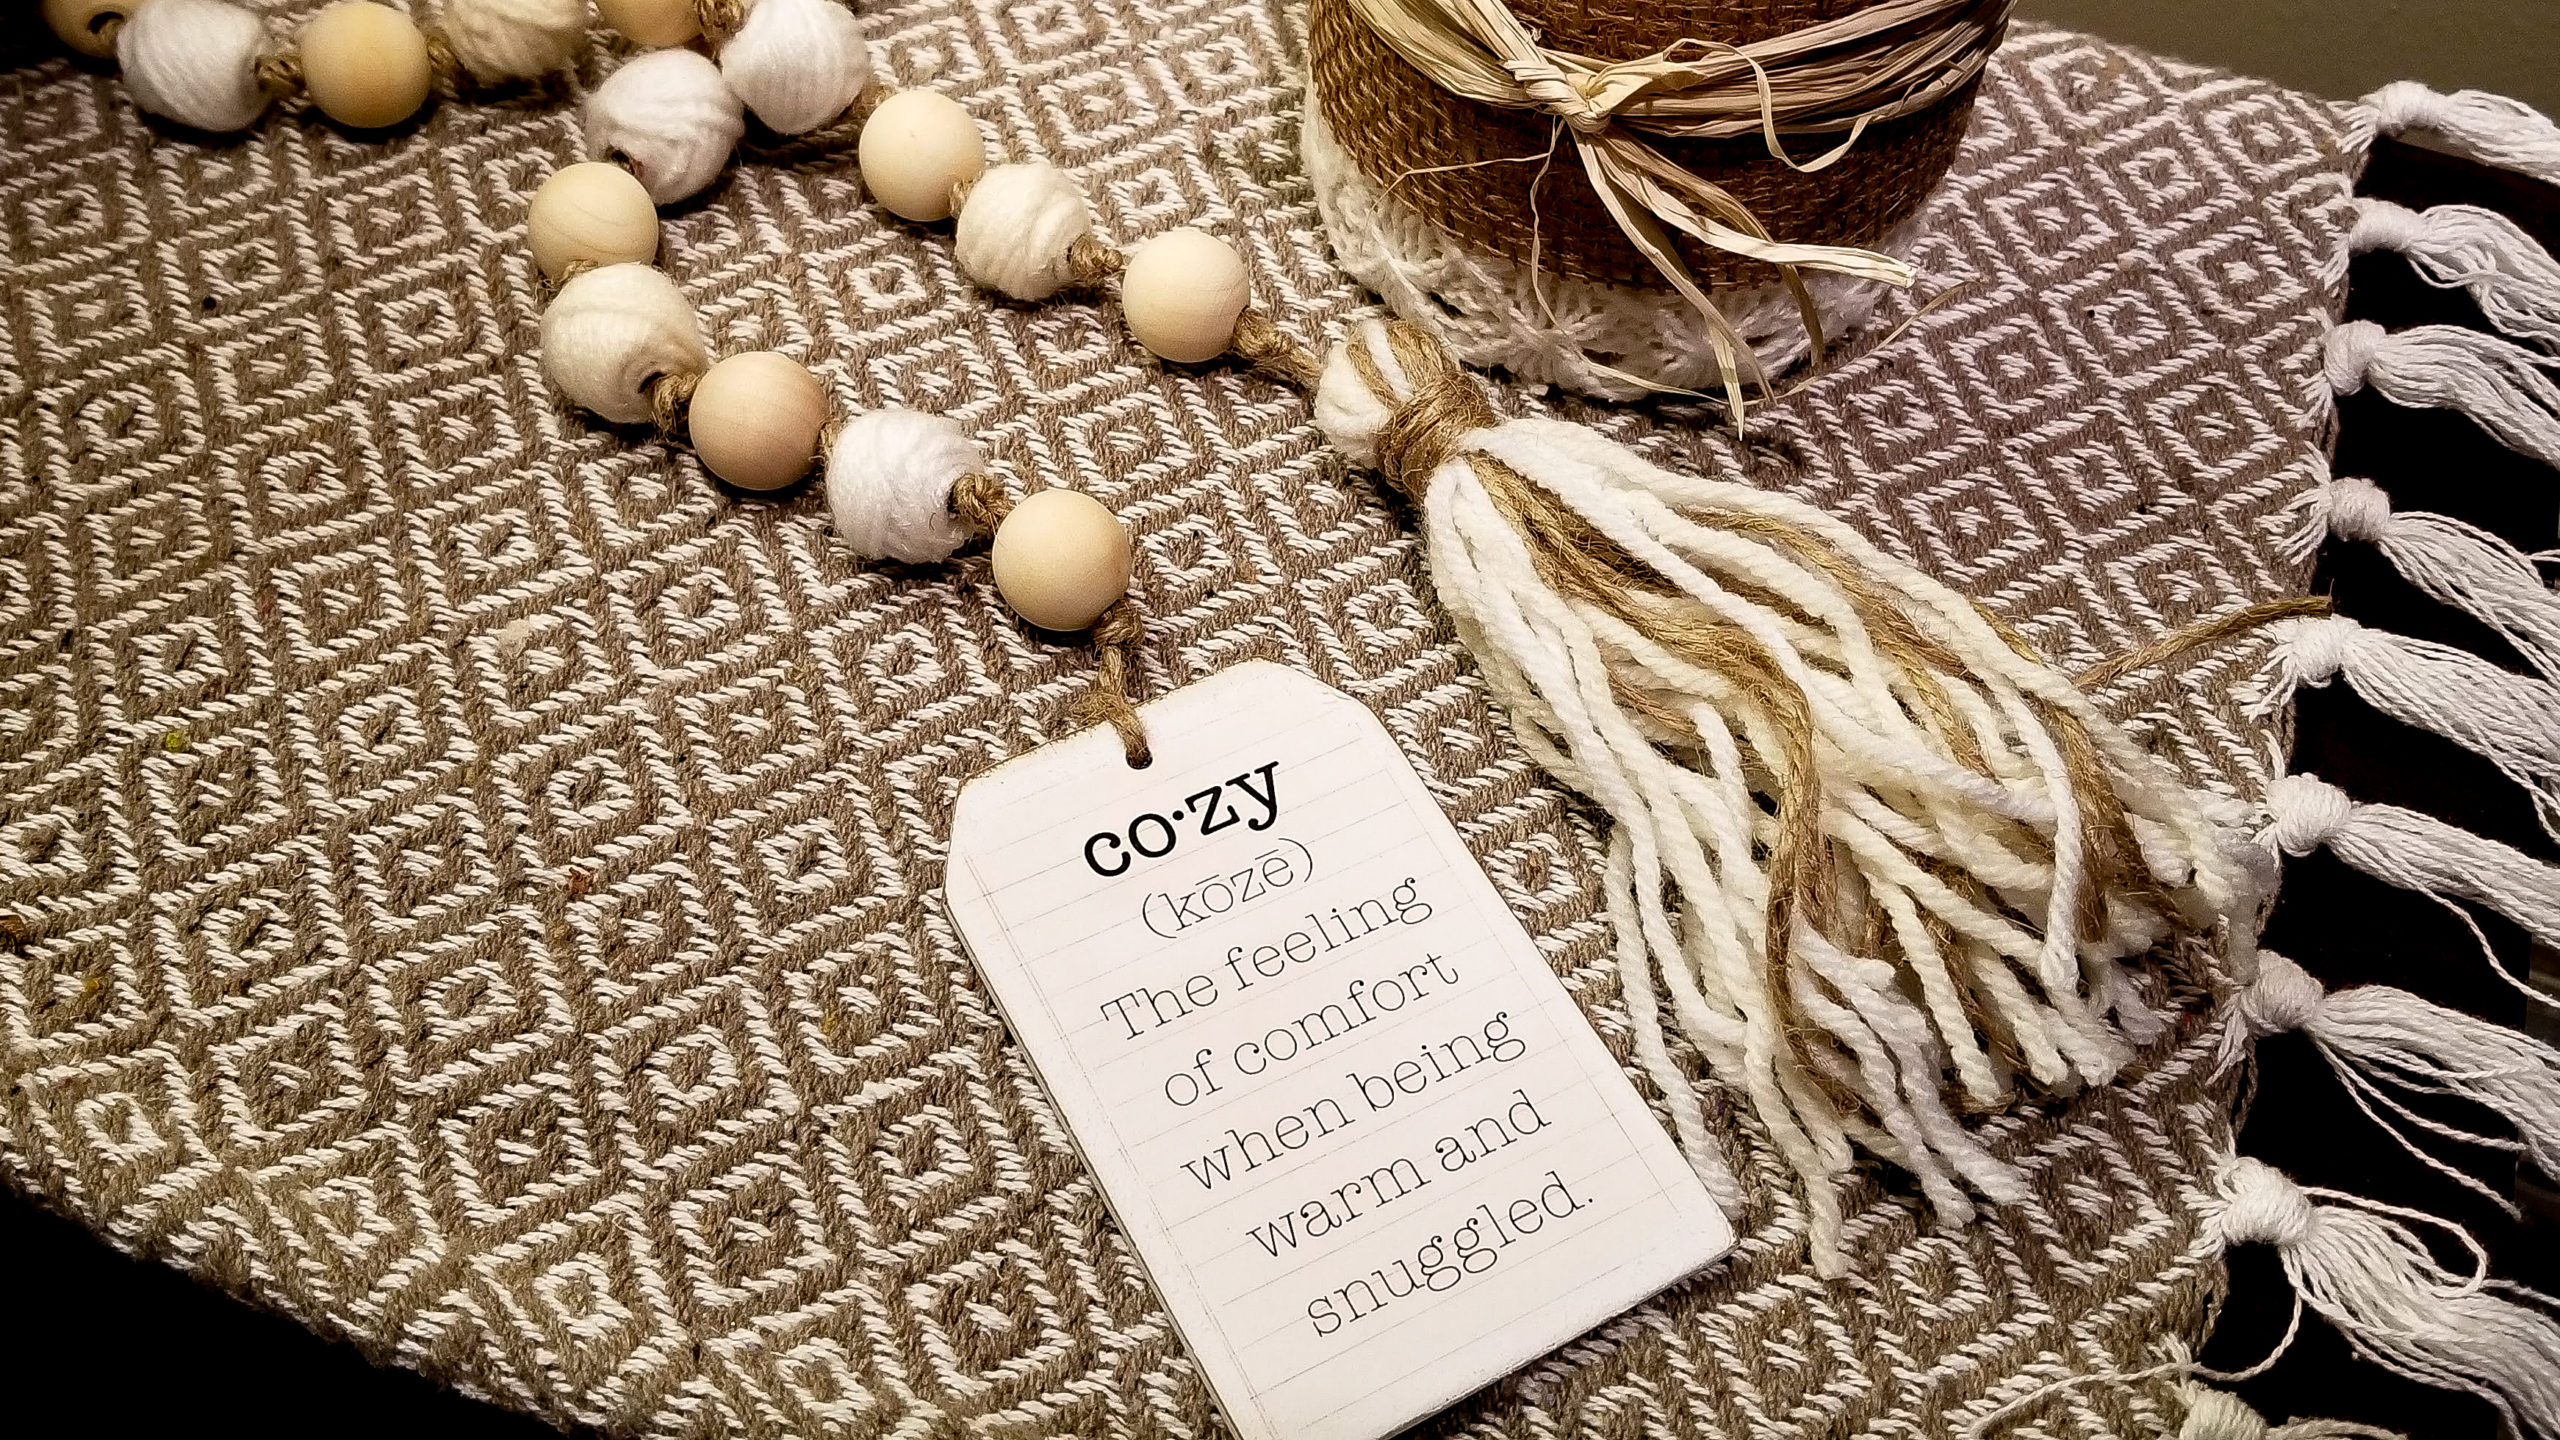
- Wood tag, the one I used was from Hobby Lobby
- Scrapbook paper from JoAnn Fabrics
- Paper straw
- Mod Podge
- Scissors
- Hot glue and glue sticks
- Sanding block

The first thing I did was cut out the photo from my scrapbook paper. It is OK if it is a little over sized. You just want to make sure your words are not overlapping the hole in your wood tag.


Next you will brush Mod Podge onto the front of your tag. Place your paper onto your tag and rub out any air bubbles. Set aside to dry. Once dry use a sanding block to trim your overlapping paper off.

Now you will start your yarn beads. Start by cutting a piece of your straw just a little more then a 1/2 inch.

Place a strip of hot glue across your straw. I used a low temp glue gun.

Wrap your yarn around your straw piece. Make sure you hot glue at the ends so so your yarn doesn’t slip off the sides of your straw.


Wrap two layers all the way to the ends. Hot gluing at the edges.

Now continue wrapping your yarn around your straw building up the center to give you a rounded shape periodically adding a small dot of glue to secure your yarn.


Once you get the shape and close to the size bead you want add a dot of glue to the edge and secure your yarn.

Now bring your yarn at an angle around and to the other side of your bead. Secure it with another dot of glue.

Now continue to crisscross your yarn back and forth around your bead.


Once you have crisscrossed your yarn back and forth and have gone all the way around your bead you will secure your yarn with a dot of hot glue and cut the end of your yarn off. You now have a yarn bead!
For my garland I made a total of 12 yarn beads. You can make your garland as long or short as you choose.

Now it’s time to start assembling your garland. Cut a long piece of twine, cut it longer then you think you will need. I cut mine about 4 feet. Put your twine through the hole of your wood tag and tie a knot. Then trim the end of your twine.

Tie a double knot about 1/2 inch above your wood tag. Add your first wood bead, sliding it all the way to your wood tag. Tie another double knot next to your wood bead. Add your first yarn bead, tie a double knot next to your yarn bead. Continue alternating your beads placing a wood bead between each yarn bead and double tying a knot between every bead.
Once you have all your beads on your twine you will finish off your garland by making a yarn and twine tassel at the end.

Gather the ends of each of your yarn colors and your twine. loop it back and forth several timed about 12 inches long.


lay your looped yarn and twine across the twine at the end of your bead garland. Tie a knot around the center of your loops.


Fold your loops over bringing the looped ends together. Using a piece of twine about 12 inches long, tie around the top of your tassel to hold it all together.

Wrap the excess twine around your tassel hot gluing it into place.


Trim the ends or your tassel and your Cozy Bead Yarn Garland is now complete!
To watch the full video tutorial click here.
To see more crafts like this one check out my Facebook page by clicking here.


