
This DIY craft was inspired by a decoration I saw in the store fr $30.00!!! Though I found it to be absolutely adorable, it simply was not in my budget! So me being me… I stared at it thinking of how I could make it myself. I immediately saw paint stir sticks, BBQ skewers and my faux galvanized metal technique.
To see the full video tutorial of this craft, click on the link at the bottom of this page.

Here is what you will need to make this craft yourself.
- 2 paint stir sticks
- 2 BBQ skewers
- Scrapbook paper, design of your choice
- 2 wood beads
- wire
- 1 garland tie (pipe cleaner that looks like pine)
- Twine
- Raffia
- mini pine cone
- Red berry sprig
- Natural card stock
- Folk Art paint, Silver Anniversary or Sterling Silver
- Red acrylic paint, I used Craft Smart Holiday Red
- Brown acrylic paint, I used Craft Smart Brown
- Sanding block
- Mod Podge
- Hot glue gun and glue sticks


The first thing you will do is trace your paint sticks onto the back of your scrapbook paper. cut out your pieces and Mod Podge them to your paint stir sticks. Rub out all the air bubbles and set aside to dry. Once dry you will use your sanding block to trim your paper edges and to give your ski’s a worn rustic look.

Next you can assemble your ski poles. Use a small amount of hot glue to glue your wood beads about 1 inch from the pointy end of your BBQ skewer.

To paint my ski poles I used Craft Smart, Holiday Red paint from Michael’s watered down. I used 2 parts paint to 1 part water. Brush your watered down paint onto your ski poles, then wipe it off with a rag. This will give you a bit of a stained effect lending to the vintage vibe we’re going for. Set your poles aside to dry.


Once your poles are dry, you will cut a 1 x 3 inch piece of your scrapbook paper for each pole. You will hot glue one end of your paper to your pole and wrap the paper around until you are out of paper. use a small amount of hot glue to secure the end of your paper to the pole.


Now we will work on our Faux Galvanized Metal. I used the natural card stock and the FolkArt Silver Anniversary paint from Michael’s. Brush on your paint, let dry. Once your paint is dry you will fold your paper back and forth about every 1/4 inch, this will give you the corrugated metal look.

You will now flatten out your paper and place it painted side down on the table. you will draw out your rounded ends of your ski’s. I went out about 1/4 of an inch from each side of my ski . Refer to the picture above.

For the square end of your ski you will also cut it about 1/4 of an inch wider then the ski. Cut out your pieces and fix your folds.


I wanted it to have a rusted look to it so I brushed a little brown paint onto the edges and wiped it off right away. The longer you leave the paint on the darker it will set in so only work with small sections at a time. After doing the edges I did a little rust effect in the center too. I used Craft Smart Brown acrylic paint from Michael’s, but any brown acrylic paint will work.


To attach your Faux Galvanized Metal pieces, hot glue just the bottom half inch of your rounded pieced and attach to the top end of your skis. To attach the rectangle pieces, got glue around the whole thing and attach to the bottom end of your skis.

Now make an X with your skis and secure with some hot glue. You will also hot glue your ski poles to your skis with hot glue. I staggered the height of mine and glued them about an inch apart from each other.

To add a fun embellishment to your ski hanger, use a garland tie. I got mine at Hobby Lobby, but you can get them at Dollar Tree also. I made a circle and secured it by twisting the ends around each other.

I created a Refabbed Bow by crisscrossing layers of burlap ribbon, red raffia and twine. I used a piece of twine to tie them together.

I hot glued my wreath to my skis then hot glued my Refabbed Bow, some holly berries and a mini pine cone to the top of my wreath.

To create a hanger I twisted some wire around a pencil to give it a loopy, whimsical look.

Bend the excess ends of your wire to fit your wire to fit your skis and to give you something to hot glue your hanger in place. I did’t like how shiny and new my wire looked, so I ended up brushing a little brown paint on to give it a bit of a rusted look.


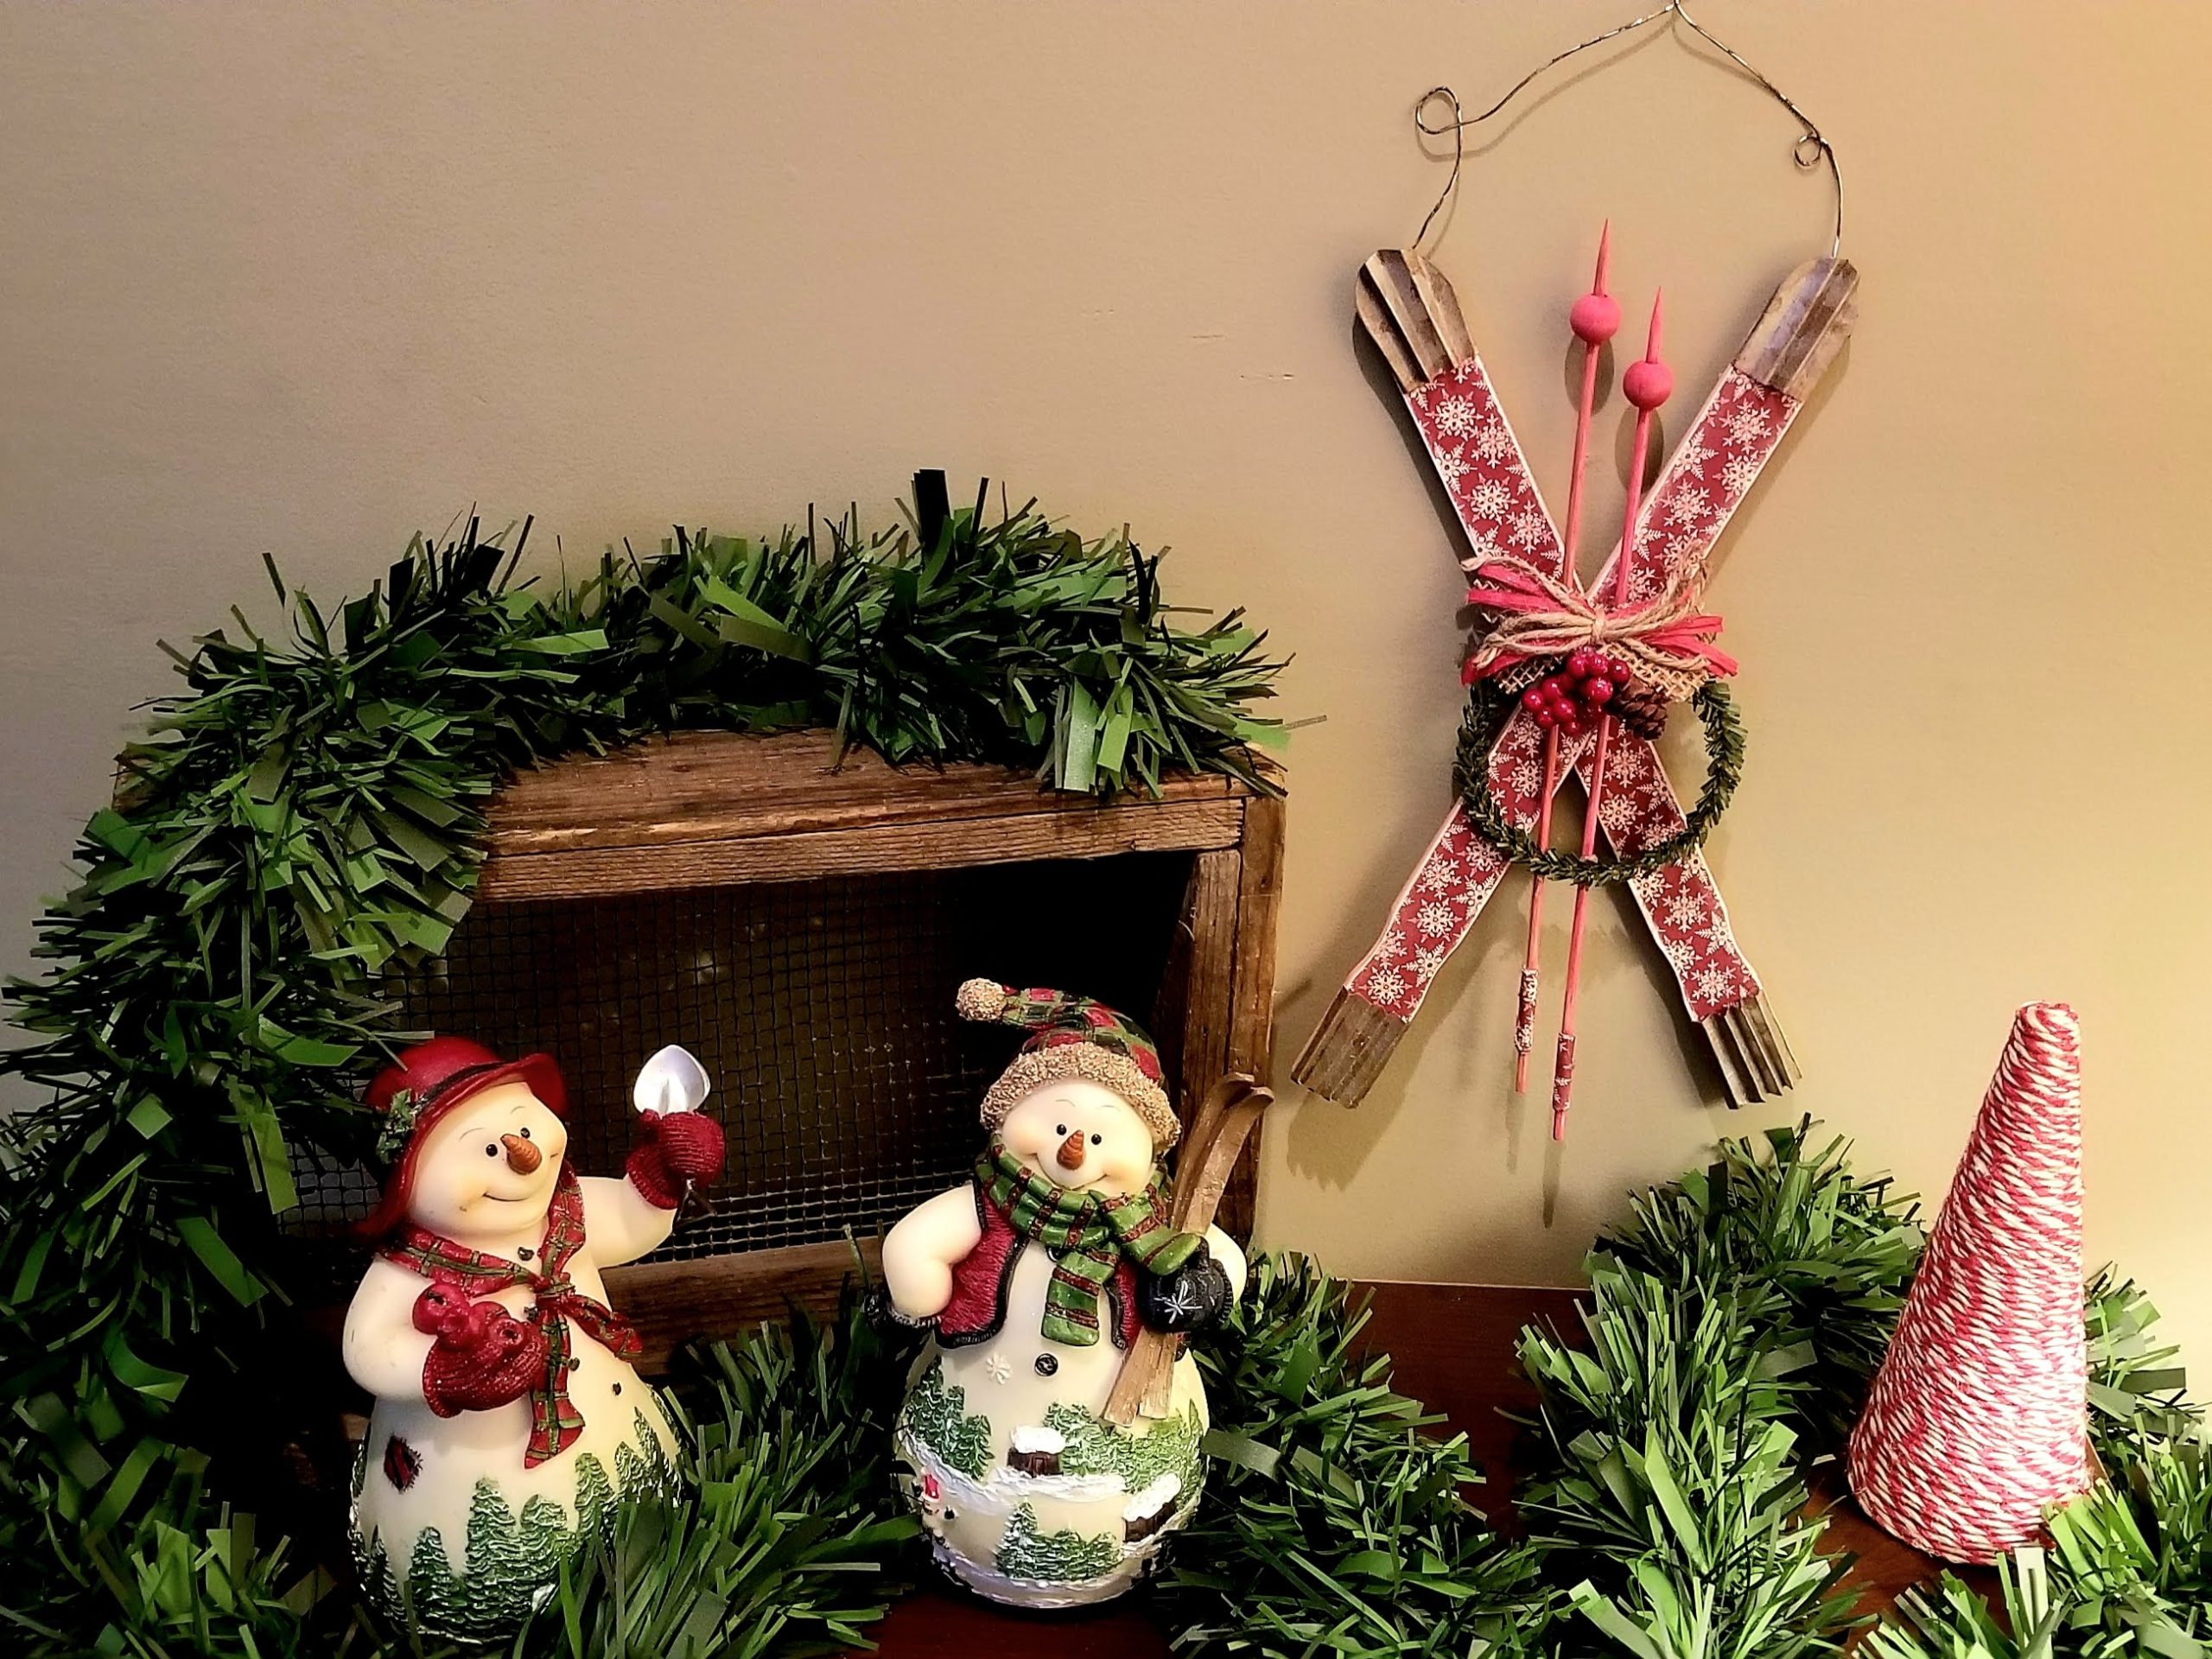
You’ve now completed your Vintage Snow Ski Hanger! I hope you enjoyed this tutorial and make one of these for yourself! If you’d like to watch the full video tutorial click here. If you like this and want to see more of my DIY creations you can go to my Facebook Page by clicking here. Remember to click on the Follow button while your there!