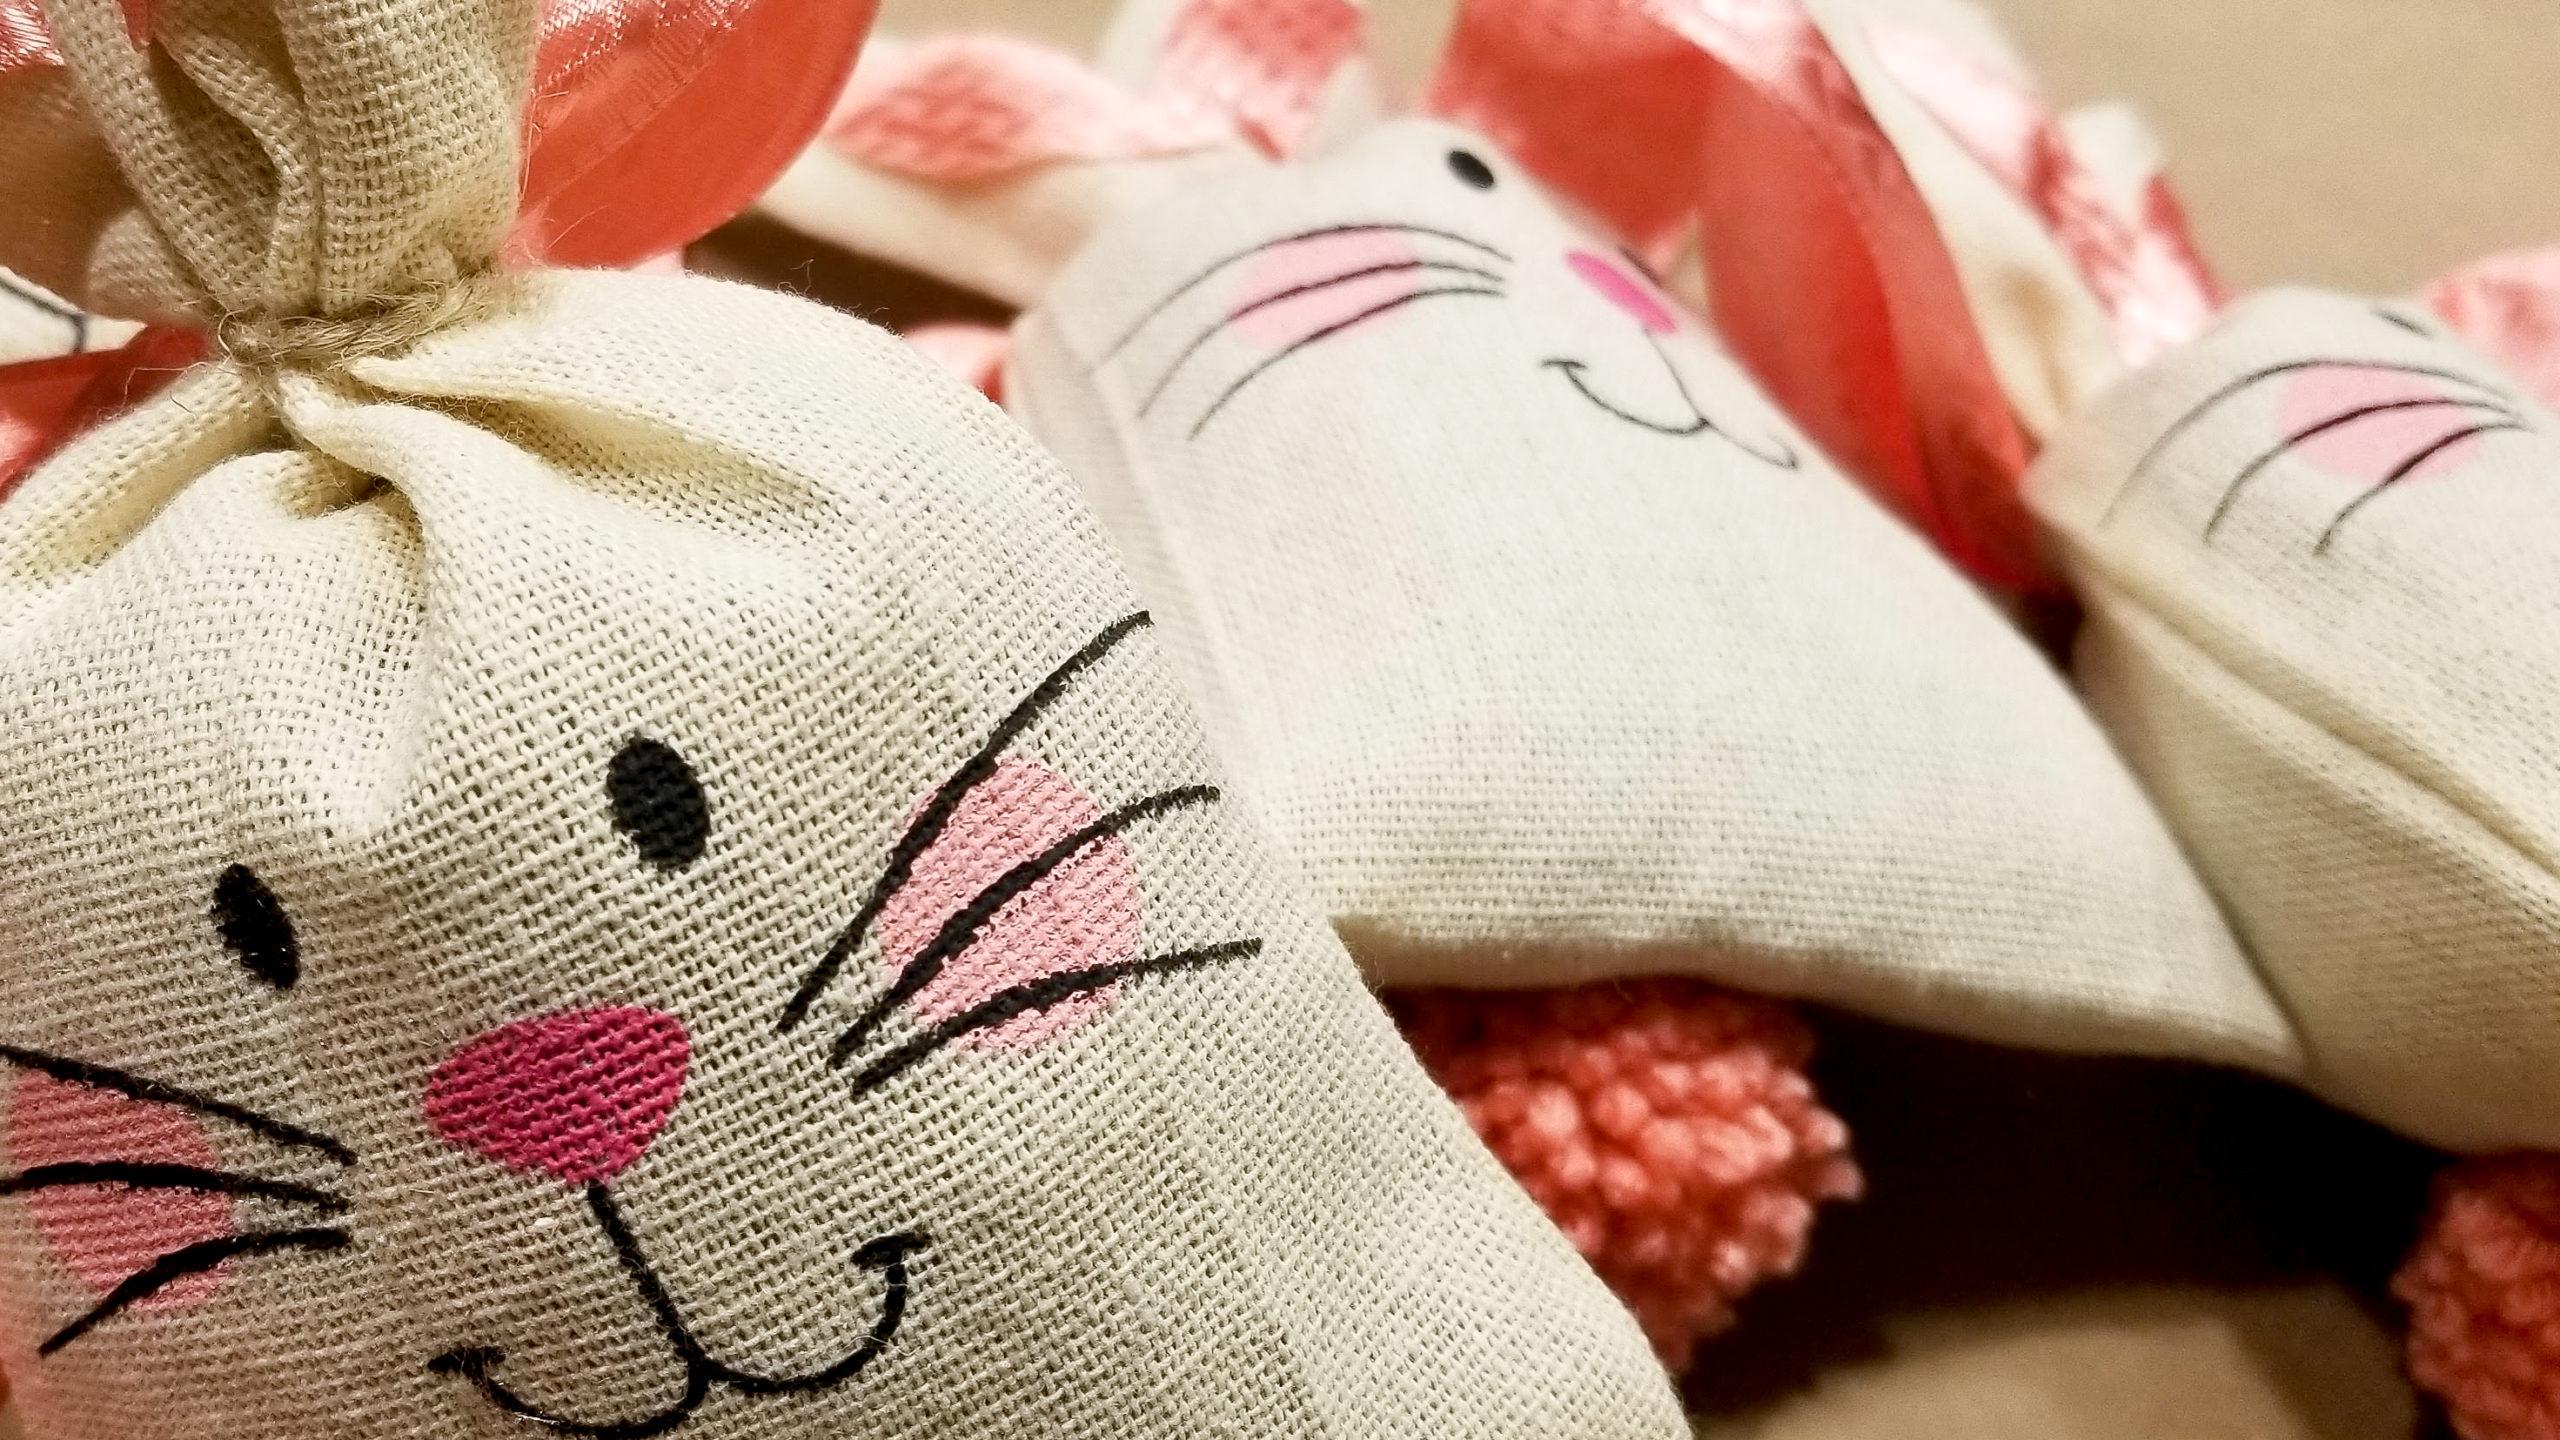
This cute Easter Garland was made from the Dollar Tree Bunny Sacks. A couple embellishments and a recycled product created all this cuteness! This post contains referral links to help you find the exact items I used.

Here’s what you will need.
- Bunny Sacks, Dollar Tree
- Wide Pink Ribbon
- Pink Yarn
- Pom Pom Maker
- Polly fill or Plastic grocery bags
- Scissors
- Hot glue gun and glue sticks


The first thing you will do is stuff your bunny sacks. I was out of Polly fill so I used plastic grocery bags. I used one for each bunny sack. You will loosely ball up the bag making sure the printed words were on the inside so they don’t show through your bunny sack.

Once you have your bunny sacks stuffed you will hoe glue the top of your sack closed. this will help keep the shape of your bunny ears.

After your bunny sack is glued closed, trim any uneven edges.


Now using your ribbon, you will cut two centers for your ears for each bunny sack. Hot glue these pieces to your bunny sack.

Now use the piece of twine that came with your bunny sack to tie around the top of your bunny head and below your ears. Leave the long ens of twine in place for now.
If your bunny ears aren’t laying the way you like them, you can use a small dot of hot glue between them and pinch together until the hot glue sets.


You will now create a bunny tail. To do this I used a Pom Pom Maker. You can use any technique you like. Click here to see the Pom Pom Maker I used. Once you have a pom pom created you will hot glue it to the bottom center of the backside of the bunny sack.

It’s time to put your garland together. Using your ribbon, you will fold your ribbon back and forth 8 times about 5 inches long.


Gather it together ant tie it with a piece of yarn about 10-12 inches long.

Tie a knot in your tarn about 2 inches up to create a loop for hanging your garland.

Cut notches in the end of your ribbon to give it a nice finished look.

You will now space out your bunnies along your ribbon and tie them to your ribbon with the twine that was used to tie the ears. Trim the extra twine off.
After you have all your bunnies tied on you will create another ribbon tassel at the other end of your gatland the same way you created your fitst one.
Your bunny is now complete! This garland will end up approximately 5 feet long, if you want a longer garland you can use more bunny sacks.
If you would like to see the full video tutorial of this craft click here. If you like this tutorial and would like to see more like it, click here to visit my Facebook page. Remember to click on the follow button while your there.


