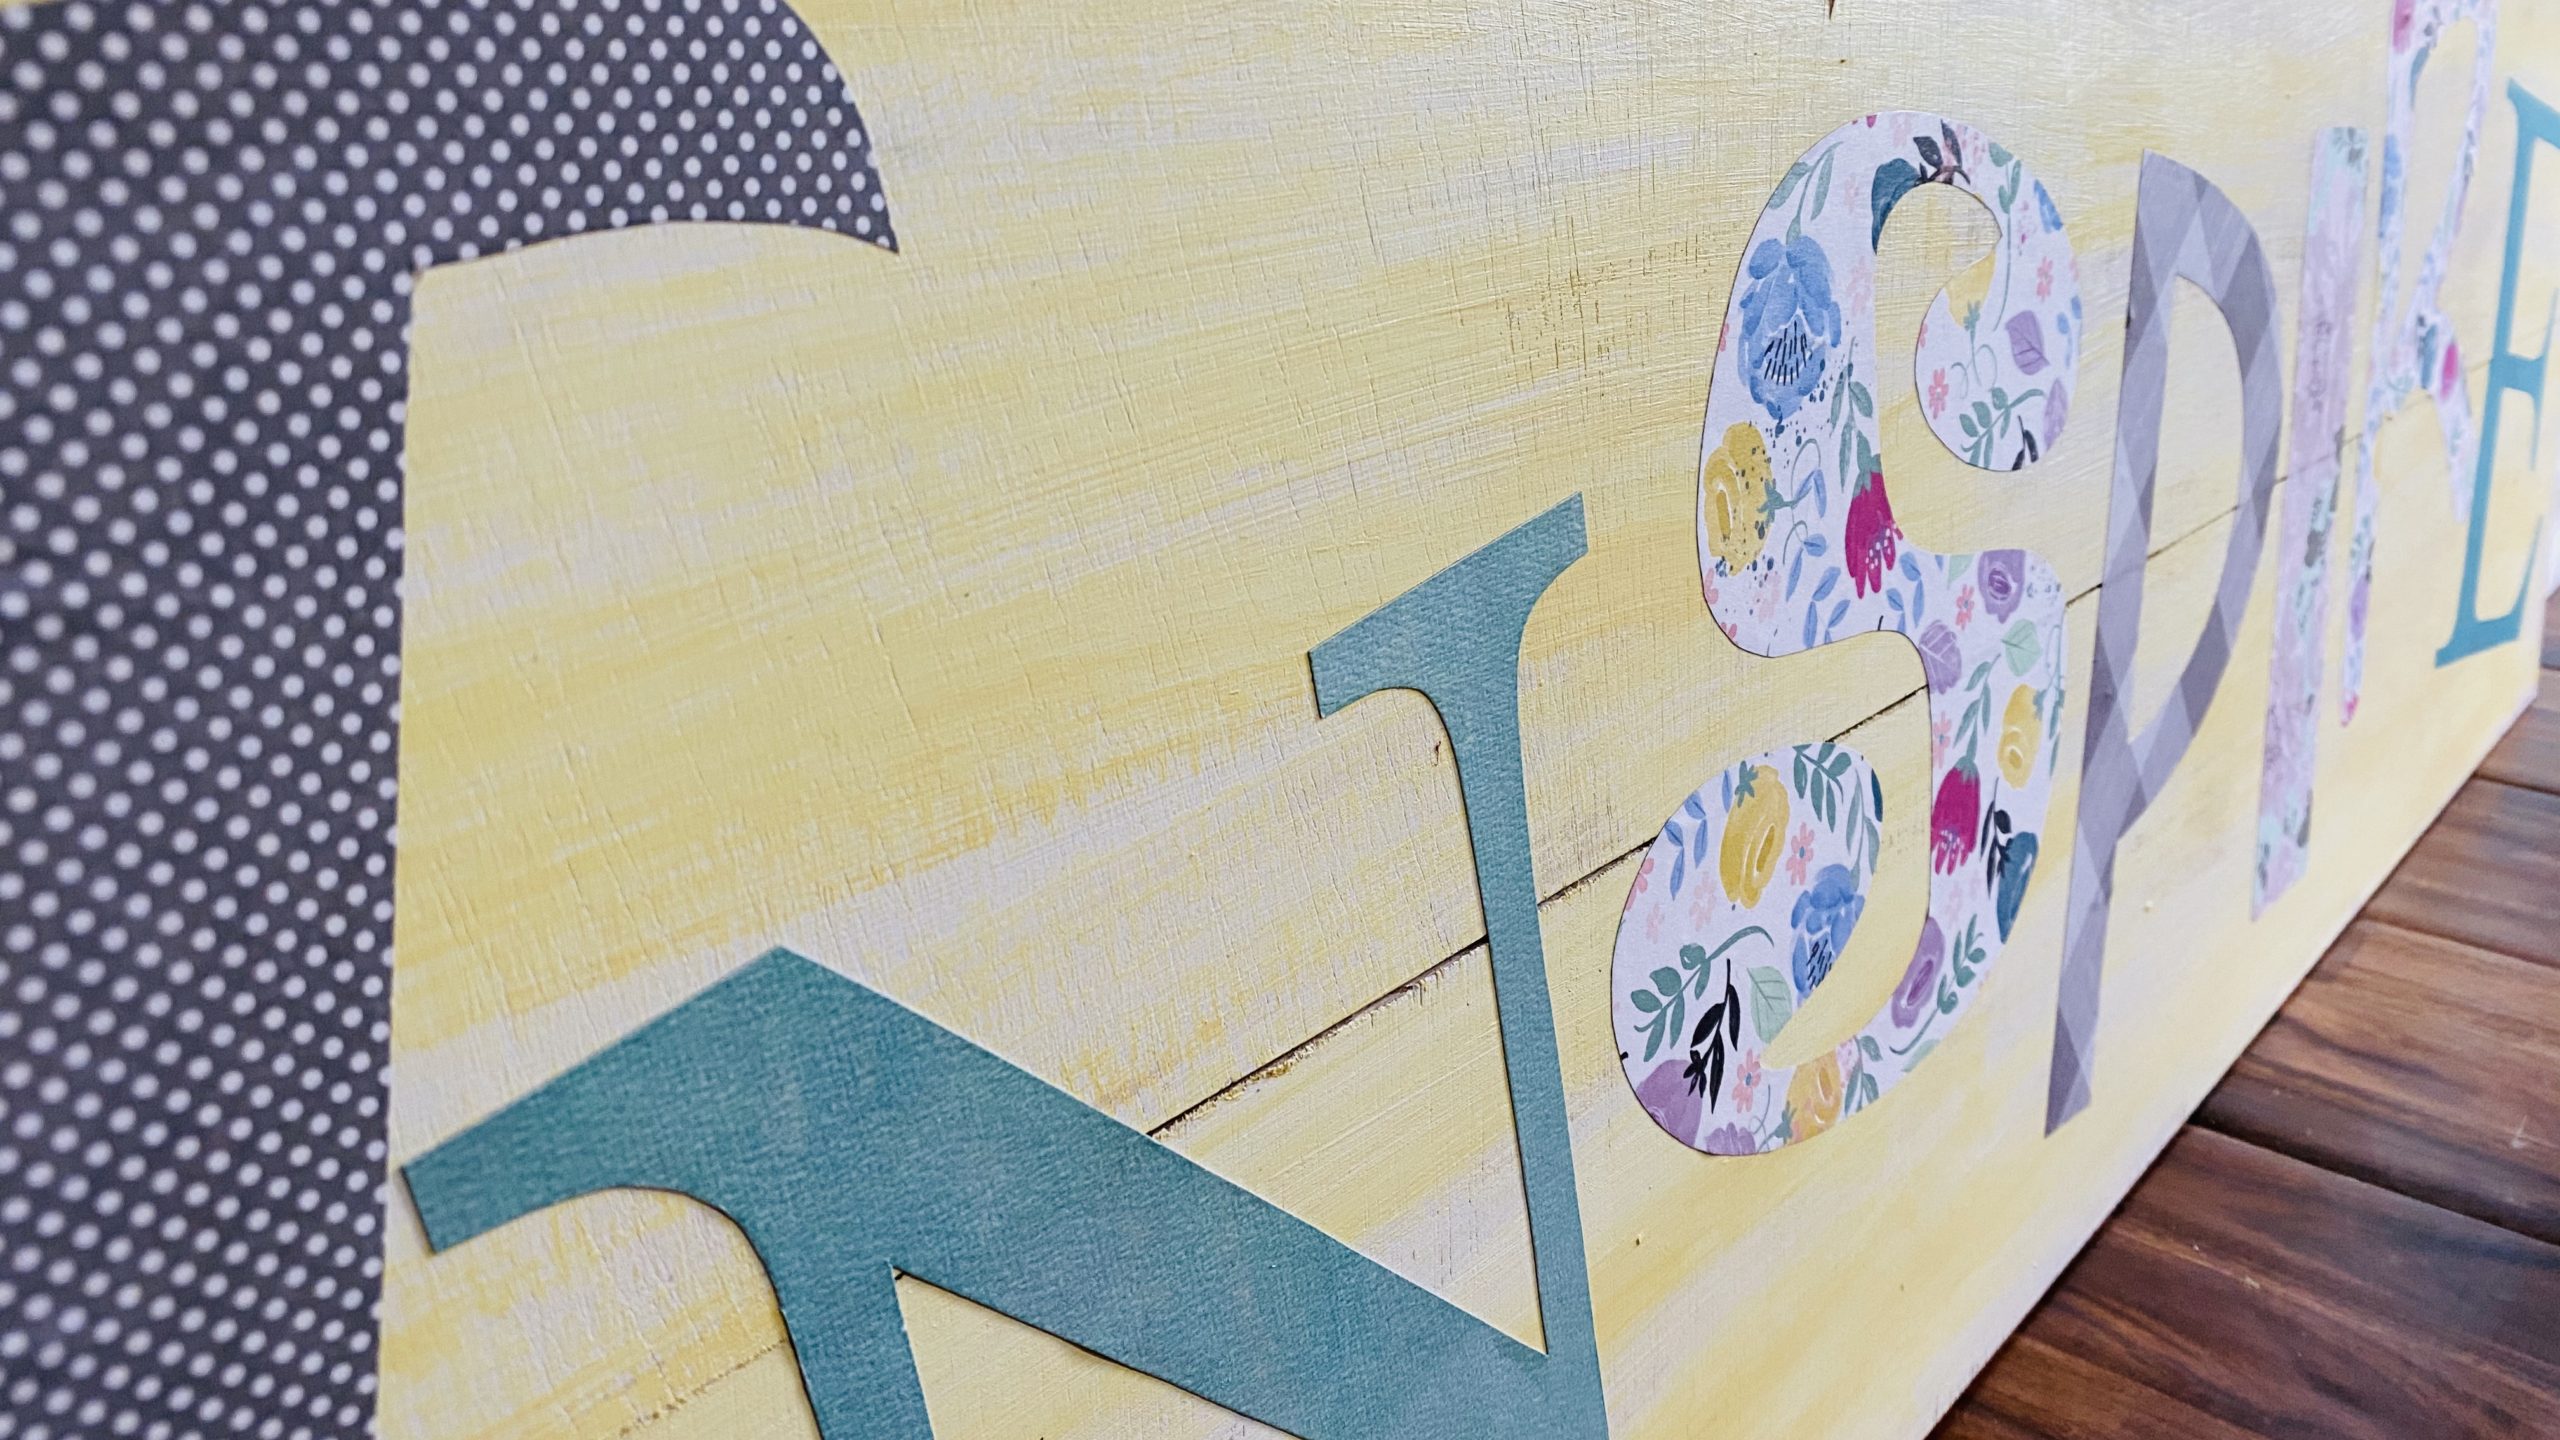
I am so over the moon for my new office sign!! I can’t wait to get my office finished so I can hang it!! this will definitely be a focal point of my office!! I chose the word inspire because it fits for what I do. My goal is to inspire others! I included the free printables for this word, but you can create your sign with any word you choose!

What I used
- Scrap wood (2 pieces, 8 x 48 inches each)
- Scrap wood braces ( 3 pics 2 x 8 inches each)
- Short screws (1 inch)
- Paint colors of your choice
- Scrapbook paper
- Mod Podge
- Scissors
- Drill

The first thing I did was create my sign base. You can use one solid piece of wood if you have it available. I didn’t. I had two pieces each 48 x 8 inches. I used three strips of scrap wood each 8 x 2 inches. I screwed them to the back of my large pieces of wood to brace them together. I put one in the center and one at each end. I you don’t have any scrap wood you can go to Home Depot and buy a piece of wood. My Home Depot will cut your first two pieces for free, then only charges 50 cents per cut after that! I’m told that some home Depot’s don’t charge you at all!! Check with your local store for their policy and pricing.

Once your sign base is put together you can paint it any color you choose. I chose to paint mine with Adirondack White chalk paint an the dry brushed Summer Porch Yellow paint over it. Both paints were FolkArt Brand.

For my letters, you can searched Google for letter outlines. Find the letters and fonts you want. Save the image, it’s best if you can find it in a PNG. file type. Upload them to any photo editing program or app. I use Photoshop. I flipped the letters so they were backwards and stretched them to fill an 8.5 x 11 inch sheet of paper.

Next I printed them on the backside of my scrapbook paper. Remember your letters are flipped backwards. This is why you print on the back of your paper so when your letters are cut out they will be the right way on the front of your paper.

Below are all the printables for the letter I, N, S, P, I, R, E. you simply have to download and save them, then print them on the backside of scrapbook paper of your choice!

Now that you have all your letters you can cut them all out. Once they are all cut out simple brush Mod Podge onto the back of your letters and place them on your sign base in any arrangement you like. I suggest laying out your letters first to get your pattern laid out before you start to Mod Podge.

Once your lettes are dry you can seal your sign. I used FolkArt Clear Wax that is made for sealing chalk projects.

For a hanger I added two screws to the back of my sign that I will add a piece of wire to for hanging it securely on the wall.
Your Inspire Wall Hanging is now complete!! If you like this tutorial and want to see more like it, click here to visit my Facebook Page. Remember to hit the follow button while your there!! I you’d like to watch the full video tutorial click here.

Love thst sign!! Great if you have a craft room!!