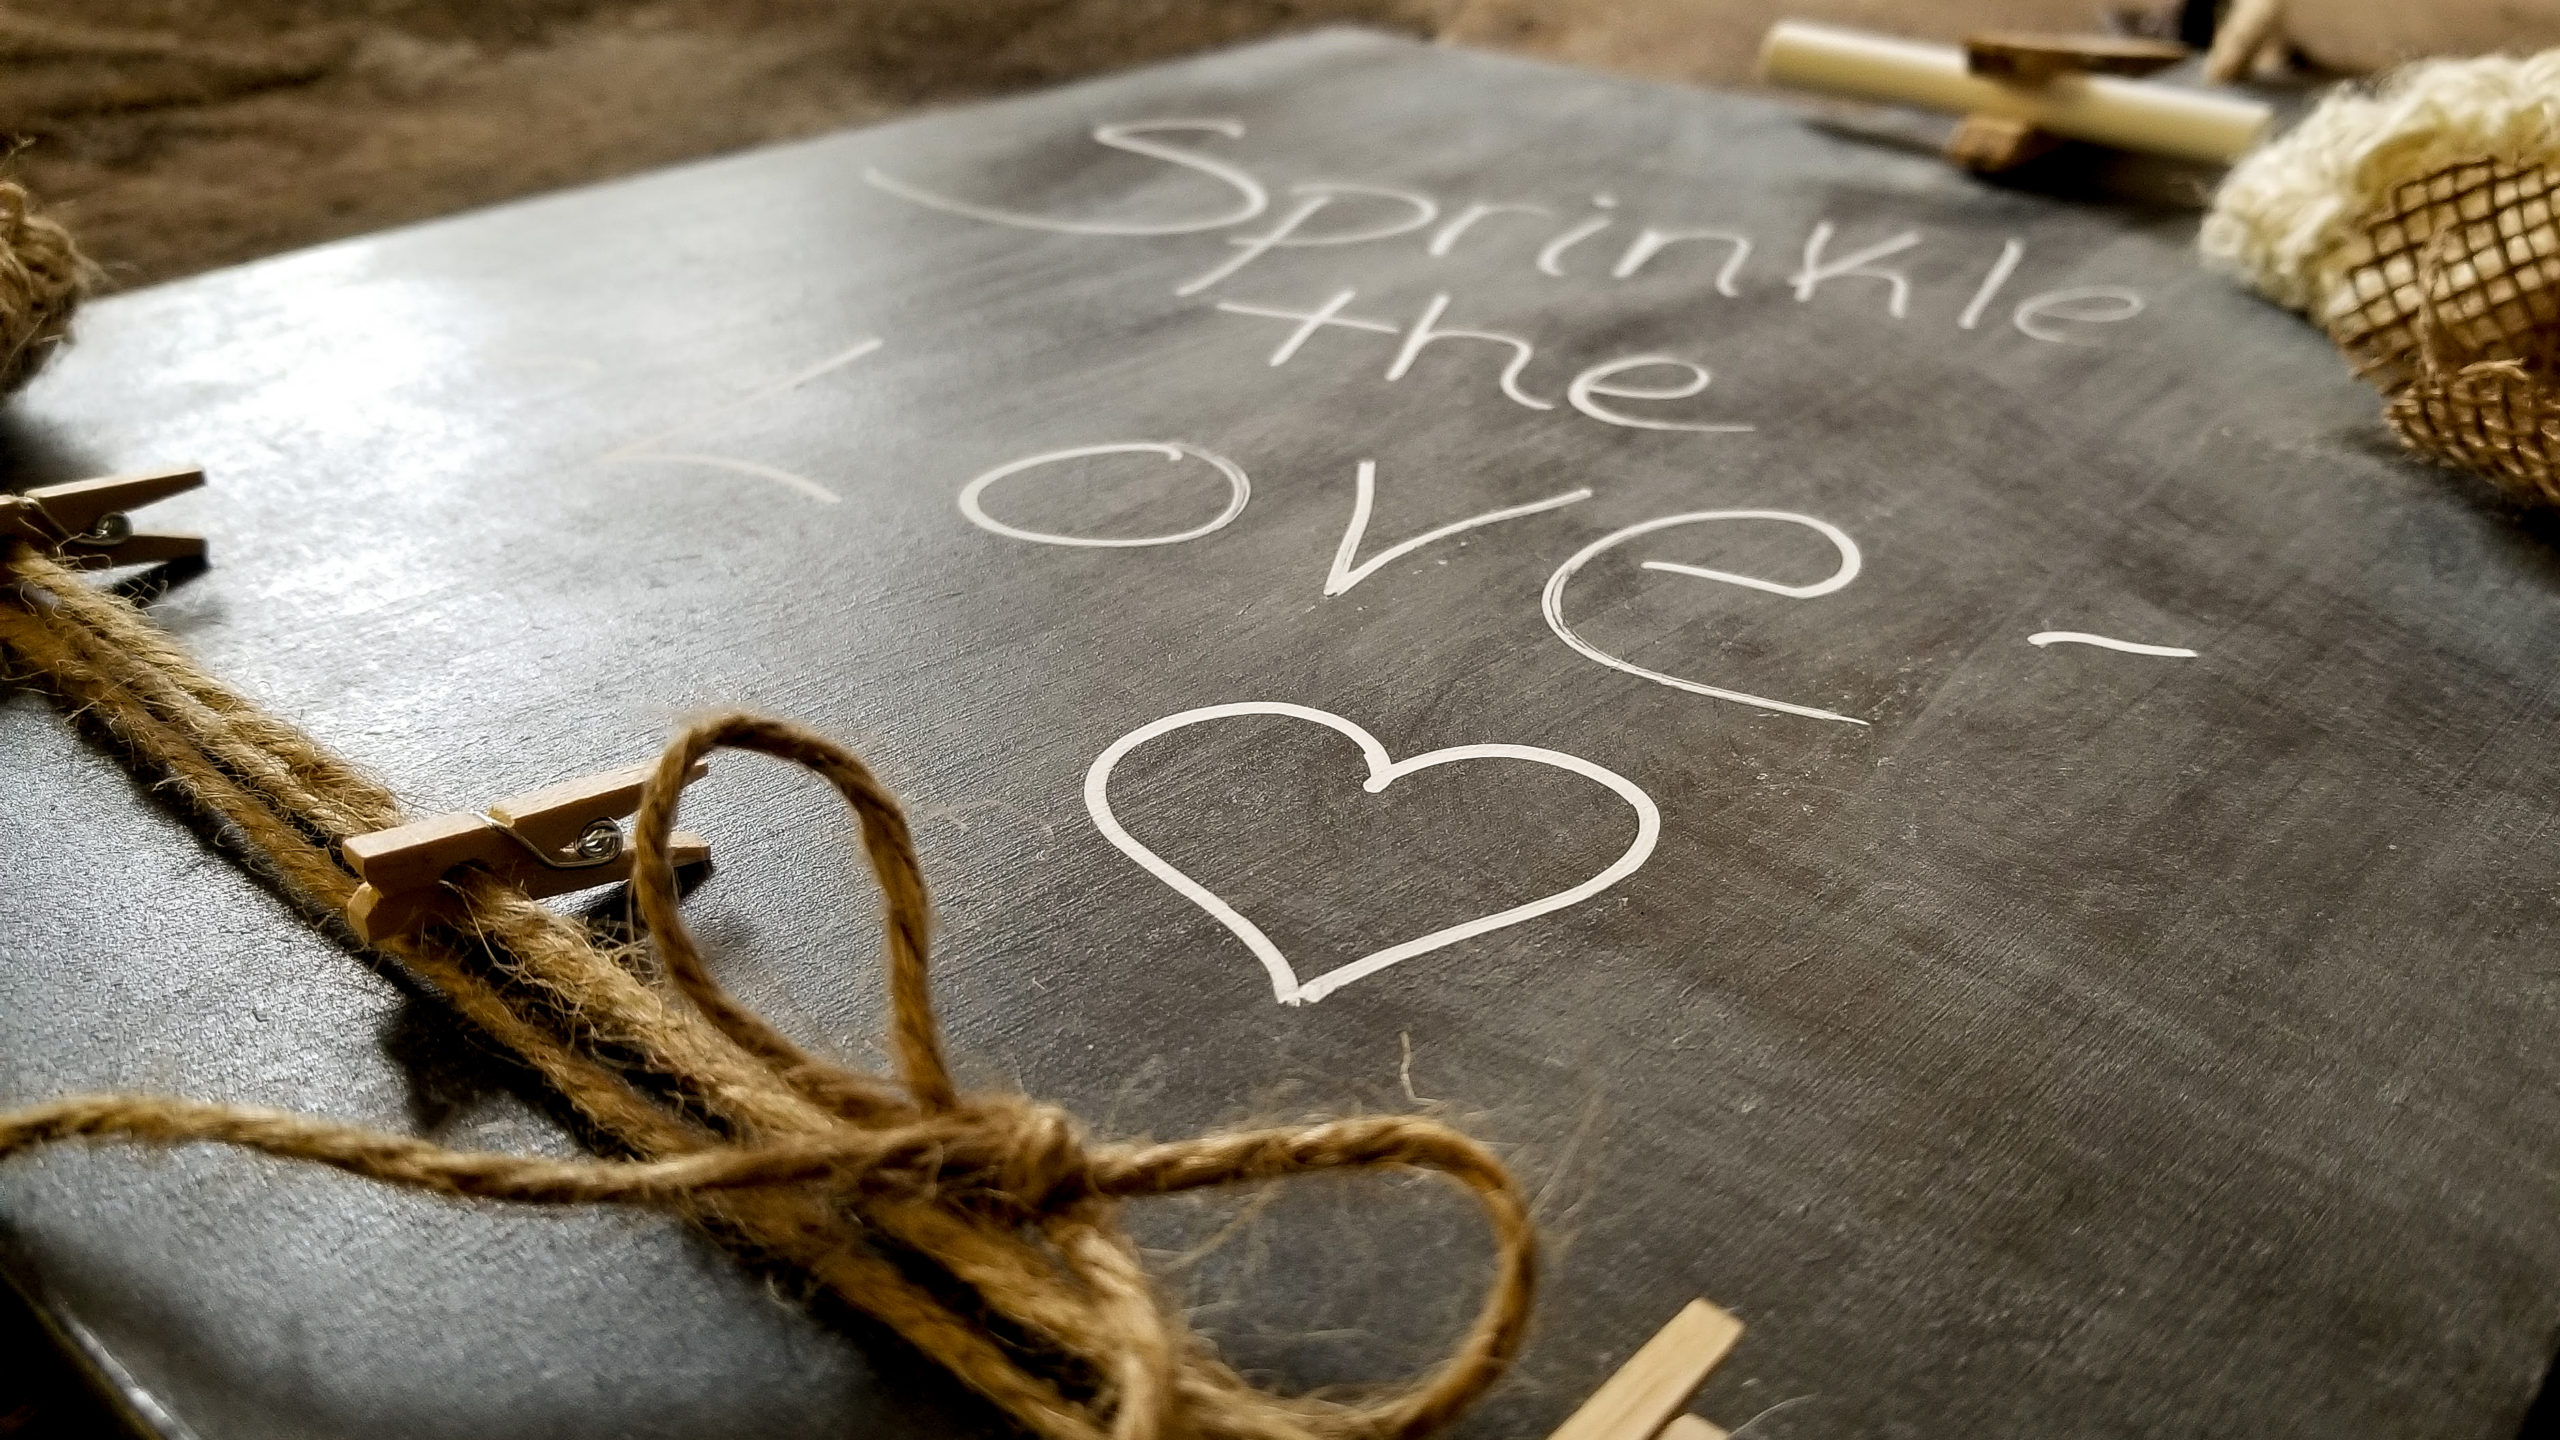
I had so much fun transforming this decorative holiday cutting board into a beautiful farmhouse message center! In this tutorial I will show you all the steps on how to make this. I will share alternate items that can be used as well. I will also include affiliate links to help you find the items I used.
What you will need to create this craft.
- Decorative holiday cutting board, Hobby Lobby
- Chalkboard paint
- Clothespin
- Mini Clothespins
- Twine
- Decorative flowers, optional tutorial links included
- Waverly Antique Wax, Walmart
- Dry rag
- Chalk
- Paint brush
- Scissors
- Hot glue gun and glue sticks

First I start with prepping my board. This board was found in the clearance section at Hobby Lobby. If you don’t have this exact board, you can make this with any old cutting board or frame. The first thing I did was remove all the stickers and the plaque off the front of the board. To remove the plaque, I used my scraper to slide it underneath and carefully lifted until it popped off. There were a few little nails I removed with my pliers. You will see that the glue they used was quite strong and left a rough spot behind. That’s OK, we will use the back of the board for our surface.

Remove the jute rope hanger, but save it for later. We will be adding it back on.


Now you will paint the entire surface including the sides of your board. Once your first coat is dry, paint a second coat and let dry completely. I used Martha Stewart Chalkboard paint for this craft. I usually use Rustoleum Chalkboard paint because it is a better value.

Once your chalkboard paint is dry you can start to decorate it. You will first put your hanger back on your board.

Next you will wrap some jute twine around the bottom of your board about a half inch from the bottom. Tie a knot and a bow to one side.


Secure your jute twine on the back with several dots of hot glue. You can even staple it if you have a stapler available to use.


Now you can clip mini clothespins to your jute twine to attach small notes to the bottom of your board. You can get these at Dollar Tree or from Amazon. Click here to see the ones I used from Amazon.


You will also use one large clothespin to hold your chalk or to hang papers from. I used a little Waverly Antique Wax to darken it up just a bit. I just applied it lightly with a rag and wiped any extra off. I bought my Waverly Antique wax from Walmart. You can also use stain for this.


Using hot glue, attach your clothespin to the top of your board.

To add a little fun I made some farmhouse flowers. You can certainly buy pre-made flowers at any craft store or you can make your own like I did. Click here for my tutorial to the Burlap Roses I made. I also made some flowers using the burlap ribbon from Dollar Tree. Click here for my Burlap Petal Flower tutorial.


There’s one last thing you need to do before your chalkboard is ready to use. You need to condition your chalkboard. I have no idea why, I just know the instruction say you have to. Fortunately it is very easy to do! Using a piece of chalk, lay it on it’s side and cover your entire board with chalk. Once your board is covered, simply wipe it off with a dry rag. I actually like how this tones down the harsh black and adds to the farmhouse look. The reason I did this last is because the chalk may make it hard for your hot glue to stick when you try to attach your decorations. It is still very easy to do after your decorations are on the board.
Your Farmhouse Chalkboard is now complete! If you would like to see the full video tutorial of this craft click here. If you like this tutorial and would like to see more like it click here to visit my Facebook page. Make sure, if you like what you see, you hit the follow button while your there!


I had a stroke over 9 years ago and have problems seeing well. I love crafting but some things I still can’t do but my husband will help me and has been my soul.mate for 45 years. He has taken great care of me.
Your very blessed to have a husband so caring to help you with things, especially crafting. He sounds like a wonderful man!