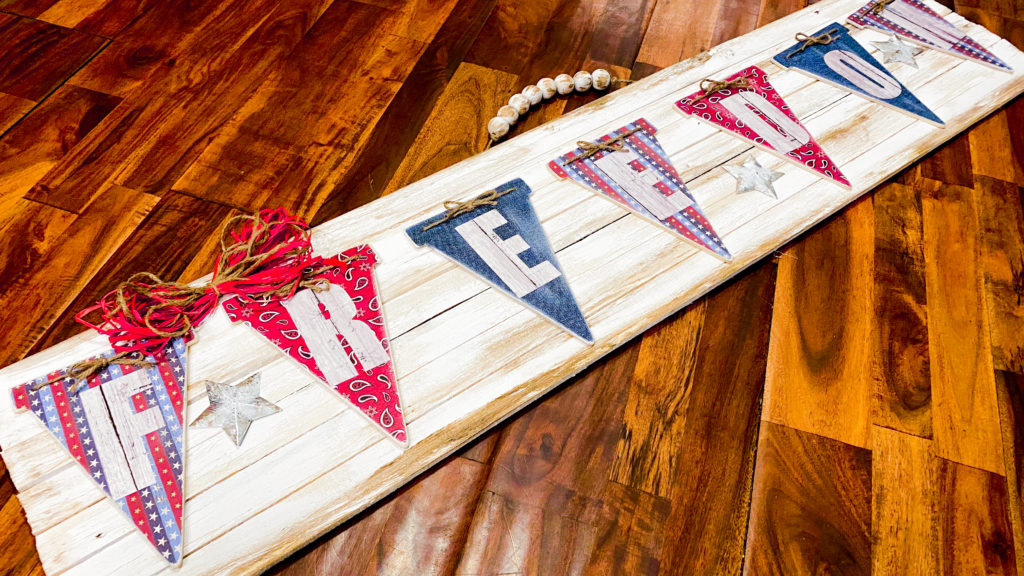
I found this construction lath at Home Depot and wanted to try using it to make a sign base! I was hopeful it would work! I’m happy to report it not only worked, but turned out better then I had even expected! If this tutorial I will not only show you how to make the sign base, but also show you how I decorated it with the free printable I created for you!
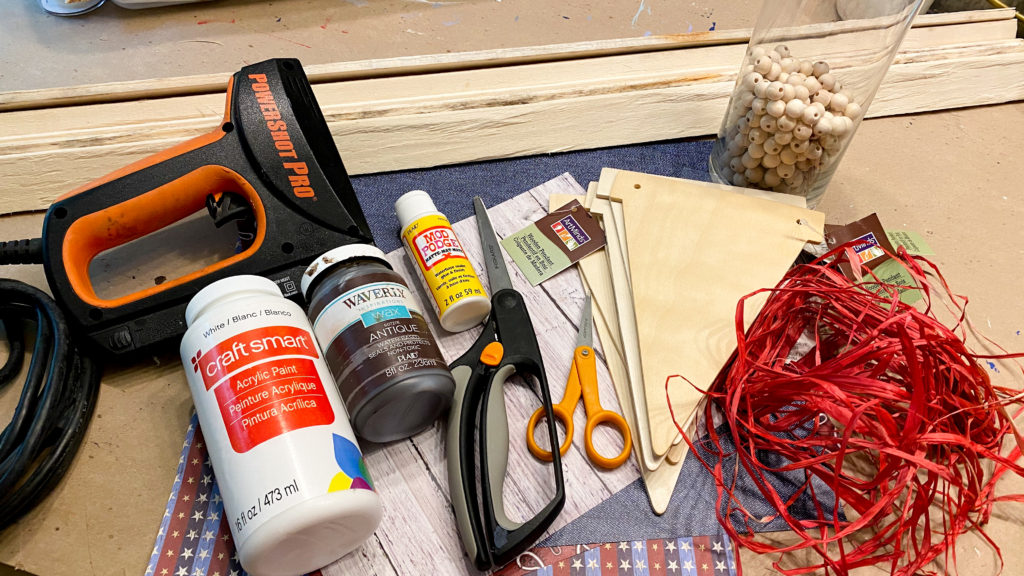
What you’ll need to make this sign.
- Construction lath
- Stapler and 1/2 inch staples (optional)
- Wood banner flag cutouts
- scrapbook paper
- wood beads
- White acrylic paint
- Waverly Antique wax
- Raffia
- Twine
- scissors
- Sanding block or sand paper
- Mod Podge
- Hot glue gun and glue sticks
- paint brushes
- Free printable print out
- Small hand saw
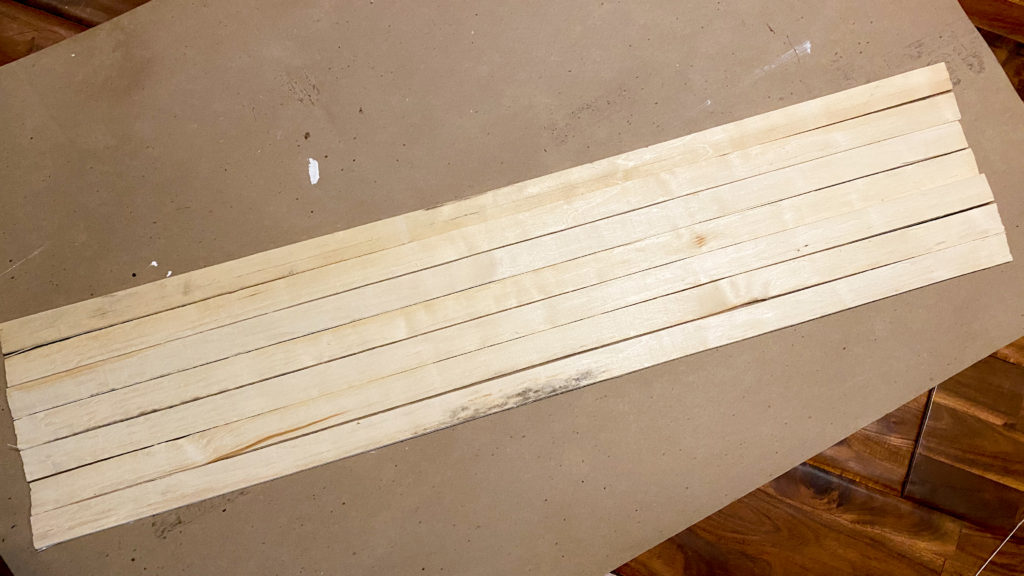
The first thing you will do is create your sign base. I used 7 pieces of lath. Lay them out evenly.

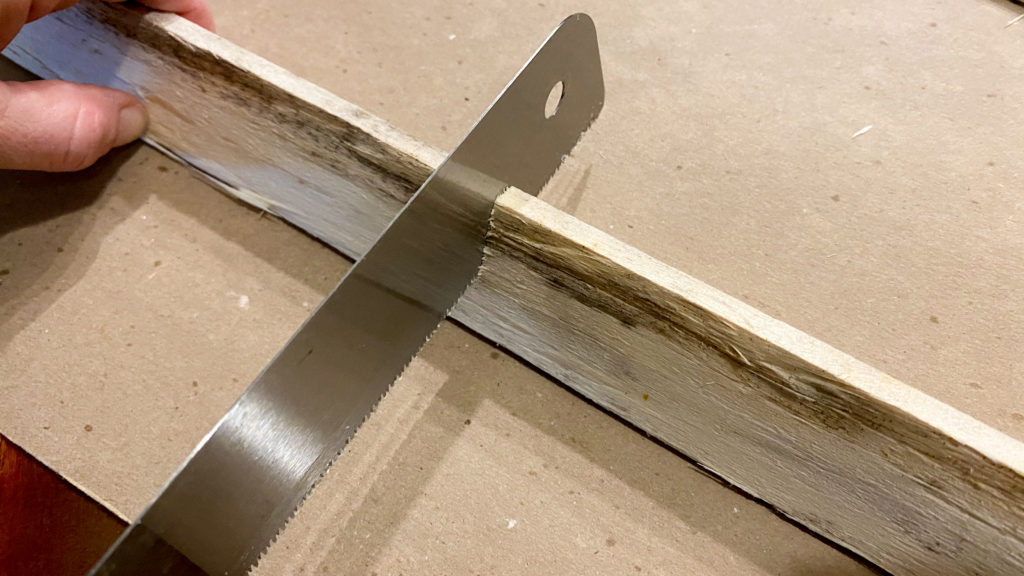
Use another piece to measure out the length you will need for the braces. I used a small hand saw to cut my brace pieces. The saw I use for these types of crafts is the Fiskars brand hand saw. You can see it by clicking here.
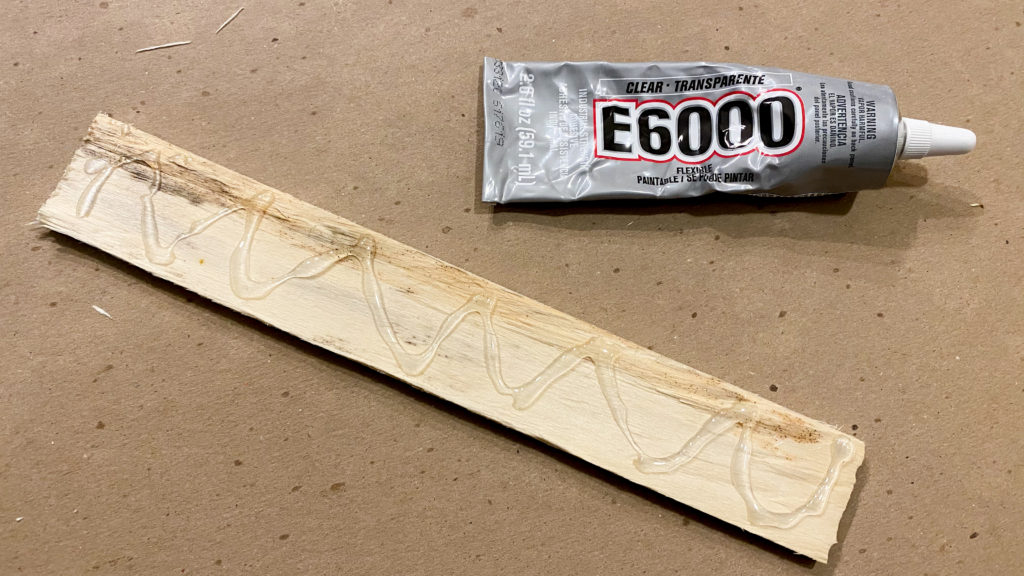
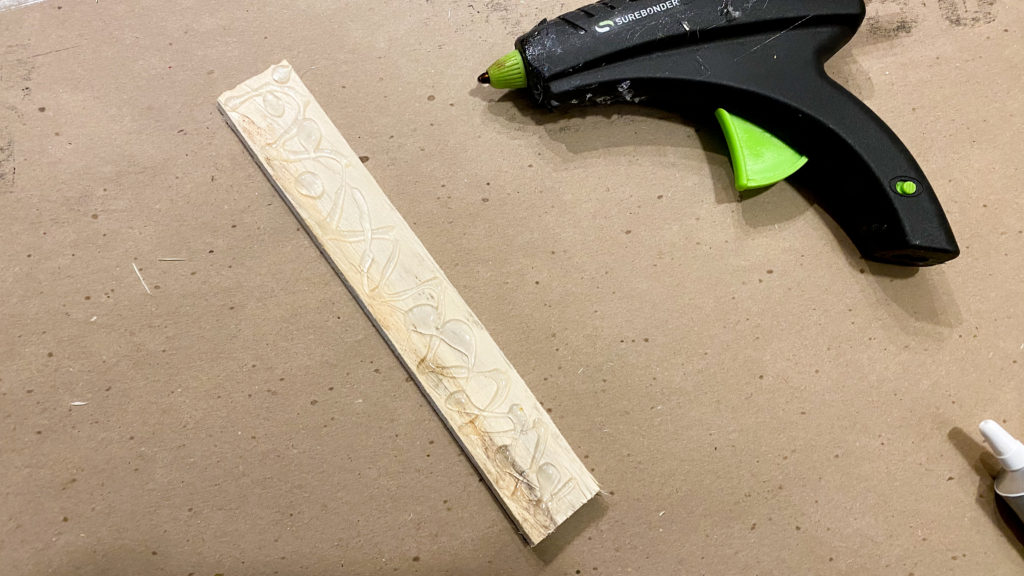
Once you have 4 braces cut, you can staple them or use a combination of E6000 and hot glue to secure them. The E6000 will give it a long term hold, while the hot glue will hold it immediately while the E6000 dries and sets. I attempted to staple at first, but my staples were not long enough. You will want 1/2 inch staples.
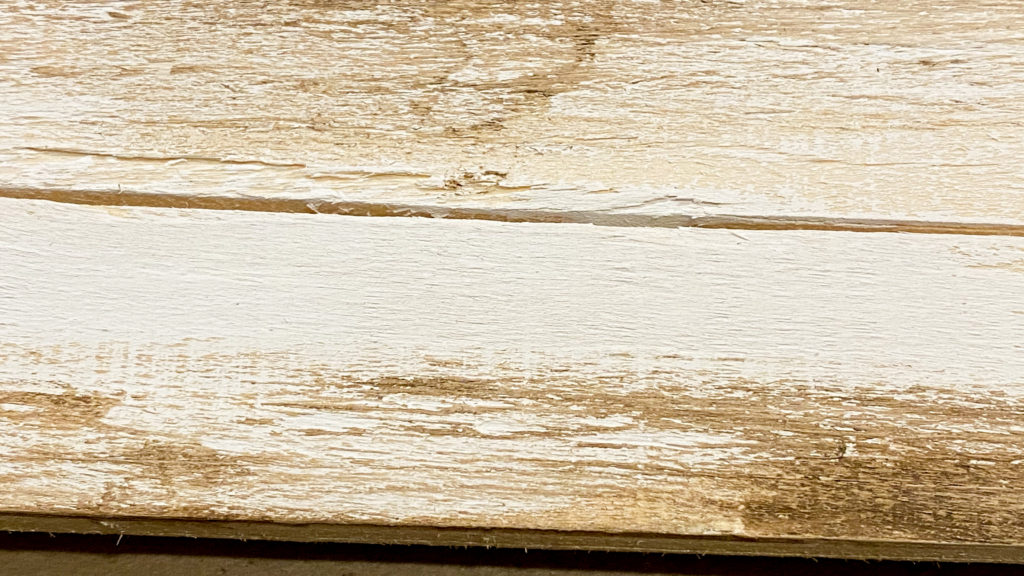
Once you sign base is assembles you can paint your sign, I dry brushed white acrylic pain on my whole sign, then I added a little Waverly Antique Wax to age the sign and give it some dimension. Set aside to dry.
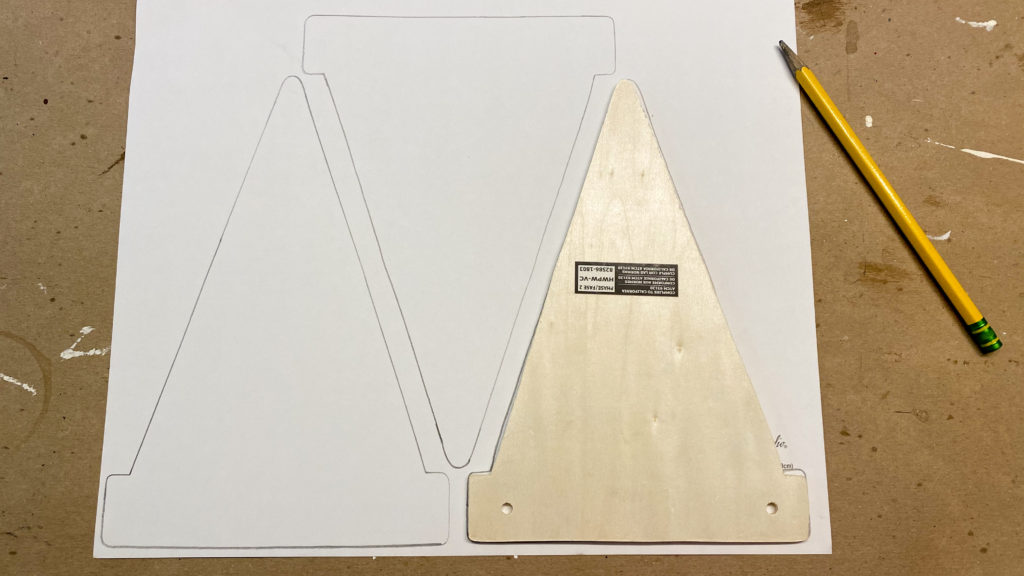
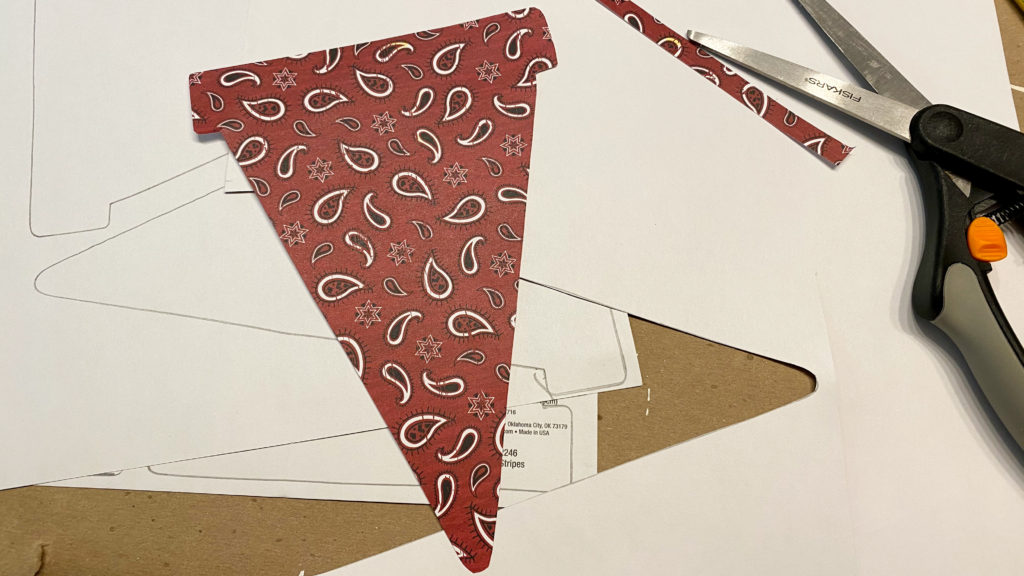
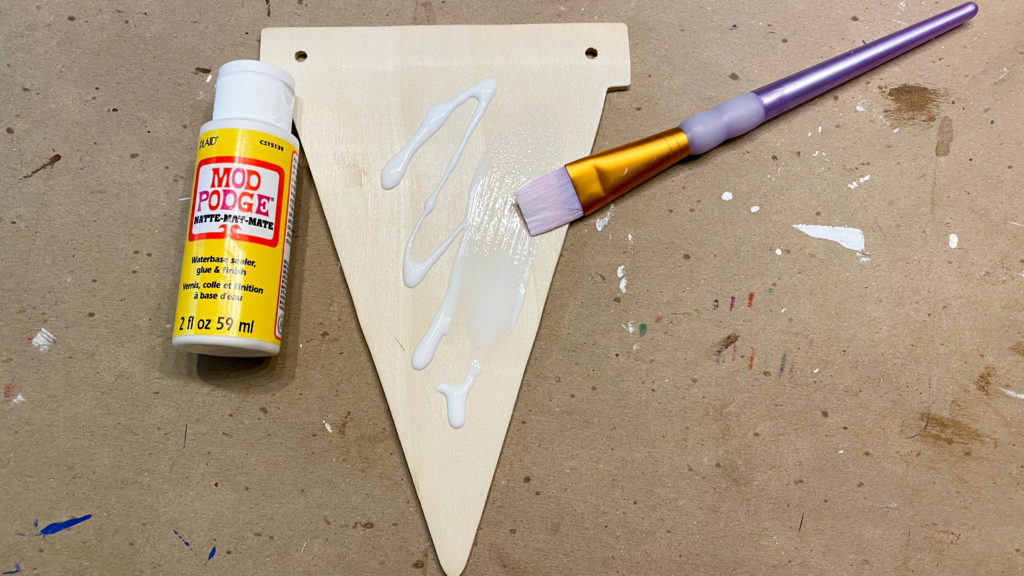
Now you an work on your banner flags. I found these at Michael’s on clearance. If you can’t find these, you could make your own out of cardboard. Trace you flag on the back of scrapbook paper of your choice. Cut out your flags and Mod Podge the paper to your flags.
Once your Mod Podge is dry, use a sanding block or sand paper to distress your edges and trim off and overlapping edges.
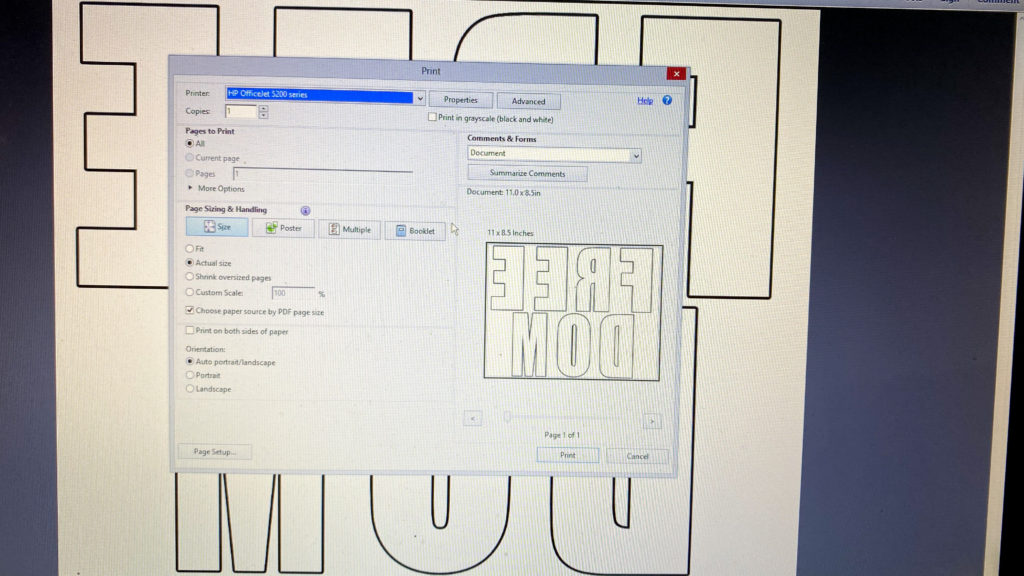
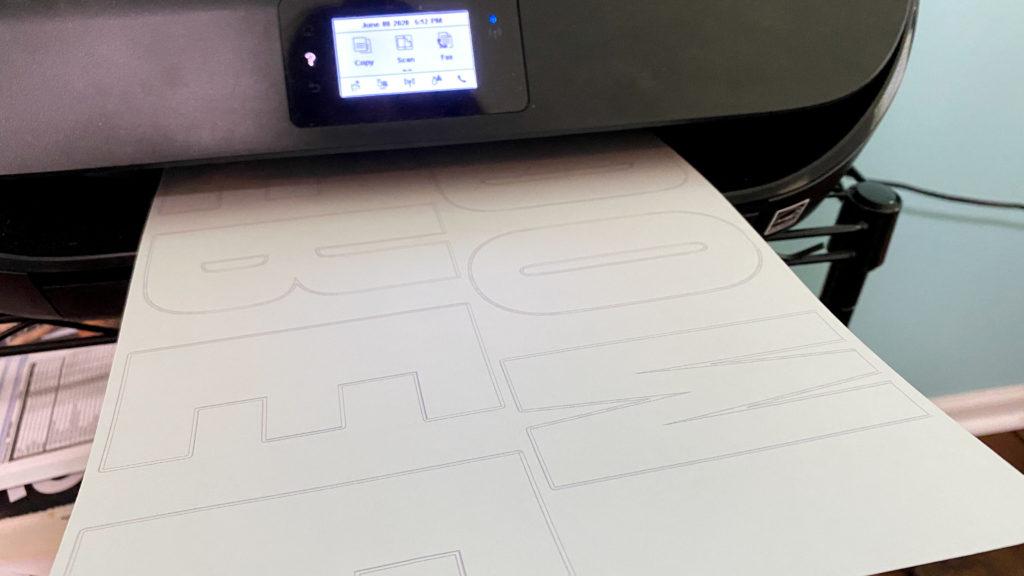
Now you will need your Free Printable Templet. You can download it below by clicking on the download button. Save it to your computer and print it on the back of your scrapbook paper.
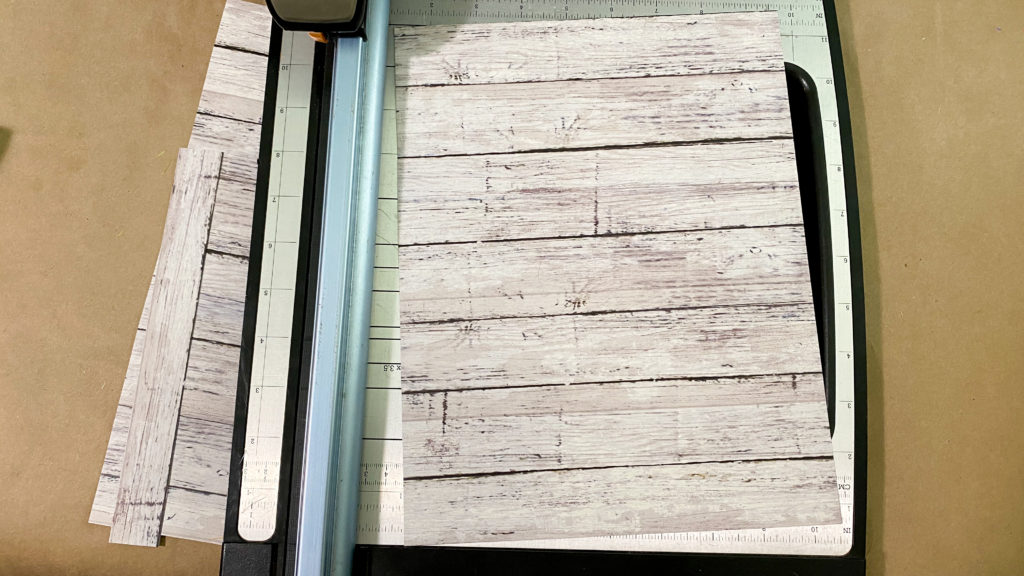
If you only have 12 x 12 inch paper, cut it down to 8.5 x 11 inches to fit into your printer.
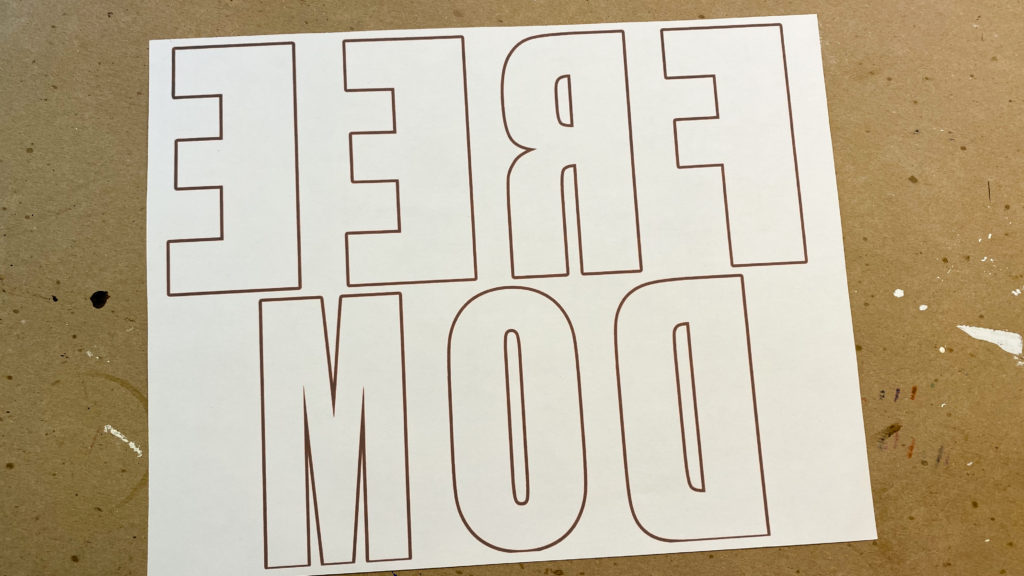
The letters are flipped backwards. They will print backwards on the back of your scrapbook paper. Once you cut them out and flip them over, your letters will be the correct way on the from side of your paper.
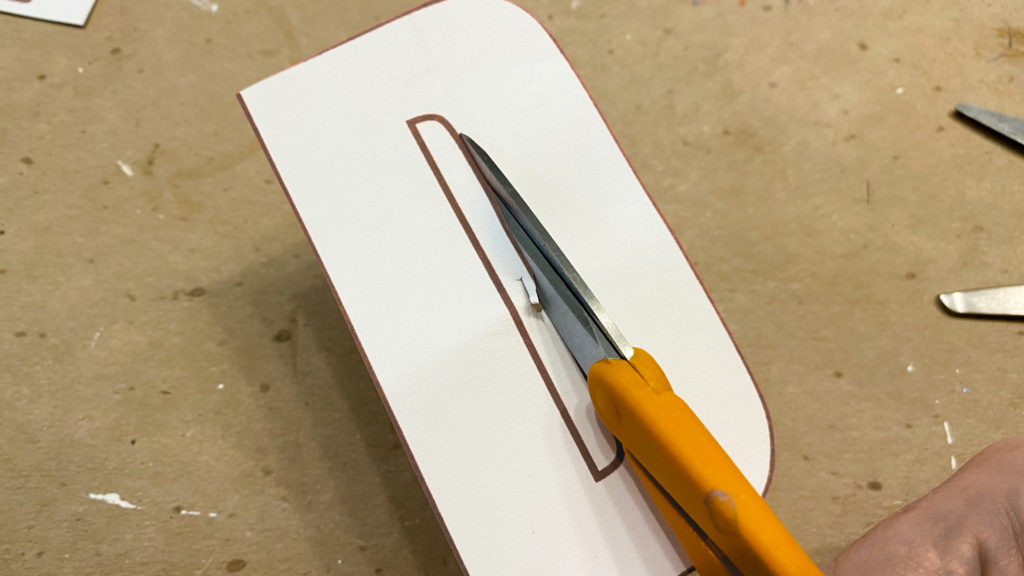
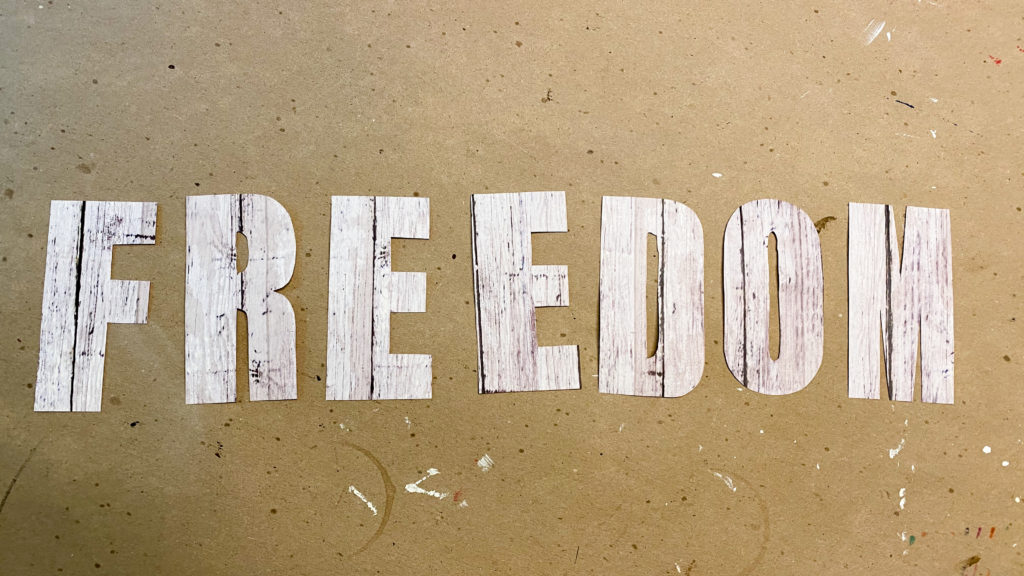
You will cut your letters out, it will be helpful to have a small pair of scissors to get into the small inside sections. Now Mod Podge your letter to your banner flags.
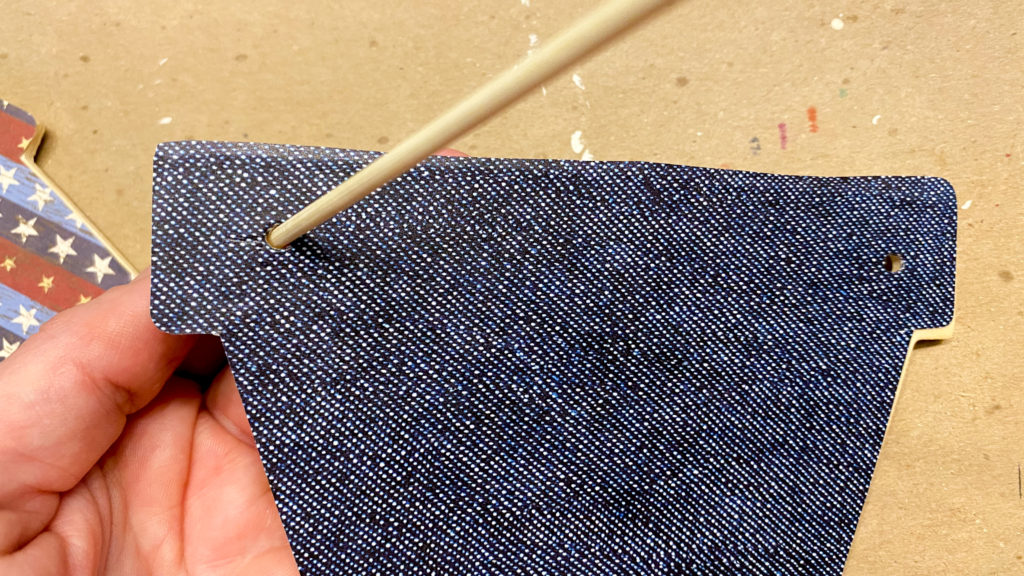
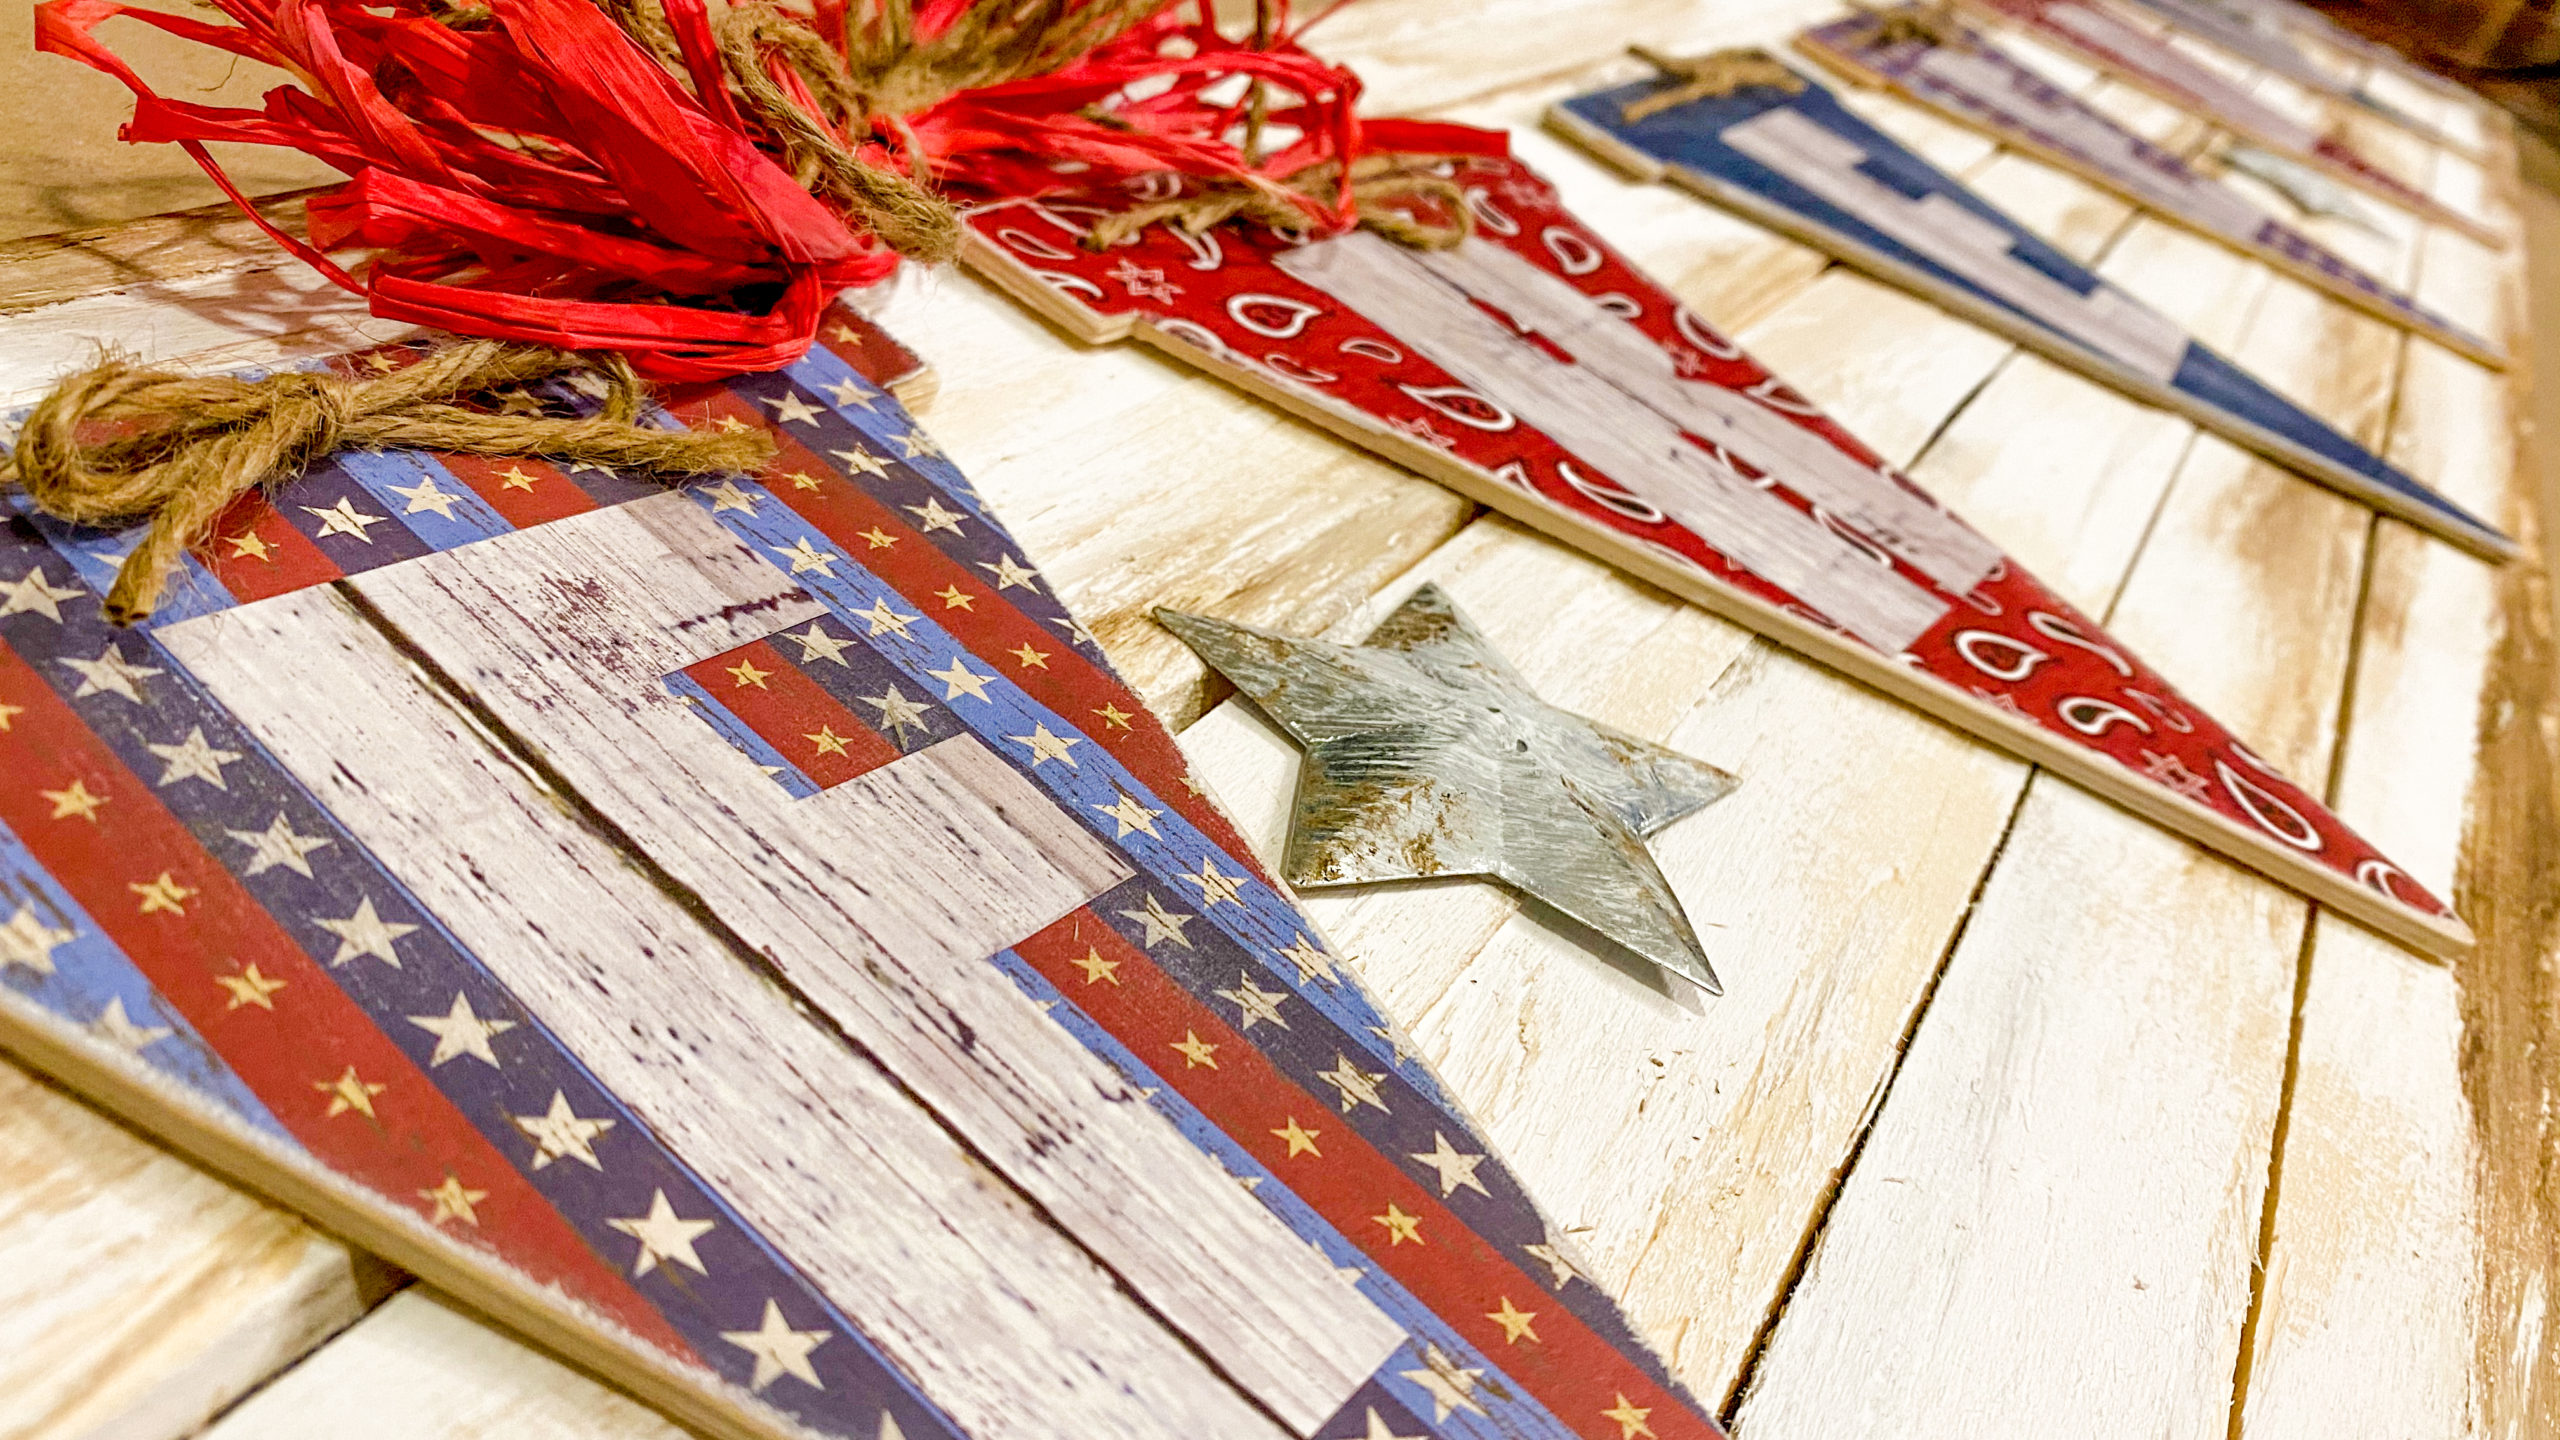
To embellish my banner flags, I put a piece of twine through the holes and tied a small bow on each flag. Use something pointy to poke a hole through the paper. I used a BBQ skewer.
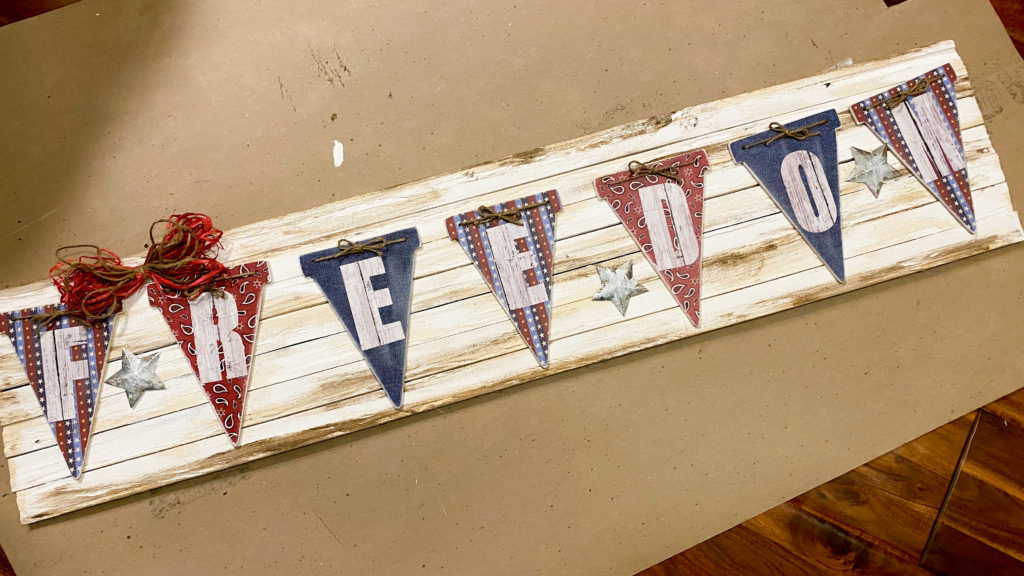
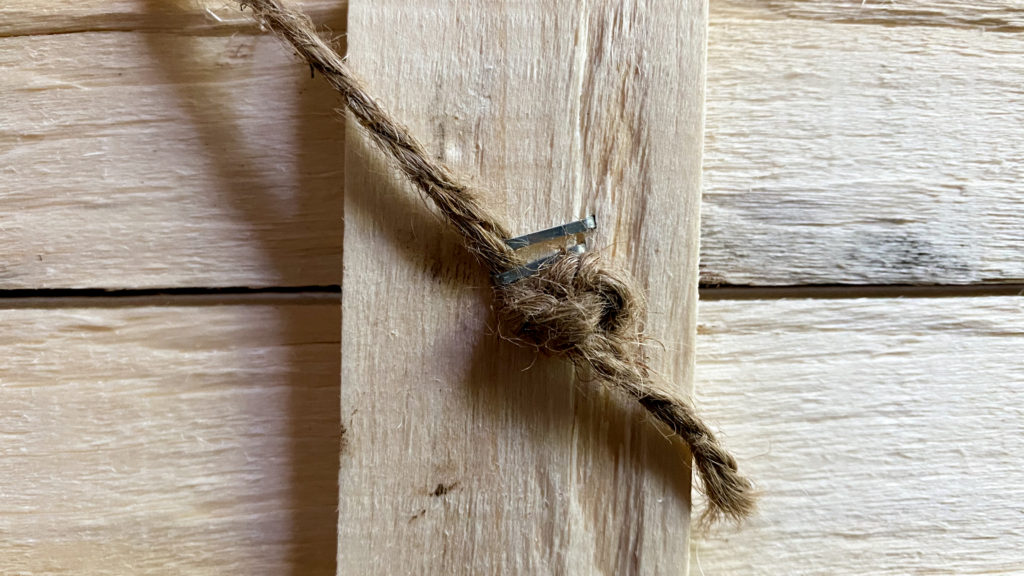
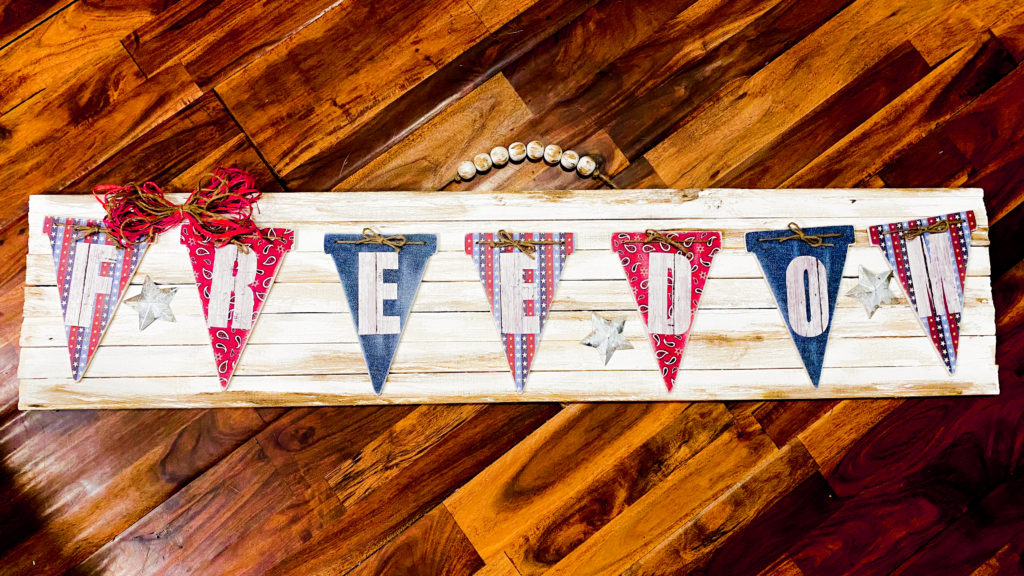
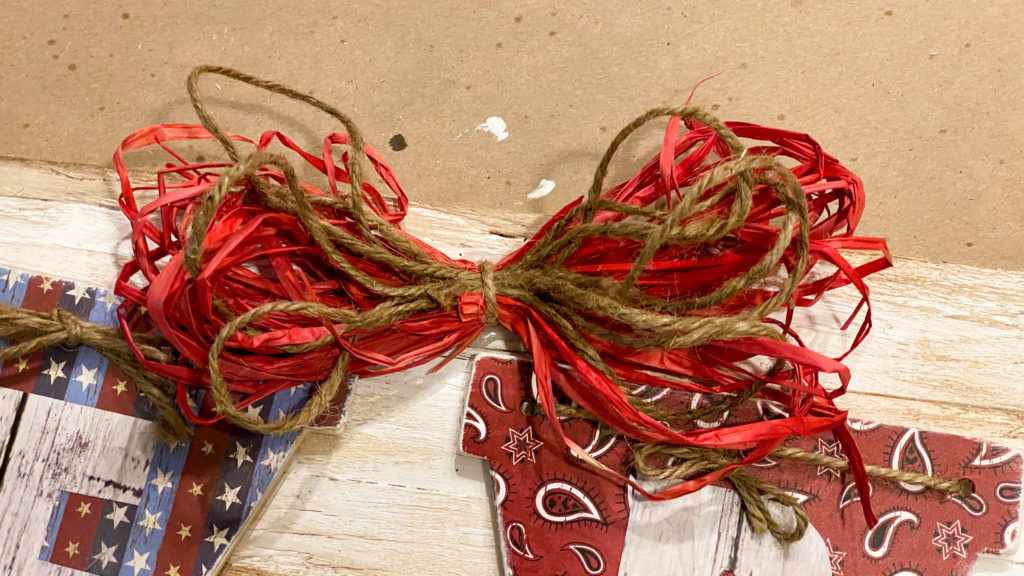
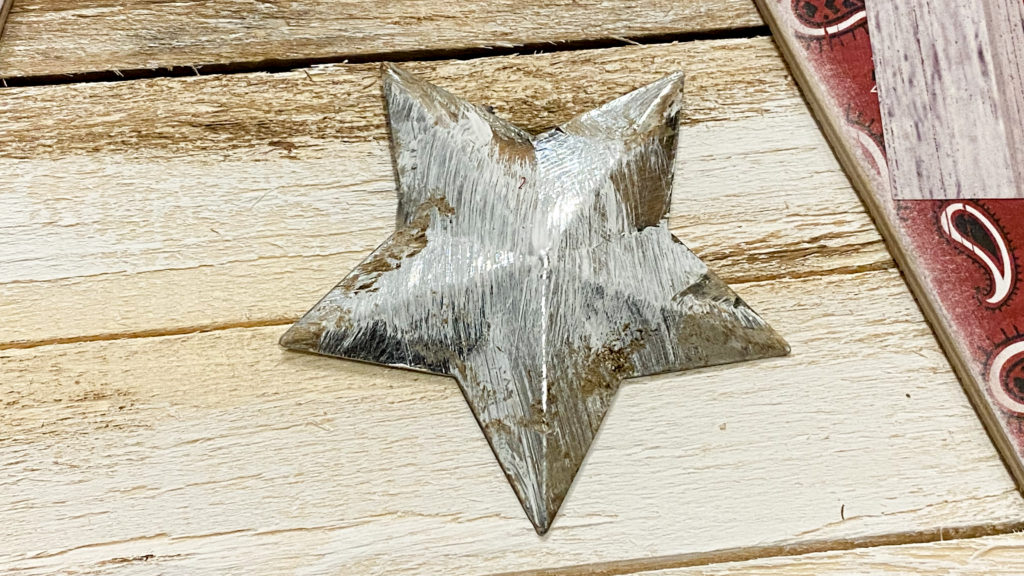
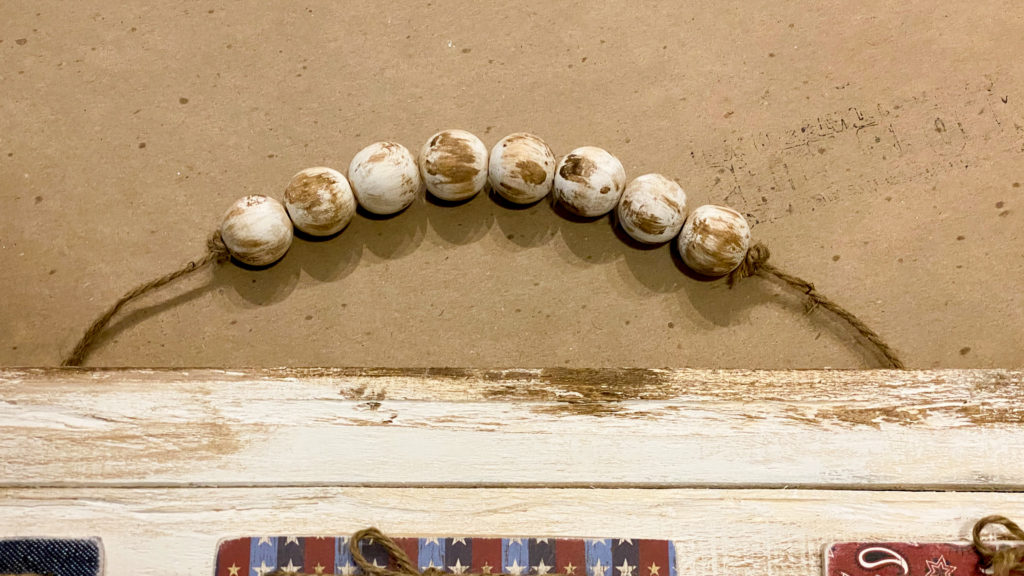
Now lay out your banner flags onto your sign along with any embellishments. Make sure your spacing is good before you start hot gluing them in place. I finishes off my sign with a raffia and twine bow and a wood bead hanger that I painted the same as my sign. I attached my hanger by tying a knot and stapling it to the back of my sign. I also used some metal stars I had left over from another craft.
Your sign is now complete! If you’d like to watch the full video tutorial click here. If you like this tutorial and would like to see more like it, you can click here to visit my Facebook page. Make sure to click the follow button while your there to see future craft and DIY tutorial.
woukd like tge printable
The printable is included in this post. You just need to click on the download button and print it.