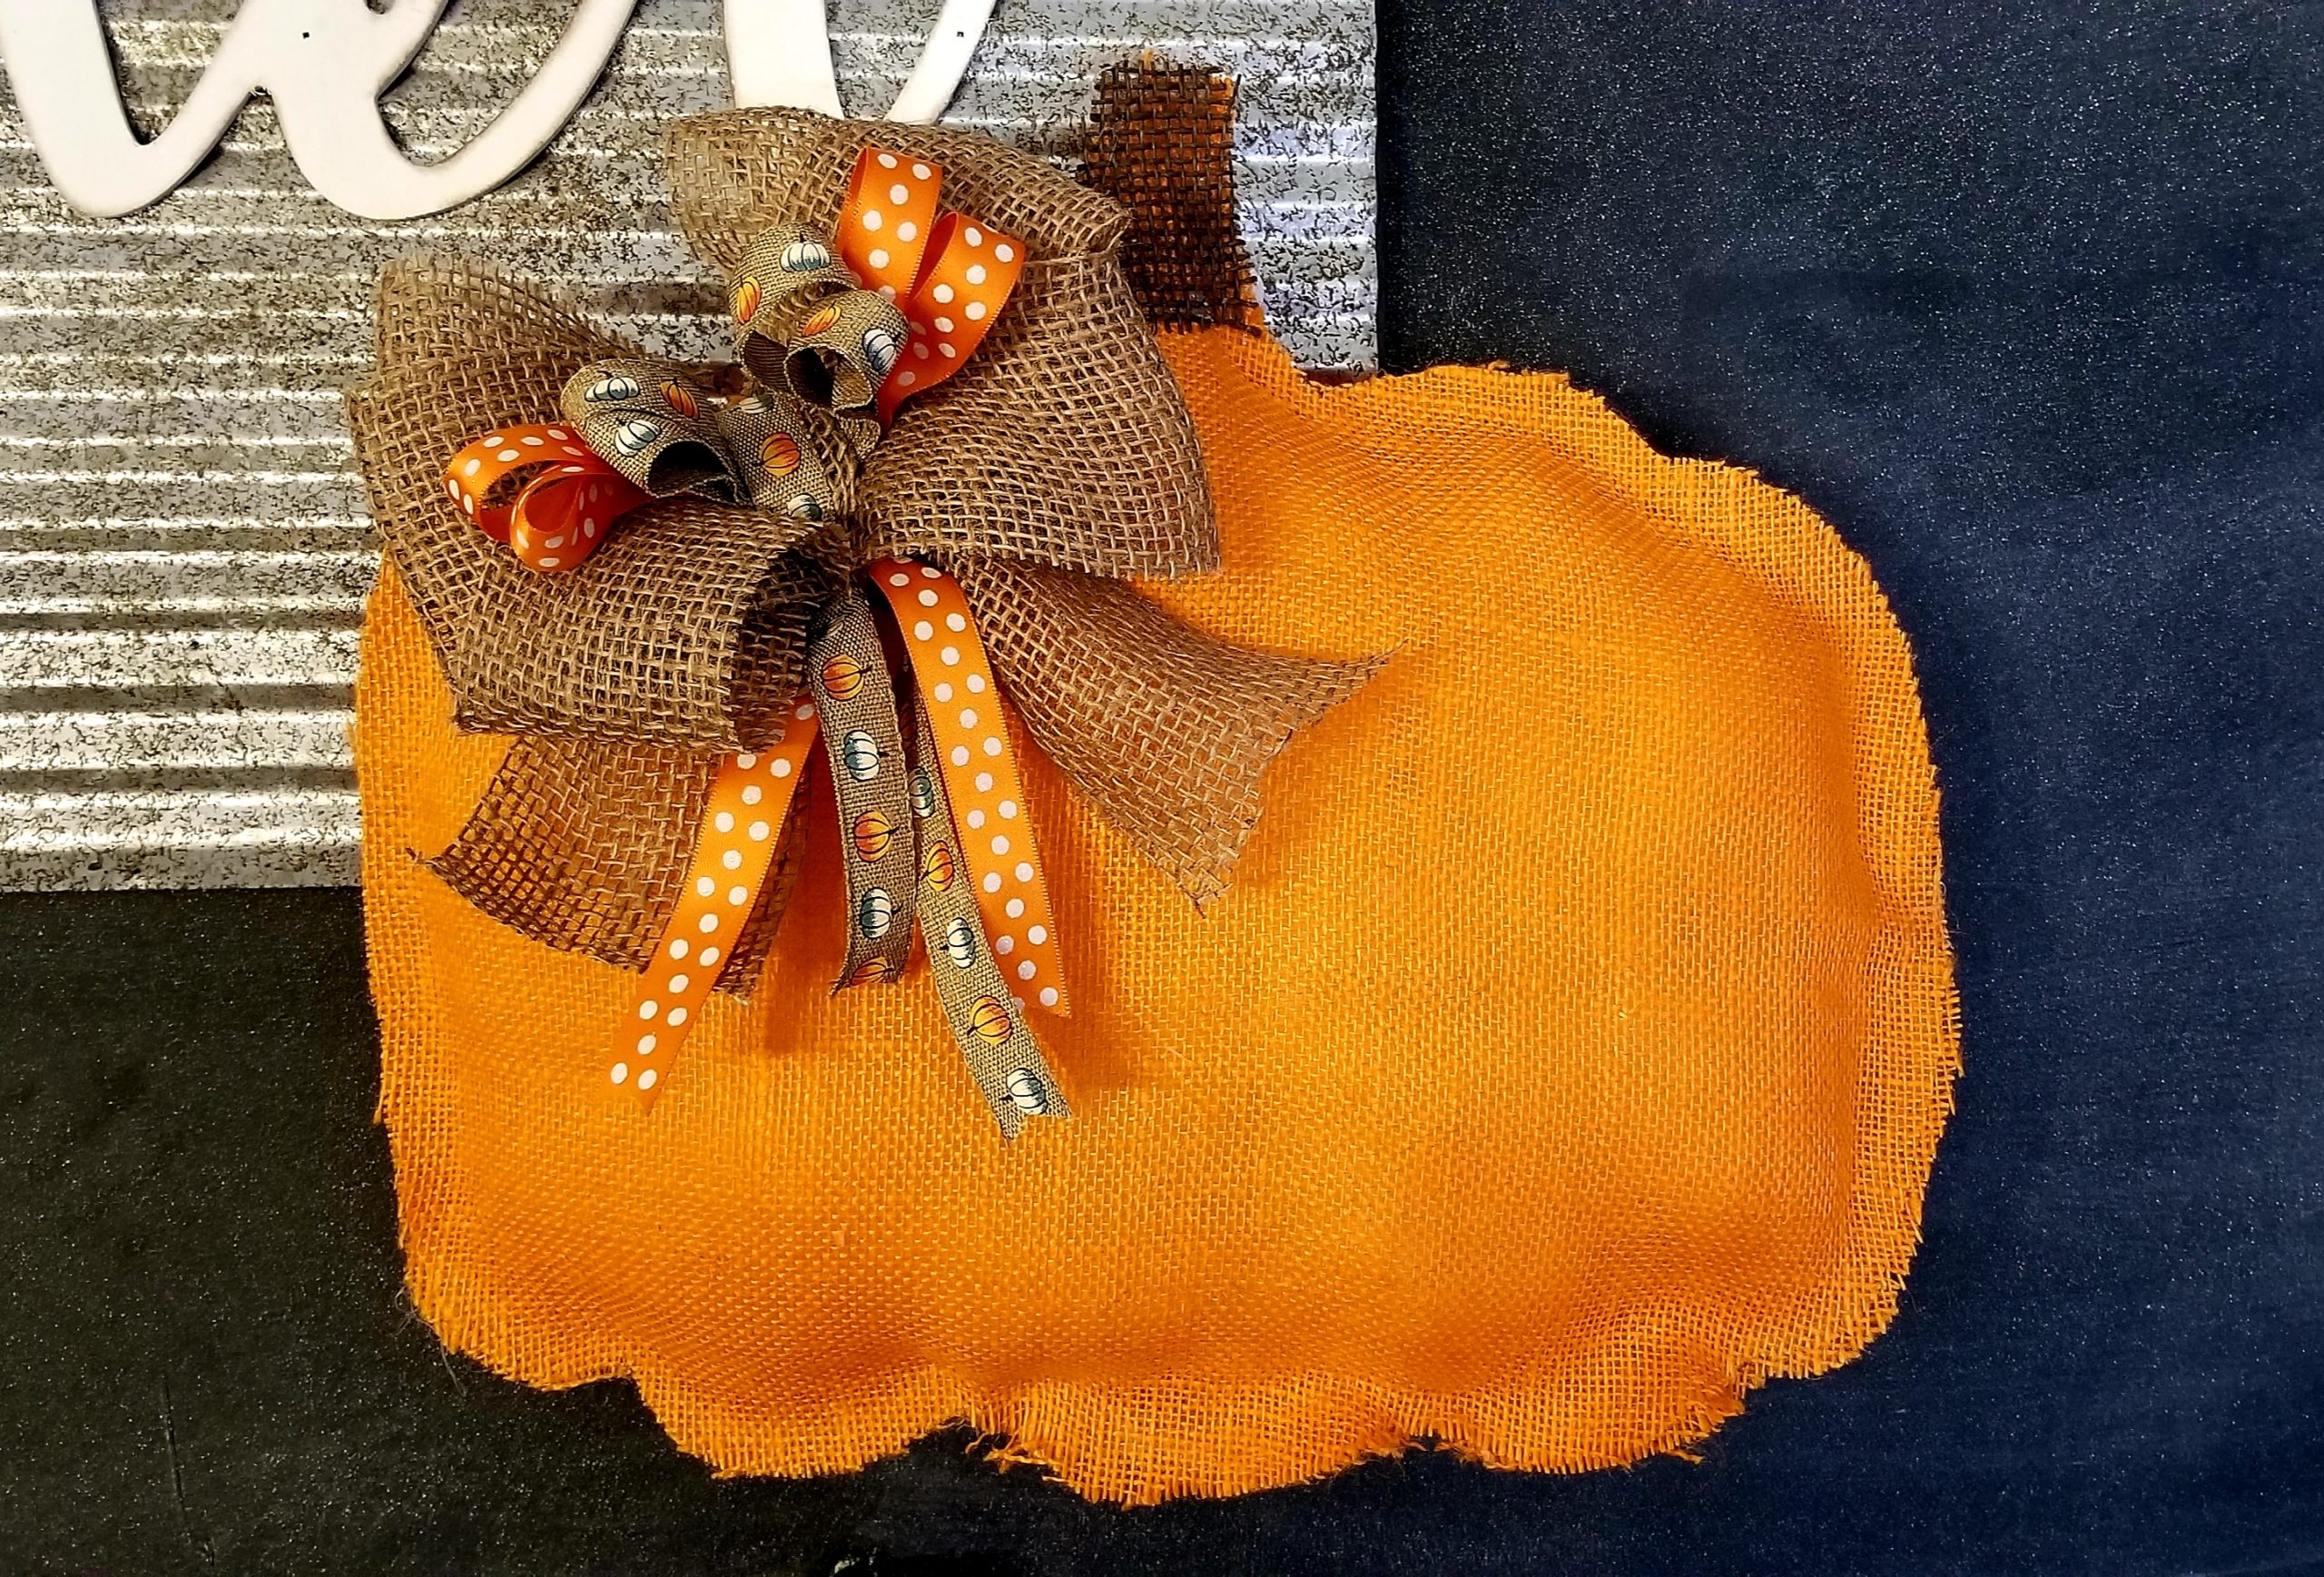
You can’t beat the fall cuteness that comes with this burlap pumpkin! I just love the way this turned out! It was originally going to be for my front door, but I decided I liked it hanging on my chalkboard wall with my gather sign, so there she hangs. Others have suggested you can just as cutely place it on a bench or chair as a decorative pillow! I think that is a great idea too!

This is what you will need to make a cute burlap pumpkin!
- Burlap
- Fiber fill
- Ribbon
- Dark brown burlap ribbon (Dollar Tree – optional)
- Twine or thick string of any kind
- Card stock paper, 3 pieces
- Hot glue gun and glue sticks
First you will need a template. I used this orange felt pumpkin I found at Dollar Tree. But you don’t need to go looking for this pumpkin unless you want to! I did you a favor and made you a template! Just print this template on card stock. You can use regular paper, but card stock will be easier to work with. Line up the marks on the three sheets, tape them together and cut out your template.


You will need two pieces of burlap at least 16″ x 18″. One piece for the front and one for the back. I used orange burlap that I got from Hobby Lobby it was originally $3.99 a yard, but I used a 40% off coupon, of what I used it was only about $1.00 for the fabric! Lay your two pieces of fabric out flat on the table. Use a couple straight pins to hold your pieces together.
Place your template on top of your fabric and trace around the template edges with a marker. Now cut out your pumpkin, cutting inside your lines to remove any marker marks from your pumpkin.

With your burlap pumpkin cutout still pinned together start gluing the edges of your pumpkin together starting from the stem at the top. Continue to glue around both sides leaving about a 5 inch opening at the bottom.
Now remove your pins and start adding your fiber fill a little at a time. Starting with the stem and working your way to the bottom of your pumpkin.

Once you have enough fiber fill in your pumpkin you can glue the bottom of your pumpkin closed.
I cut a small piece of dark brown burlap ribbon to cover my stem. You don’t have to do this step, but I think it is a cute little addition. The Dollar Tree sells this ribbon.
To dress up your pumpkin you will now create a bow. I used burlap ribbon from the Dollar Tree and decorative ribbon from Michael’s. You can use any ribbon you have to give it the look that you like. You can watch the live video of this tutorial where I give detailed instructions on making the bow. Hot glue your bow to the left of your stem.


Last you will add a piece of twine to the back to hang your pumpkin. I just tied a loop with a piece of twine and hot glued it to the back and it works perfect!
I hope you enjoyed this tutorial! Leave a comment and let me know what you think! For the full video tutorial click here.

This pumpkin is so cute! Thanks for the tutorial and pumpkin template.
I really enjoy your videos and craft ideas. Thanks for sharing!
Thank you, I’m glad you like the pumpkin and are enjoying the videos! I’m really excited about some of my upcoming crafts!