
Pine cones, pine cones everywhere! Let’s put those pine cones to good use and make this adorable pine cone flower art! I think almost every crafter has a bag, basket or box of pine cones sitting in their craft storage. If not, that’s OK, every craft supply store sells them. I got mine at Michael’s craft store on sale for about $3.00 for a whole bag. I have plenty for my project and a lot left over to make more pine cone creations.
Remember to check out the full video tutorial at the bottom of this page.

This is what is needed for this craft.
- 6-8 Pine cones
- Twigs about 6 inches long
- 1″ x 8″ piece of wood cut to 16″ length or any similar sign base
- Stain
- Paint, your choice of colors
- Side cutters
- E6000 clear bonding glue
- Hot glue gun and glue sticks
- Paint brush
- Twine or other material for hanging (optional)
- Ribbon (optional)

The first thing you will do is stain or paint your wood. I used the Craft Smart Premium Barnwood Brown Stain from Michael’s craft store, but you can use any color you choose. I just painted it on and did not wipe it off because I was going for a dark stain look. If you want a more faded look, wipe your stain off after applying it.


While you wait for your stain to dry you will get to cutting your pine cones. I found the best method for me was to use a small pair of side cutter and start from the top, cutting away at the pine cone until I got to the flower look I wanted. I tried to use a hand saw, but that didn’t work too well. for this step it may be helpful to watch the video tutorial here.

After all your pine cones are cut down to the size and look you like, you will paint them. I chose very neutral colors to match my home’s decor, but you can use any color you like. I used the Craft Smart Acrylic paint from Michael’s, but any acrylic paint you have will work just as well.

Once your wood stain is dry you will want to flip your board over and attach your twine string for hanging. This step can be skipped if you don’t plan to hang yours. I attached mine by tying a loop at each end of my twine and stapling them with two staples, one on each side of my loop. This will help to keep your twine from slipping out from under your staple. You could also drill a hole in the top corners of your board and tie your twine through the holes or attach a picture hook to the back.

Now flip your board right side up with your twine hanger at the top. You will want to lay out your painted pine cones and your twigs in a way that is pleasing to you. Trim your twigs to the right length using your side cutters.
When you have everything placed in a way that you like, you can start gluing. I used a combination of E6000 Bonding Glue and Hot Glue. The hot glue will give you a fast hold so nothing moves around while the E6000 dries to give you a long tern bond. put your E6000 on first, then add a few dabs of hot glue and put in place.

Last you can add a bow to your string if you would like. I use neutral color to match my paint color choices. For this bow, I just cut strips of ribbon, crisscrossed them, cutting each layer slightly shorter. After you have all your ribbon strips laid out just tie them with a piece of ribbon that matches your bow, I used my twine. Use the end of that ribbon to tie your bow to your twine hanger.

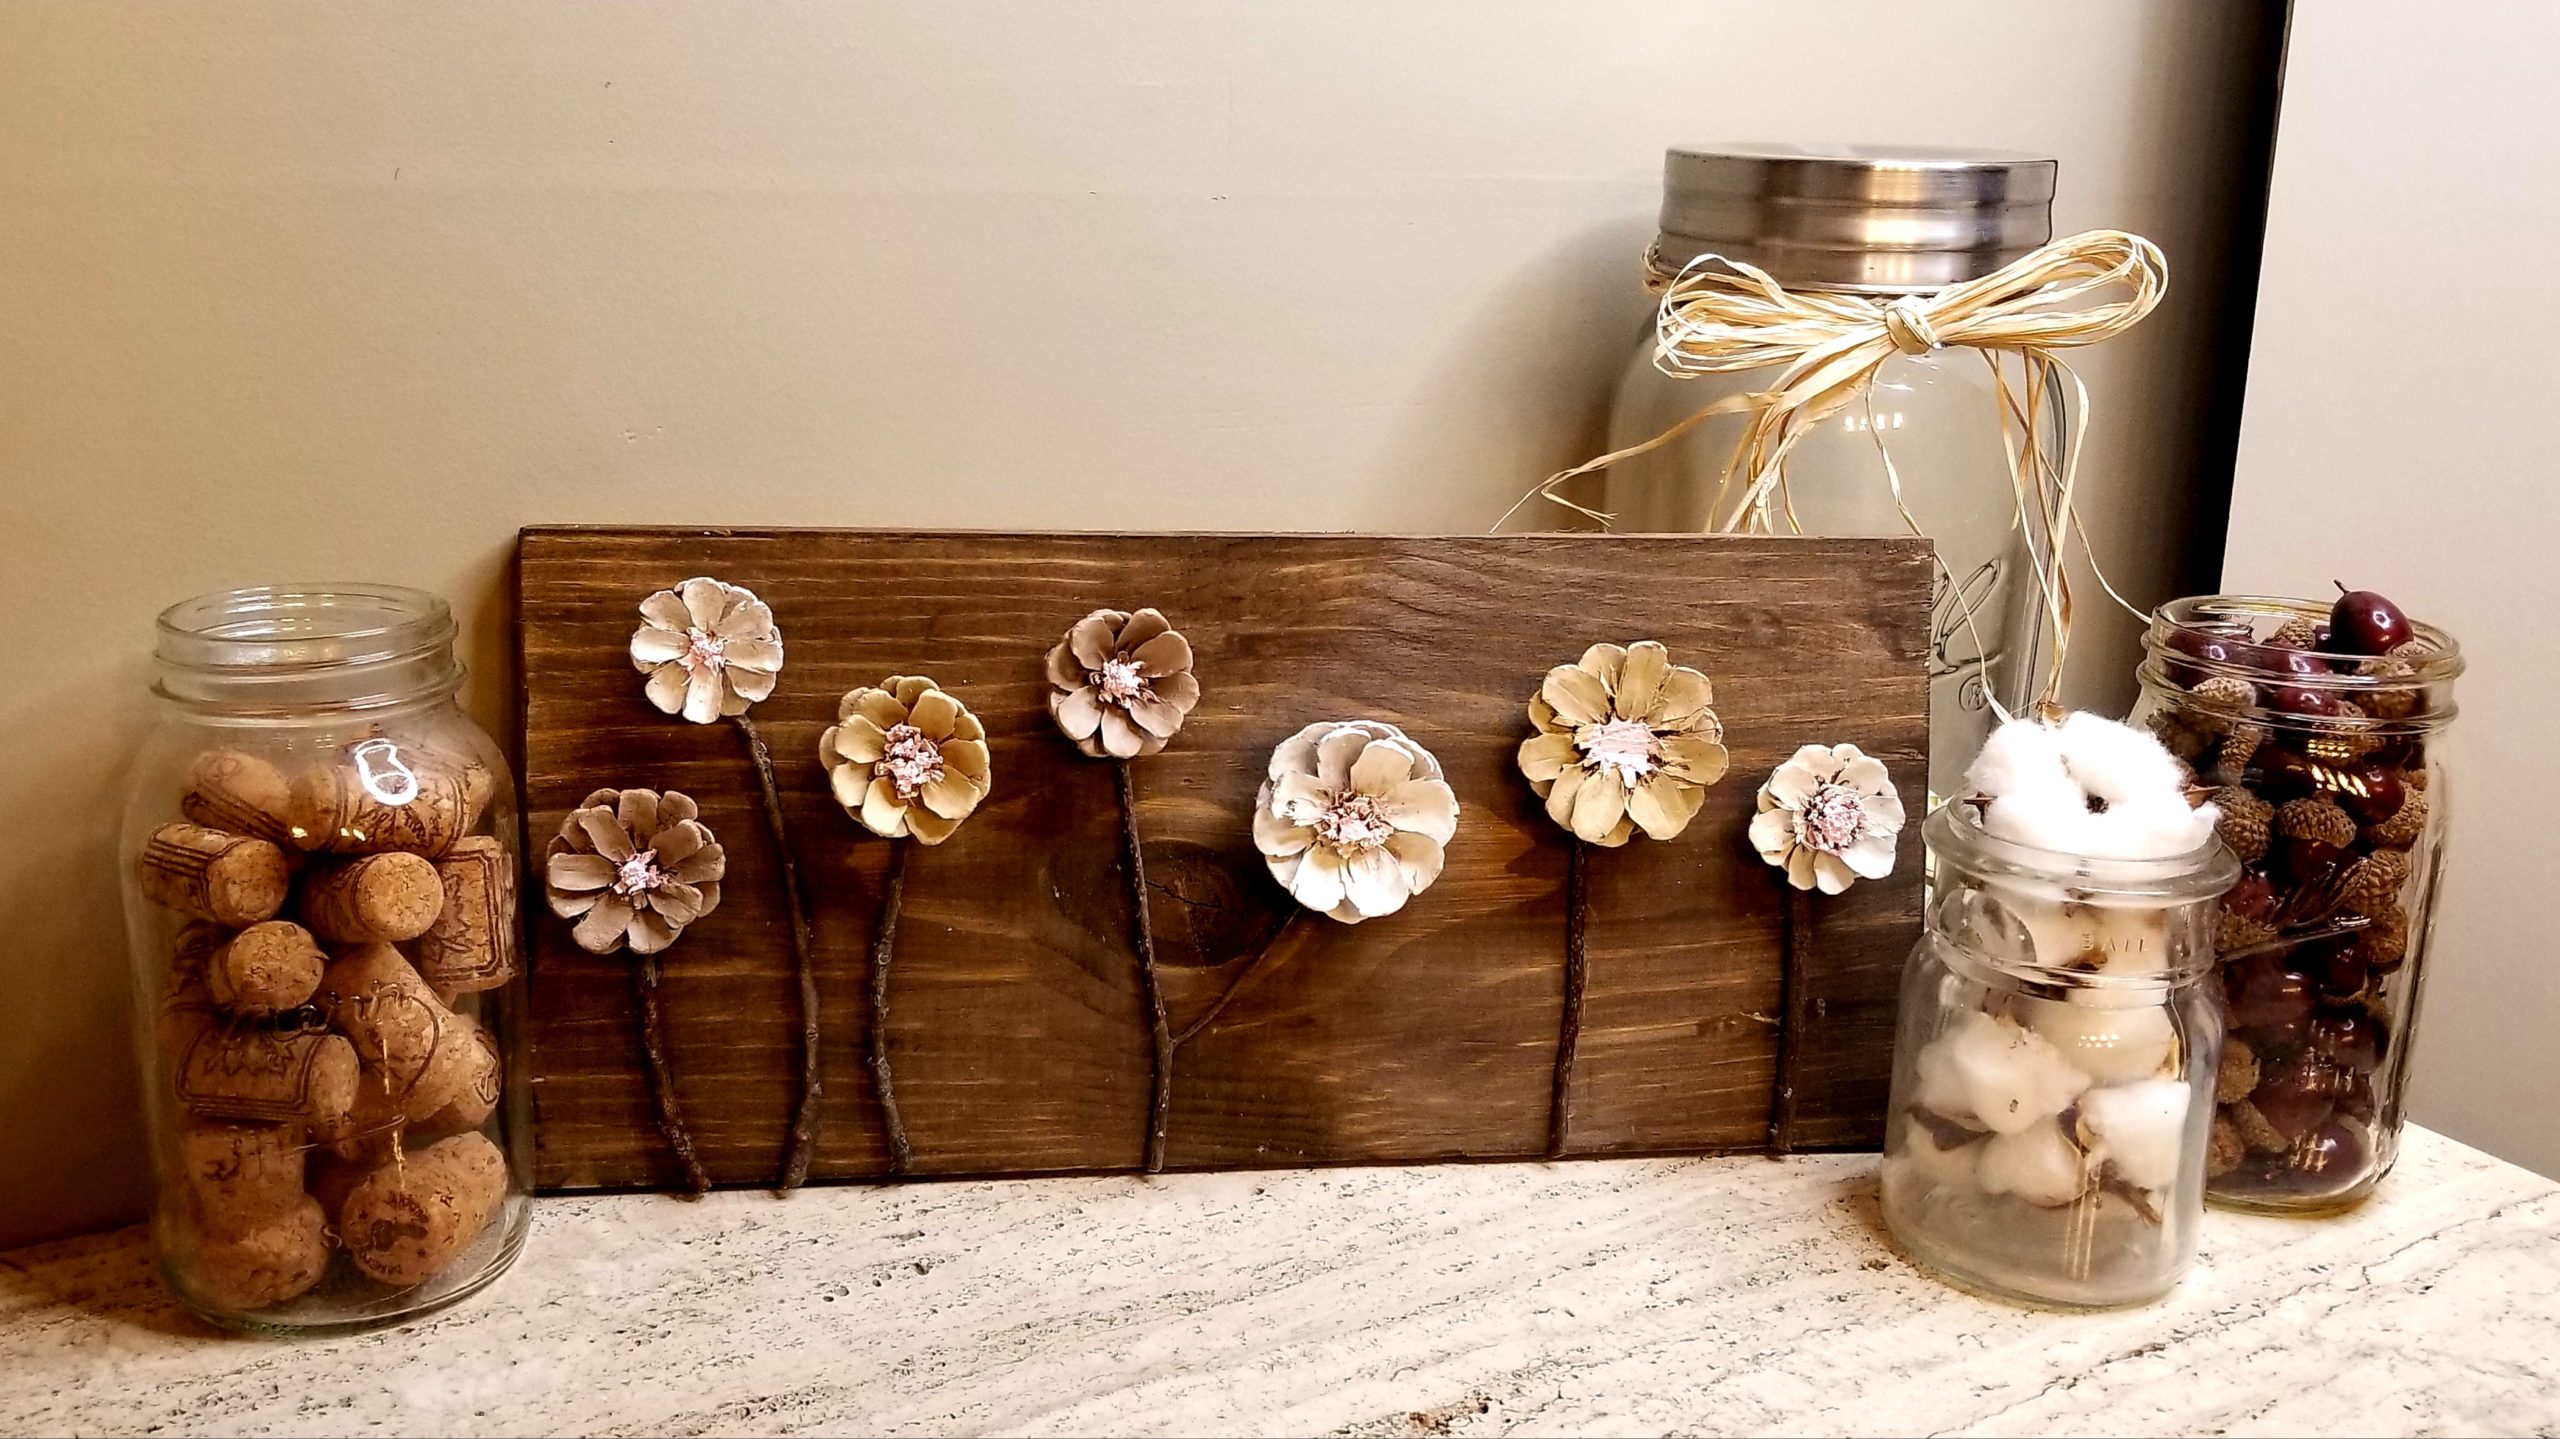
When creating this Rustic Pine Cone Flower Art, use the colors you like and lay it out the way you choose. As you can see in the photo below, there are so many possibilities. We did this craft at our ladies craft night and every single one turned out different and unique. I hope this tutorial gave you inspiration to create your own unique piece of art.

I’d love if you left a comment telling me what you think about this craft! To see the full Rustic Pine Cone Flower Art video tutorial click here.
I would like look for chip of woods . Any ideas make chip of woods
Are you talking about the wood shims? I would not be able to tell you how to make them other then using a saw, but you would have to be incredibly careful and very familiar with the use if power saws in this way.