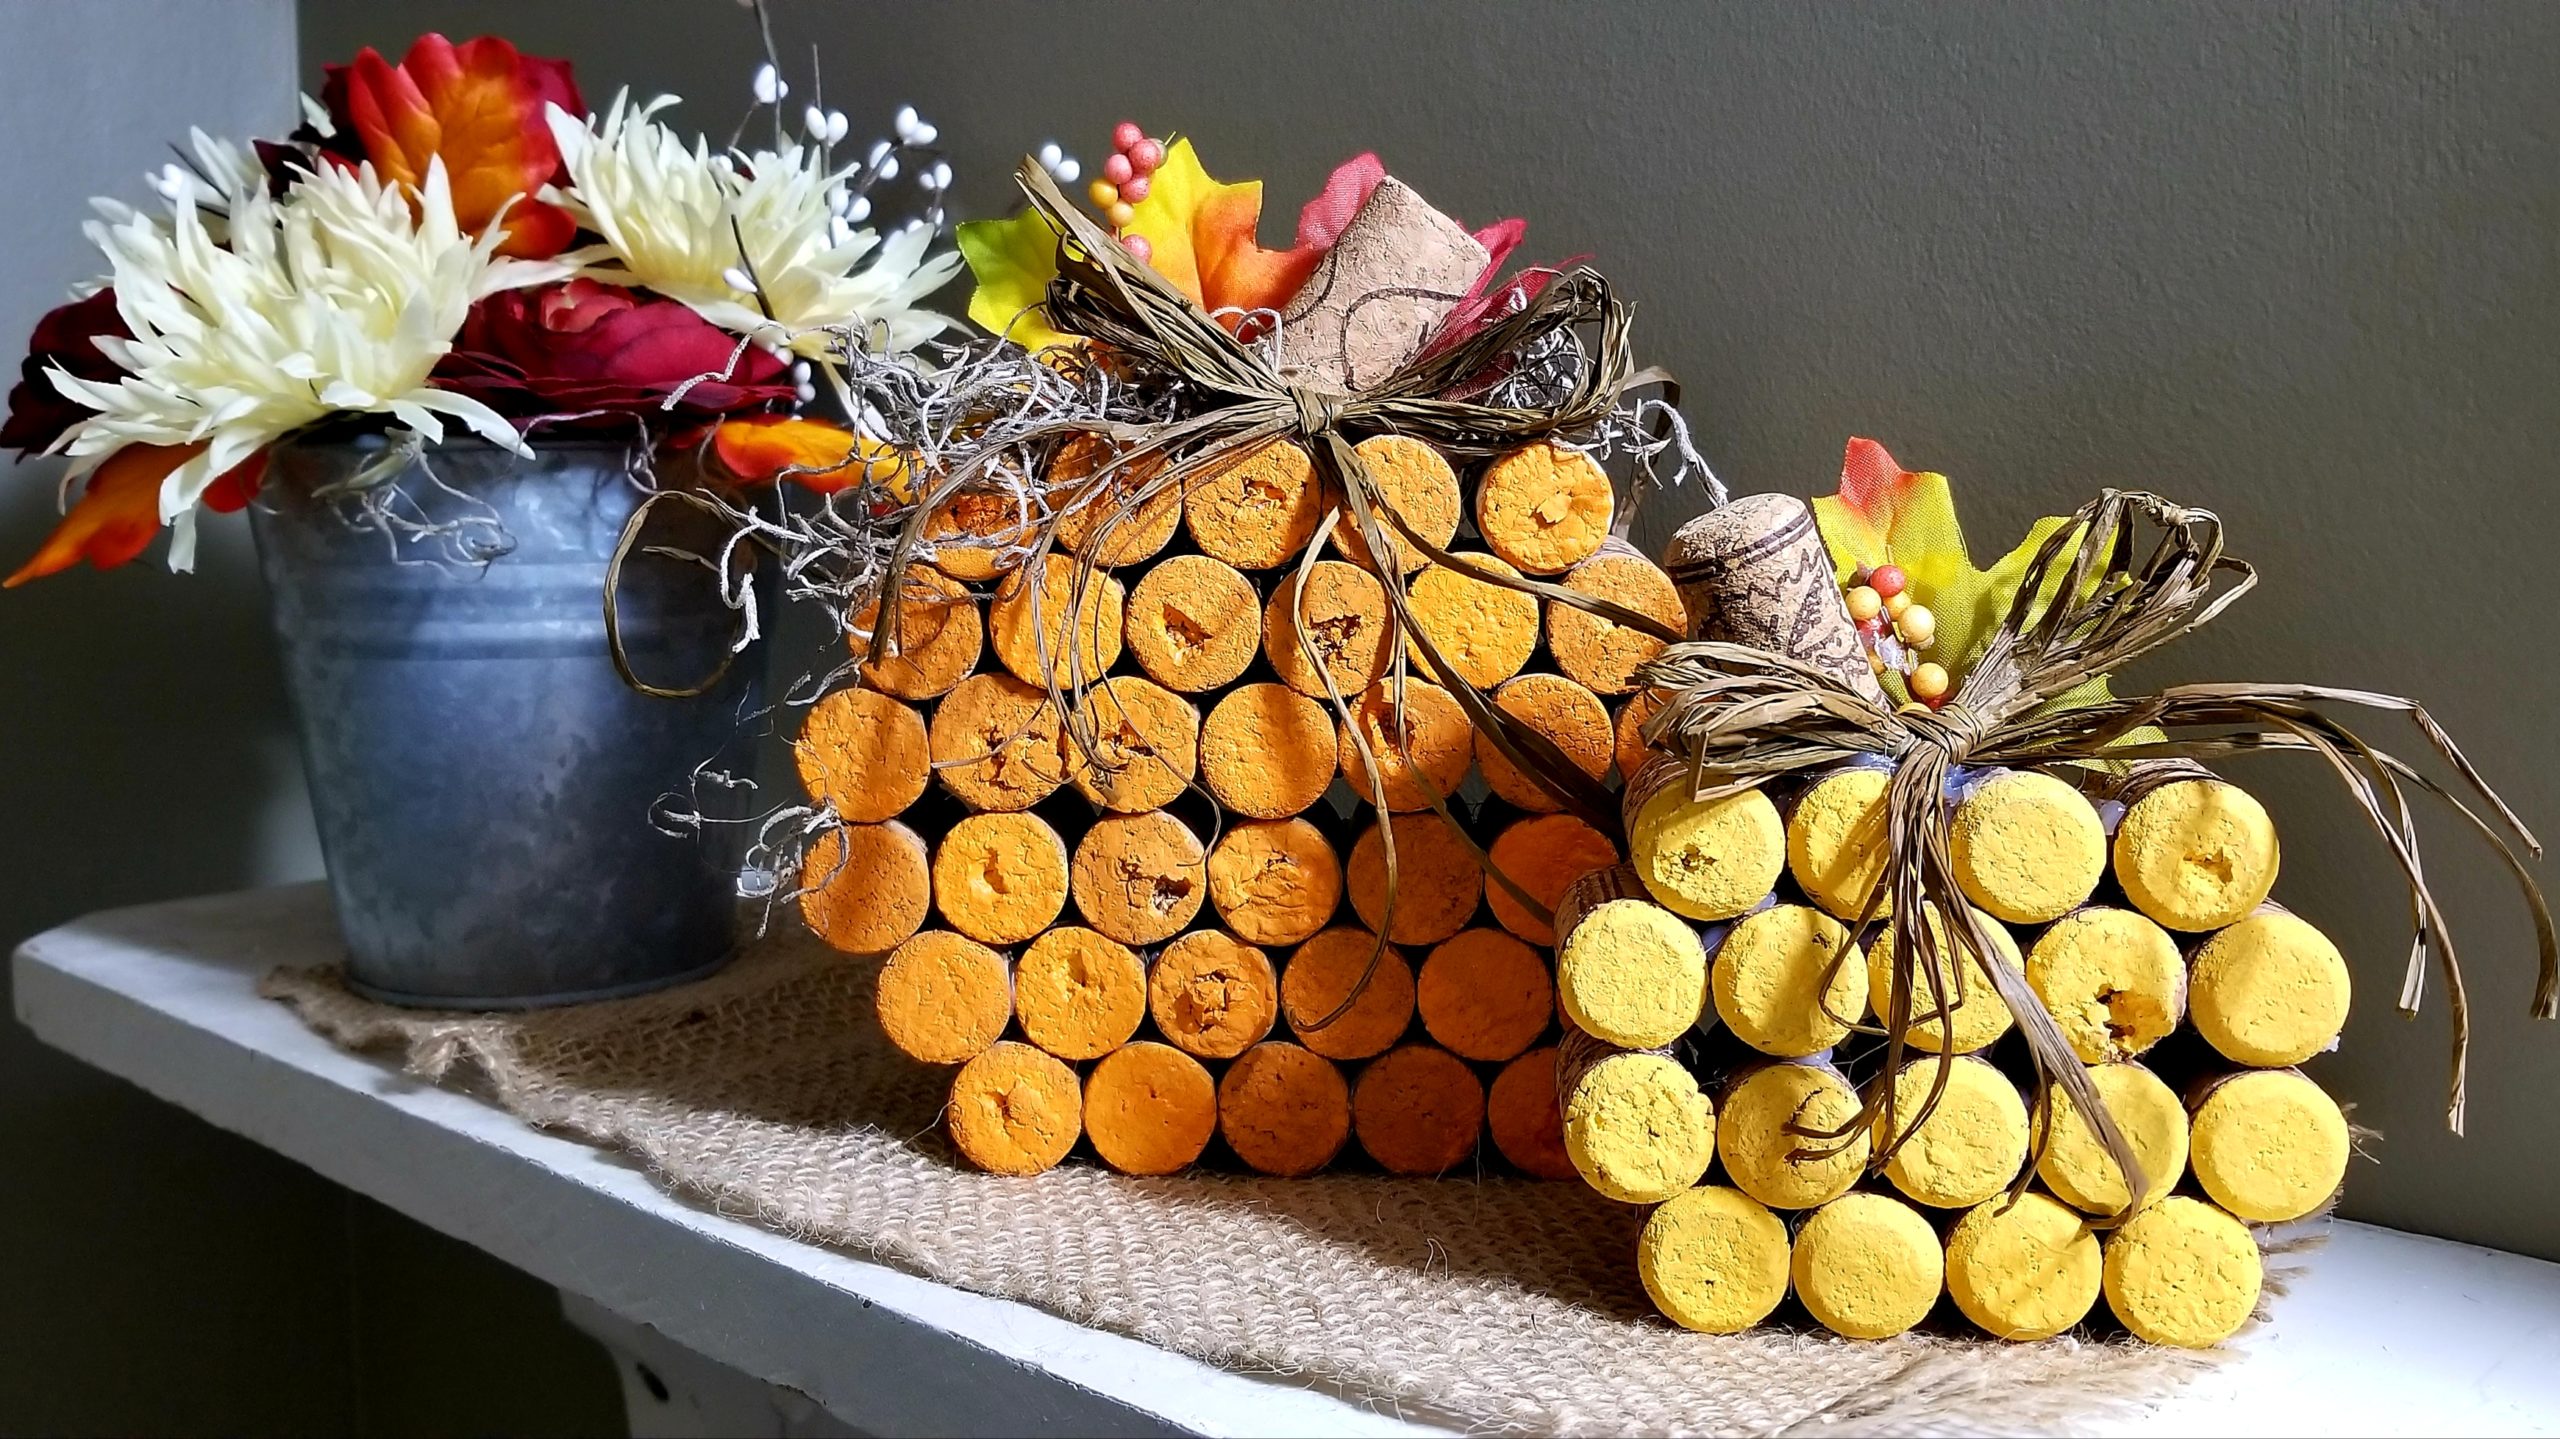
Grab a glass of wine and all those extra wine corks you have laying around the house and lets make a Wine Cork Pumpkin! Don’t have enough wine corks? Not a problem! Ask your friends and family to save them for you, but if they can’t or don’t… You can get wine corks at your local craft store!! Don’t forget to grab your coupons, you should never pay full price for things like this at the craft store!

This is what you will need.
- Wine corks (37 for a large pumpkin, 19 for a small pumpkin)
- Orange acrylic paint
- Raffia (or other bow making material)
- Decorative fall leaves (or fabric to cut your own leaves)
- Spanish moss (optional)
- Fall berry sprig (optional)
- Hot glue and glue sticks
- Scissors

First thing you will do is paint just the tops of all your wine corks with your orange acrylic paint. Be sure to remove any loose pieces of the cork before painting. Do not paint your cork that you are using for your stem, just set that one aside for later.

Once you have let your paint dry, you will start hot gluing your corks together. You will start with your bottom row and work your way up to the top. I suggest you watch the Wine Cork Pumpkin tutorial video to help explain in detail. For the large pumpkin from the bottom row up you will have 5,6,7,7,6,5 corks in each row. For the small pumpkin from the bottom row up you will have 4,5,5,4 corks in each row. It is helpful to lay out your pattern before you start gluing.


So at this point you should have all of your corks painted and glued together. Now you get to decorate the top! You will glue your stem on top of your pumpkin. I think its cute to off set the stem to one side a little and glue it at an angle. I used fall leaves and fall berry sprigs from the Dollar Tree, a little Spanish moss and a raffia bow. You can decorate it the same as mine or use anything you may have that you think is cute. This is the part where you can truly make it your own! you can see the detailed Wine Cork Pumpkin video tutorial here.

I hope you enjoyed this Wine Cork Pumpkin tutorial and would love to see photos if you create this cute craft! To see more of my creations follow Kristy’s Craft Room on Facebook.
