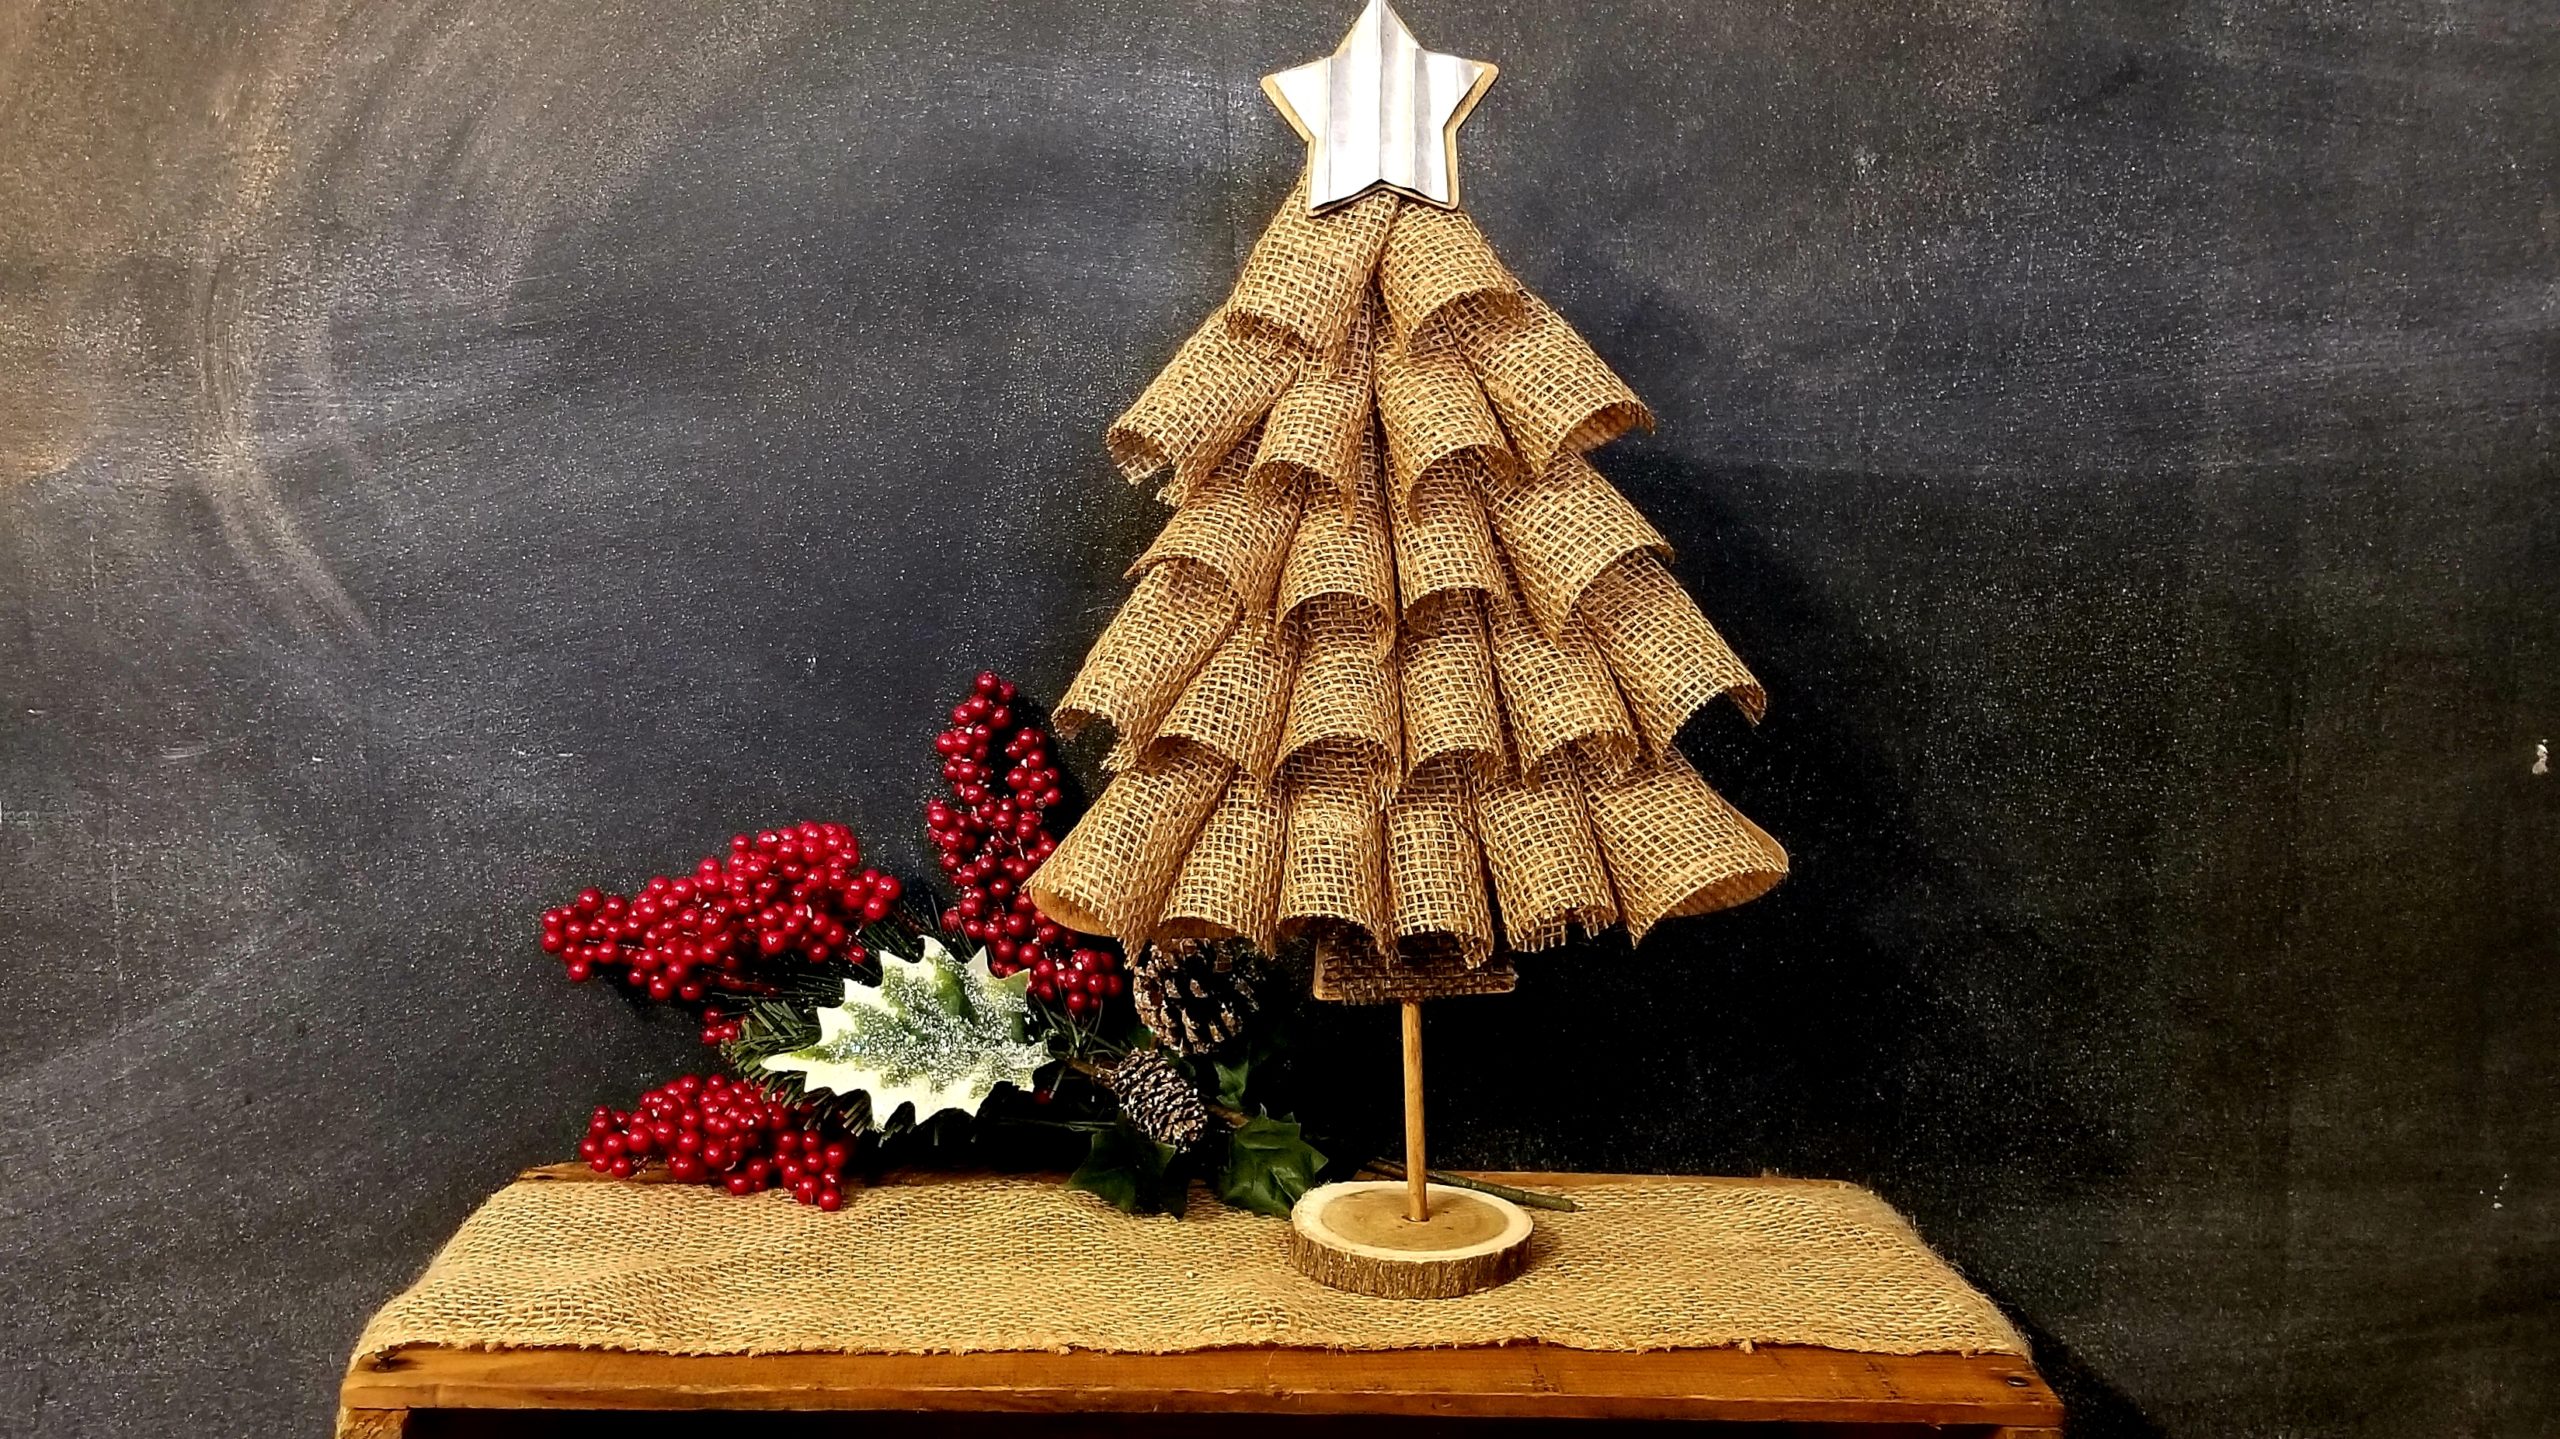

This has to be my very favorite Christmas Craft to date! It is easy, inexpensive and beyond gorgeous! It has the perfect mix of rustic and elegance all wrapped up into one tree.
You can watch the full video tutorial by clicking on the link at the bottom of the page.

Here are the things you will need to create this beautiful craft.
- Wood Tree Cutout, Dollar Tree
- 1 Roll light brown Burlap Ribbon, Dollar Tree
- Dark Brown Burlap Ribbon, Dollar Tree (optional)
- Brown paint, I used Craft Smart acrylic paint from Michael’s
- 6″ Dowel rod, Dollar Tree
- Scrap wood for base, I used a wood disk from Hobby Lobby
- Wood Star Cutout, Hobby Lobby
- Natural brown card stock
- Silver Paint, I used FolkArt Anniversary Silver from Michael’s
- Paint brush
- Scissors
- Hot glue gun and glue sticks
- E6000 bonding glue (optional)
- Drill
- 1/4 inch drill bit


So now that you have everything you need, lets get crafty!! The first thing you will do is stain your tree cut out, wood star and dowel rod. To do this I watered down my brown acrylic paint, 2 parts paint to 1 part water. Brush your homemade stain on with a paint brush then wipe it off with a rag or paper towel. If you use scrap wood for your base you may want to stain that as well. Set your wood pieces aside to dry for now.

Next you will get your light brown burlap ribbon and cut it into 3″ strips. You will need approximately 5 1/5 feet of ribbon for this. You will want 22 pieces of ribbon cut for this tree.


After you have all you ribbon cut you will hot glue your 3′ strips. Put a small dab of glue about a 1/2 inch from the edge in the middle of your 3 inch strip. bring one corner to the glue, add another dab of glue on top of the corner you already glued. Bring your other corner to the dab of glue. Hold until your glue sets. I used a mini clothes pin to hold it in place so I could move onto my next loop. Repeat these steps until you have all your ribbons glued. I highly suggest using a low temp glue gun for this step if you have one. Use caution if you are using a high temp glue gun!


It’s time to glue your ribbon lops to your tree. I started from the bottom row, working from the center of the out. Put a dab of glue on top of where you originally glued your ribbon together and attach it to the tree. You will start at the bottom of your tree and work your way one row at a time towards the top. From the bottom up here is how many I had in each row. 6, 6, 4, 4, 2. Once all your loops are glued on, set your tree aside to make your star. It may help to watch the video tutorial to better understand this portion. There is a link at the bottom of the page.

If you choose you can add a piece of dark brown burlap for the trunk of you tree. I got mine at Dollar Tree and just hot glues a piece over the trunk.


For your star, we will use my Faux Galvanized Metal technique. Take a piece or brown card stock slightly larger then your wooden star, paint it with the FolkArt Anniversary Silver acrylic paint. after your paint is dry you will fold the painted card stock back and forth repeatedly every 1/4 inch to give it a corrugated look. Flatten out your card stock and trace your wooden star. You will cut out your star about an 1/8 of an inch inside your traced lines. You may need to fix some of your creases for your corrugated look. Apply hot glue to the high folds on the back of your painted star and glue to your wooden star, centering it. Hot glue your assembled star to the top of your tree. To watch a full video tutorial on this technique click here.


Now you add your base. First you will glue the dowel rod to the back of your tree. I used a combination of hot glue and E6000 for a more durable long term hold. You could just use hot glue as well. Now drill a hole into the center of your base with a 1/4″ drill bit. fill this hole with a dab of E6000 (optional) and hot glue and insert your dowel rod. Hold until set. Your tree is complete!! I hope you love it as much as I do! I love feedback so please feel free to leave a comment sharing what you think about this tree. You can watch the full video tutorial by clicking here.
Follow Kristy’s Craft Room on Facebook here!
