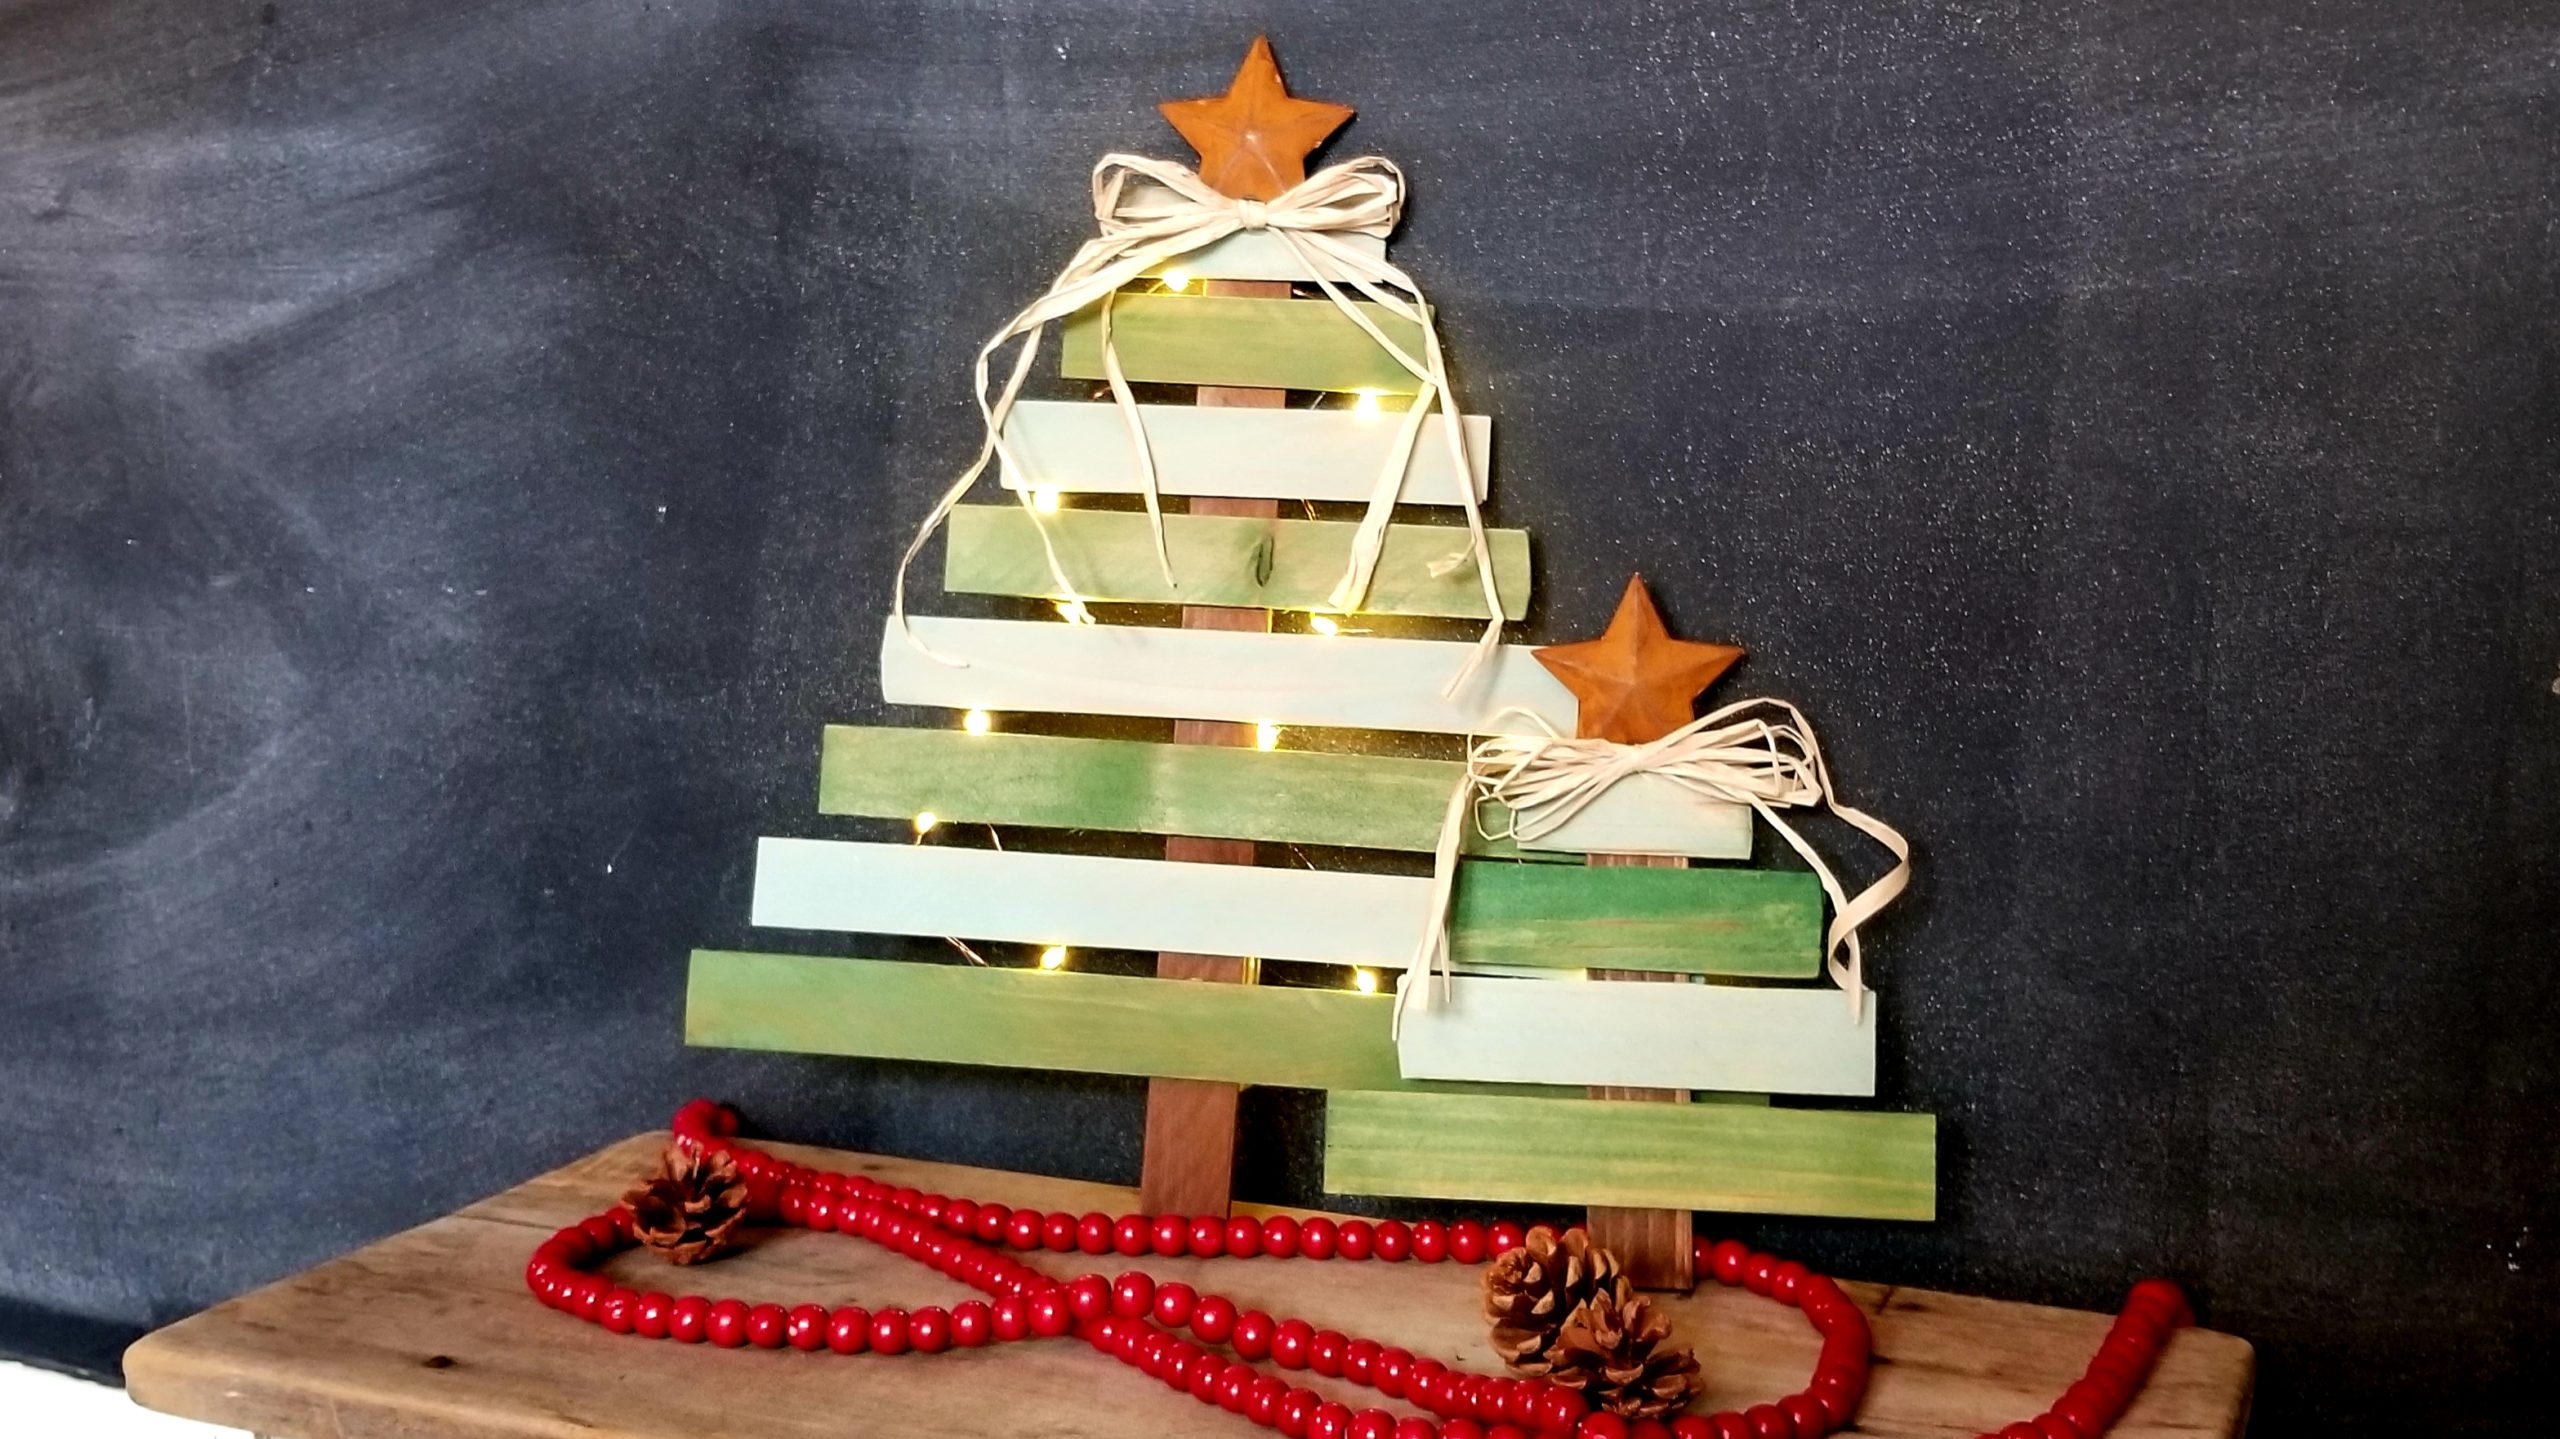
This is one of my favorite DIY crafts so far! I just love the way these trees turned out! They can be hung up on a wall or propped on a shelf. Either way they are an adorable complement to any country Christmas theme! The best part, they are made with construction shims so they are super affordable to make!

Don’t forget to click on the link at the bottom of this page to watch the full live video tutorial for this DIY craft.
Here is what you will need to make these Country Christmas Trees.
- Construction shims, large ones for a large tree or small ones for a small tree.
- Acrylic paint, I used Craft Smart Brand brown, sage green and olive green
- Raffia
- Side cutters
- Hot glue and glue sticks
- E6000 bonding glue (optional)
- Star, I got mine at Hobby Lobby, but you can use any star.
- LED lights (optional)

The first thing you will do is lay out one shim as the trunk of your tree. Next lay shims across your trunk leaving a small space between each shim. You will trim each shim little shorter then the one before, starting from the bottom. You will not trim your bottom shim. You will leave a part of your tree trunk sticking up at the top of your tree to add your bow and star to. For the large three I used a total of 9 shims and for the small tree I used a total of 5 shims.


I used a pair of side cutters to trim my shims. You don’t want to just cut straight through, you want to easy your way through. I pinched about half way through on one side then the other. I switched from side to side pinching with the side cutters and bending the shim until it separated. To see the detailed video tutorial click here to watch.


Once all your shims are trimmed you can paint your shims. I watered my paint down. Two parts paint, one part water. Brushed it on then wiped it off with a rag. This method will give you a stained wood affect that allows the wood grain to show through and really complements the country look for these trees.

After your paint is dry you can use hot glue or E6000 bonding glue to glue your wood pieces together. Hot glue will be fine if you just plan to use these trees inside. If you plan to use them outside you will want to use E6000 to give it long term durability the can withstand temperature changes.


Next you can add a raffia bow and a star to the top of your tree. My star was from a pack of 6 I got from Hobby Lobby on sale for $3.50. I use a pair of pliers to remove the hanging loop. My raffia was from Dollar Tree

If you choose to, you can attach LED lights to the back of your tree. I used lights from the Dollar Tree. You can either use a low temp hot glue gun for this or you can use the E6000 bonding glue and a piece of tape to hold them in place until the glue dries. DO NOT USE A HIGH TEMP GLUE GUN FOR THIS STEP.

To hang your tree all you need to do is tie a loop with a piece of twine and glue it to the back of your tree.

I hope you found this tutorial helpful and these trees as adorable as I do! You can watch the full live video tutorial by clicking here.
For more DIY crafts like this check out my Facebook page Kristy’s Craft Room.
