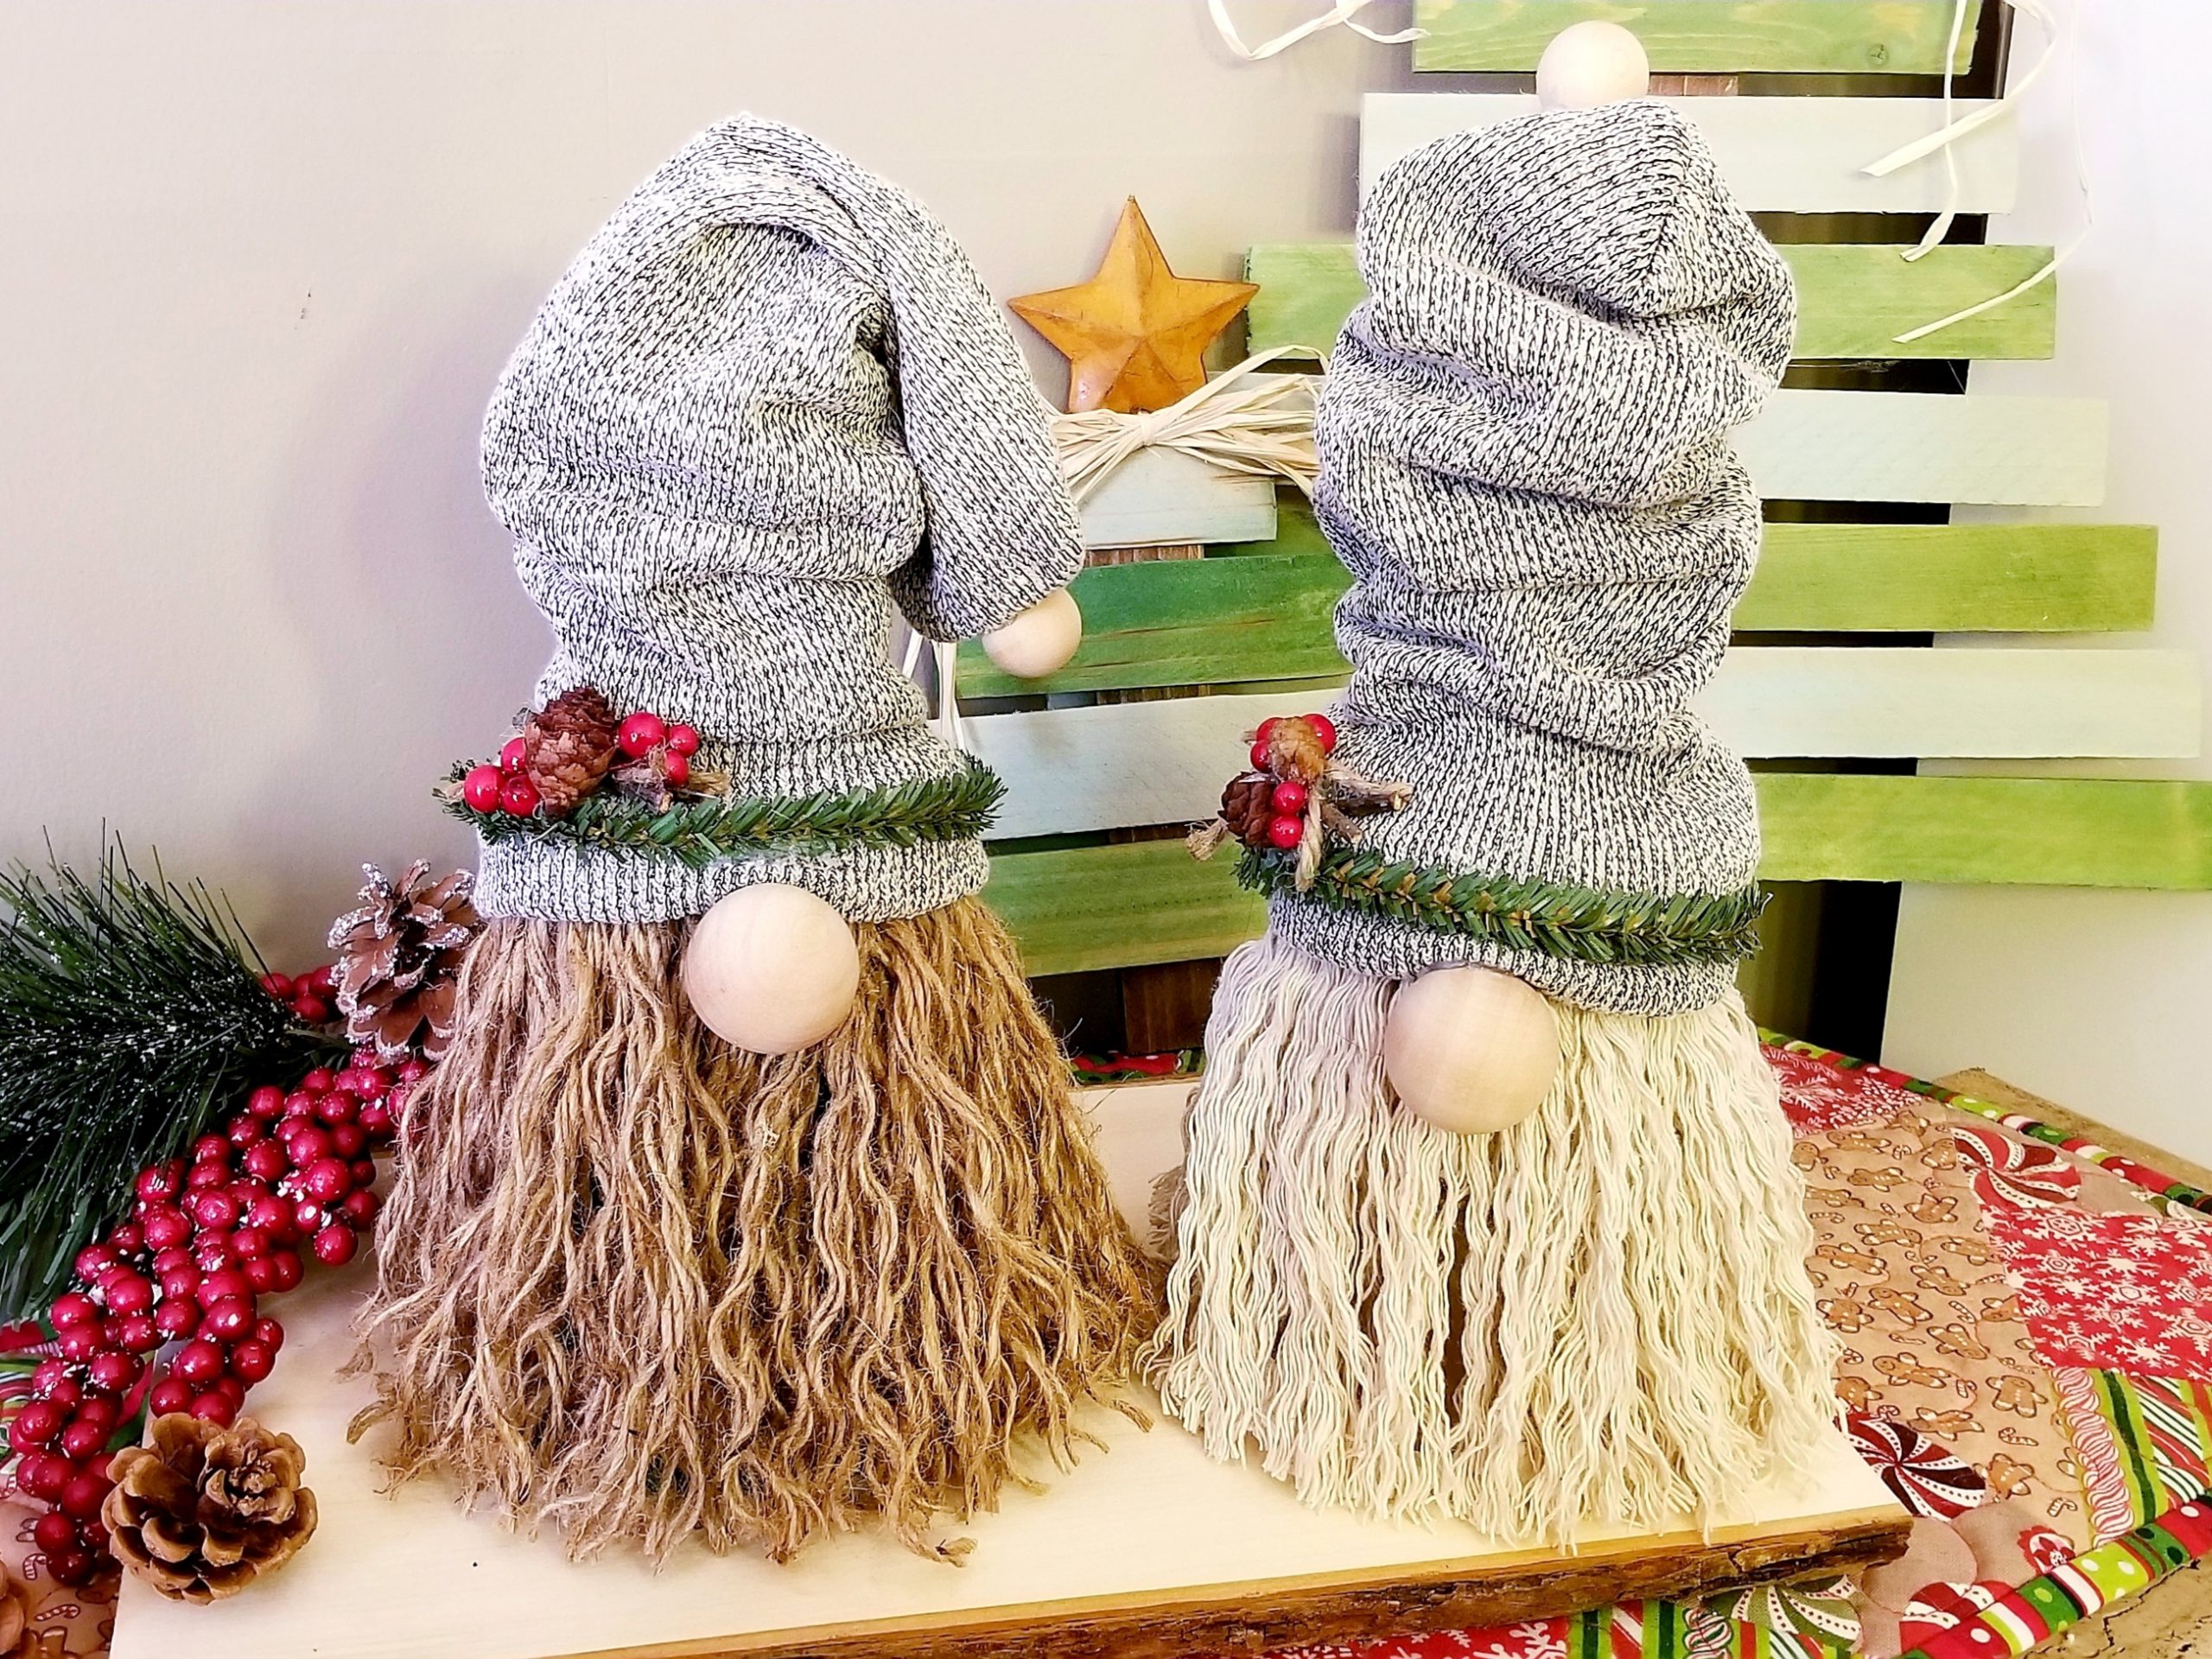

These gnomes are off the charts when it comes to cuteness! It’s hard to believe they started as sparkly Christmas trees from Dollar Tree. Everything that you need for this craft can be found at your local Dollar Tree.
To see the full video tutorial click on the lick at the bottom of this page.

Here is what you will need to make these cute gnomes.
- Sparkley Christmas Trees from Dollar Tree
- Decorative roping, cording or a mop head from Dollar Tree
- Thermal Socks from Dollar Tree
- Pine pipe cleaners from Dollar Tree
- Wood beads, one 1.25″ and one 20mm from any craft store
- Mini pine cones from Dollar Tree
- Twine from Dollar Tree
- Stick from your backyard or local park
- Berry sprigs from Dollar Tree (optional)
- White paint (optional)
- Hot glue gun and glue sticks
- Paint brush (optional)

The first thing you will do is remove the glittery garland from the tree frame. This is very easy to do, start from the bottom and work your way to the top.

With these trees there are several different colored frames. I you have a darker colored frame you will want to brush a little light paint on the bottom half of your tree frame so it doesn’t show through your beard. I found this out the hard way and had to go back to paint mine.

Now you will attach a piece of your roping between the two middle frame supports. This will give you a good spot to attach your beard. I used hot glue for this. Glue your rope to each post all the way around the tree frame.

You will cut strips of your roping in lengths of about 6 inches each. You can use the brown roping from Dollar Tree which is my favorite for this Gnome. You can also use a mop head from Dollar Tree or cording from Michael’s.

Once you have a bunch of pieces cut you can start hot gluing your strips to the rope you glued around your tree frame. Don’t worry if it looks a little bare, it will fill in once you separate your roping.

After you have glues strips of roping all the way around your tree you will want to go back and add plenty of hot glue to make sure all your roping is secure before we start separating it. It’s OK if your glue looks clumpy and messy, it will be hidden.

After your glue has cooled and is set you can start separating your roping. untwist the three main pieces of rope from each other, then untwist and separate each individual piece of rope. This will be the most time consuming part of this craft, but you will see your gnome starting to come alive here!
Now that your beard is all fluffed, trim any extra length from his beard so that his beard is flush with the bottom of your tree frame.

You can now get his hat ready. I used the Thermal Socks for Dollar Three. You will want to fold the top of your sock in. Folding the sock in will give you a little fullness in your hat and an extra layer so the frame of your tree doesn’t show.

You will put your hat over the top of your tree making sure to cover the hot glue from attaching your beard. You can either adjust your hat to point straight up or leave a little extra hanging over to the side. I think both ways are adorable!

Next is to embellish his hat. When I think of gnomes, I think of little woodsy characters so i kept my embellishments very natural. I used a pine pipe cleaner. You can get these at Dollar Tree. I hot glued it around the brim of his hat.

Now you can add your gnomes nose! I got my nose from Michael’s. It is a 1.25 inch wood bead. You want to attach it with a generous amount of hot glue, just under the brim of your hat in the front.


I found a stick in my yard and cut two pieces about 2 inches each. Hot glue them together to make an X. I then cut two pieces of twine about 2 inches each and glues them on top of my stick X. Hot glue this to the hat just above your pine pipe cleaner, slightly to one side. I glues a couple mini pine cones and berry sprigs as well. These were both found a Dollar Tree. I finished off the hat with a 20mm wood bead at the top of my hat.
Your gnome is now complete!! These gnomes are sure to catch the attention of visitors when displayed in your home or would make a lovely gift! To watch the full video tutorial click here. If you love this DIY craft and want to see more like it, you can click here to follow me on my Facebook page.

Very easy to make all from Dollar store, 7 & 8 year old made one
That’s so great to hear! Thanks for sharing!