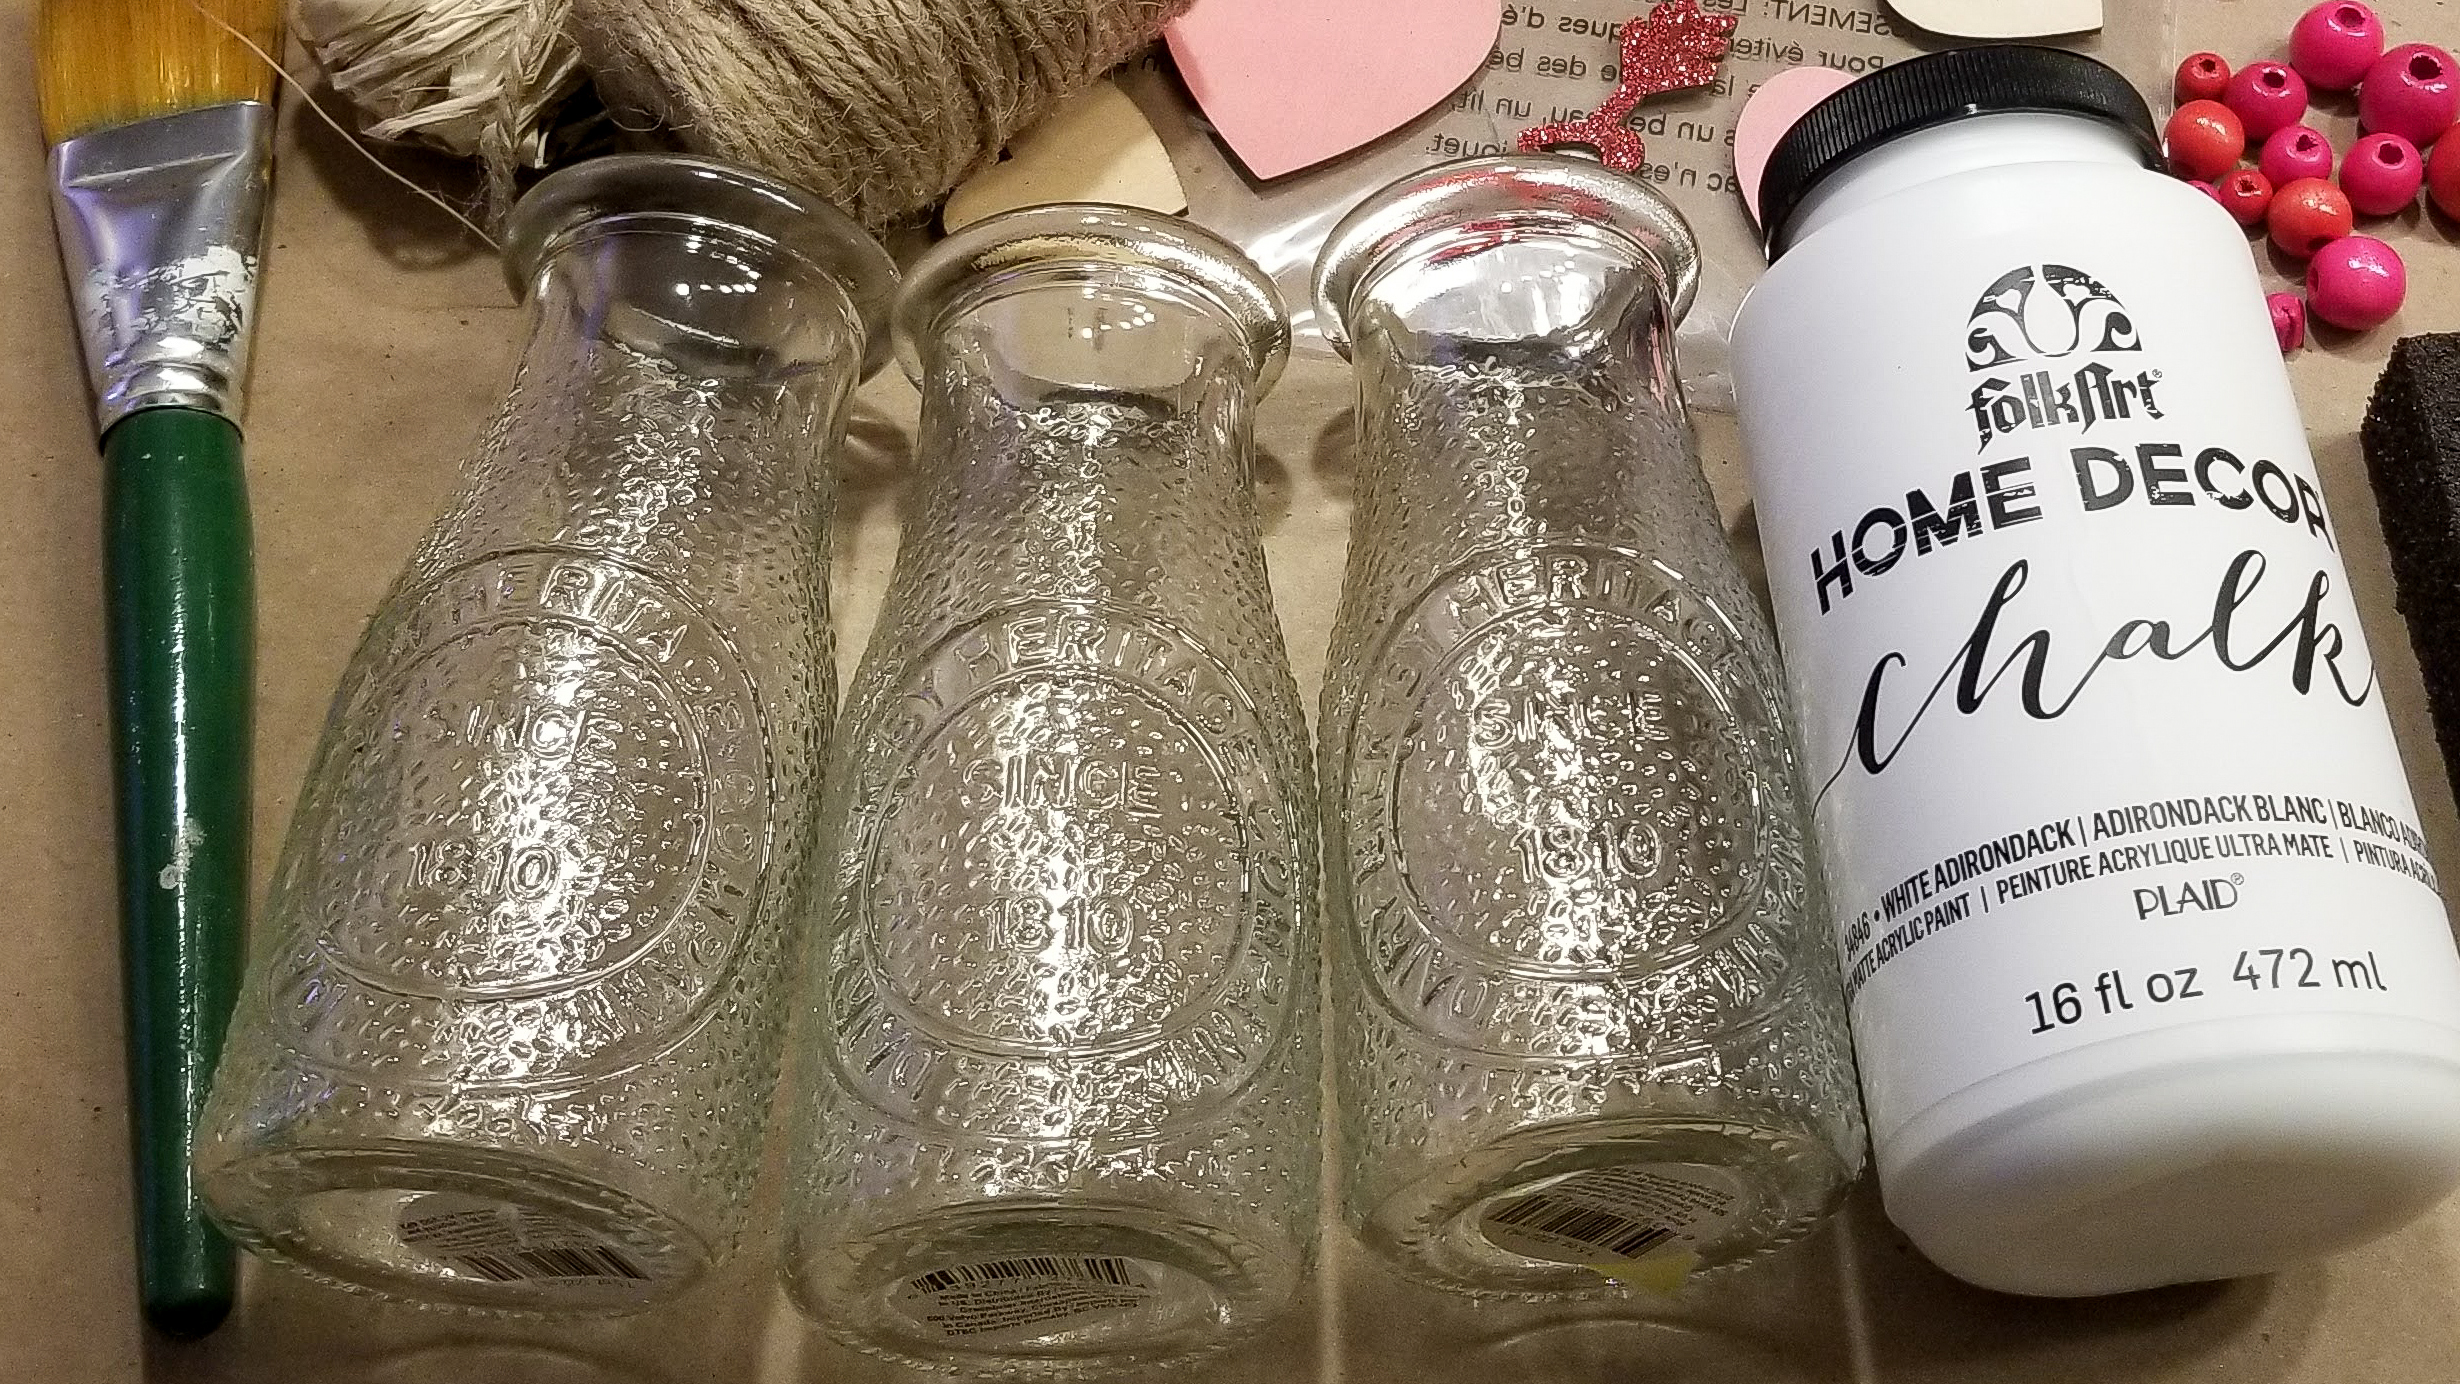
These adorable little milk bottles from Dollar Tree are super cute on their own, but when you add a little chalk paint and some embellishments it pushes them off the top of the cuteness charts! They are super easy and fun to make!


Here’s what you’ll need. Everything is from Dollar Tree except for the paint!
- Glass Milk Bottles
- Chalk Paint
- Raffia
- Twine
- Wood heart stickers
- Alcohol and cotton balls
- Hot glue gun and glue sticks
- Sanding block
The first thing you need to do before painting glass is to make sure your glass is clean and free of oils, dirt and any other debris. To do this you can first, if needed, clean off any large dirt and debris with warm soapy water. After your bottles are clean you then, then simply use some rubbing alcohol and a cotton balls to remove any oils you may not be able to see.

Now that your your milk bottles are ready you can brush on your chalk paint. I used FolkArt Brand Chalk paint. The color I used is White Adirondack from Michael’s. Brush an even coat over the entire surface. You only need one coat since chalk paint is thick and gives great coverage.

Once your paint is dry you will now use a sanding block to distress your paint. You can distress it as much or as little as you want. You want to make a point to focus on the words on the front of the jar to help them pop.


Once you are done distressing your milk bottle you can embellish your jar. To do it the way I did, you will tie a couple pieces of raffia and a piece of twine around around the neck of your bottle. Make sure to leave your twine ends long enough to tie a wood bead to one side and hot glue a wood heart sticker to the other side.


I used a red wood bead from Dollar Tree, I added some of the white chalk paint to my wood bead and distressed it like I did my milk bottle. Tie your wood bead to the end of one of your pieces of twine. Then use one of the natural wood hearts from the Dollar Tree, Wood Valentines Stickers. Remove the foam sticker from the back of the wood heart and hot glue it to your other end of your twine.
You can make a single bottle or make multiple to cluster together like in the photo below.
If you would like to watch the full video tutorial click here.
If you like this tutorial and want to see more like it. Click here to go to my Facebook Page. Make sure to click on the Follow button while your there.


Love this craft. Will be doing this one.
Thank you! I hope you have fun making it!
I love your Craft’s and enjoy watching your videos
Thank you so much Tammy!