
I’ve seen a lot of people posting questions about these Farmhouse Word Blocks. All of them trying to use the large foam dice from Dollar Tree. Some of the questions/complaints are they can’t get good coverage with many layers of paint, the foam dice soak up too much paint, their paint is pealing off. In this tutorial I will not only give you an alternative way to make these, I will give you tips in case you still want to make them with the foam dice.

What you will need for my take on the Farmhouse Word Blocks.
- 4 pack of wood dice, Hobby Lobby
- Maui Sand (gray) FolkArt Chalk Paint
- White Adirondack (white) FolkArt Chalk Paint
- Scrapbook paper, two colors
- Letter stickers
- Mod Podge
- 1.5 inch round paper punch or scissors
- Sanding block, optional
- Paint brush
- 5 paint stir sticks, optional

The first thing you will do is paint a solid coat of your gray paint on all of your dice.

Once your gray paint is dry you will dry brush a coat of your white paint onto your dice. You will leave some of your gray paint showing through. This is where the option of using your sanding block comes in. If you accidentally apply too much white, you can sand a bit to reveal more of your gray.
*If you are using the foam dice you will want to make sure you are using chalk paint, acrylic paint will take many more coats then chalk paint will. Also make sure you are painting with your darker color first like I did in this tutorial. It will hide the dice dots much better.

Now you will use your 1.5 inch paper punch to cut out 6 circles of each color from your two pieces of scrapbook paper. If you don’t have a hole punch you can find any 1.5 inch round household item to trace and cut with scissors.
*If you are using the foam blocks you will need a 2 inch paper punch or a 2 inch round household item to trace.


Once you have all your circles all cut out. You will Mod Podge your circles onto your dice. I put one color on top and two of the other color on the sides and alternated them, every other block.


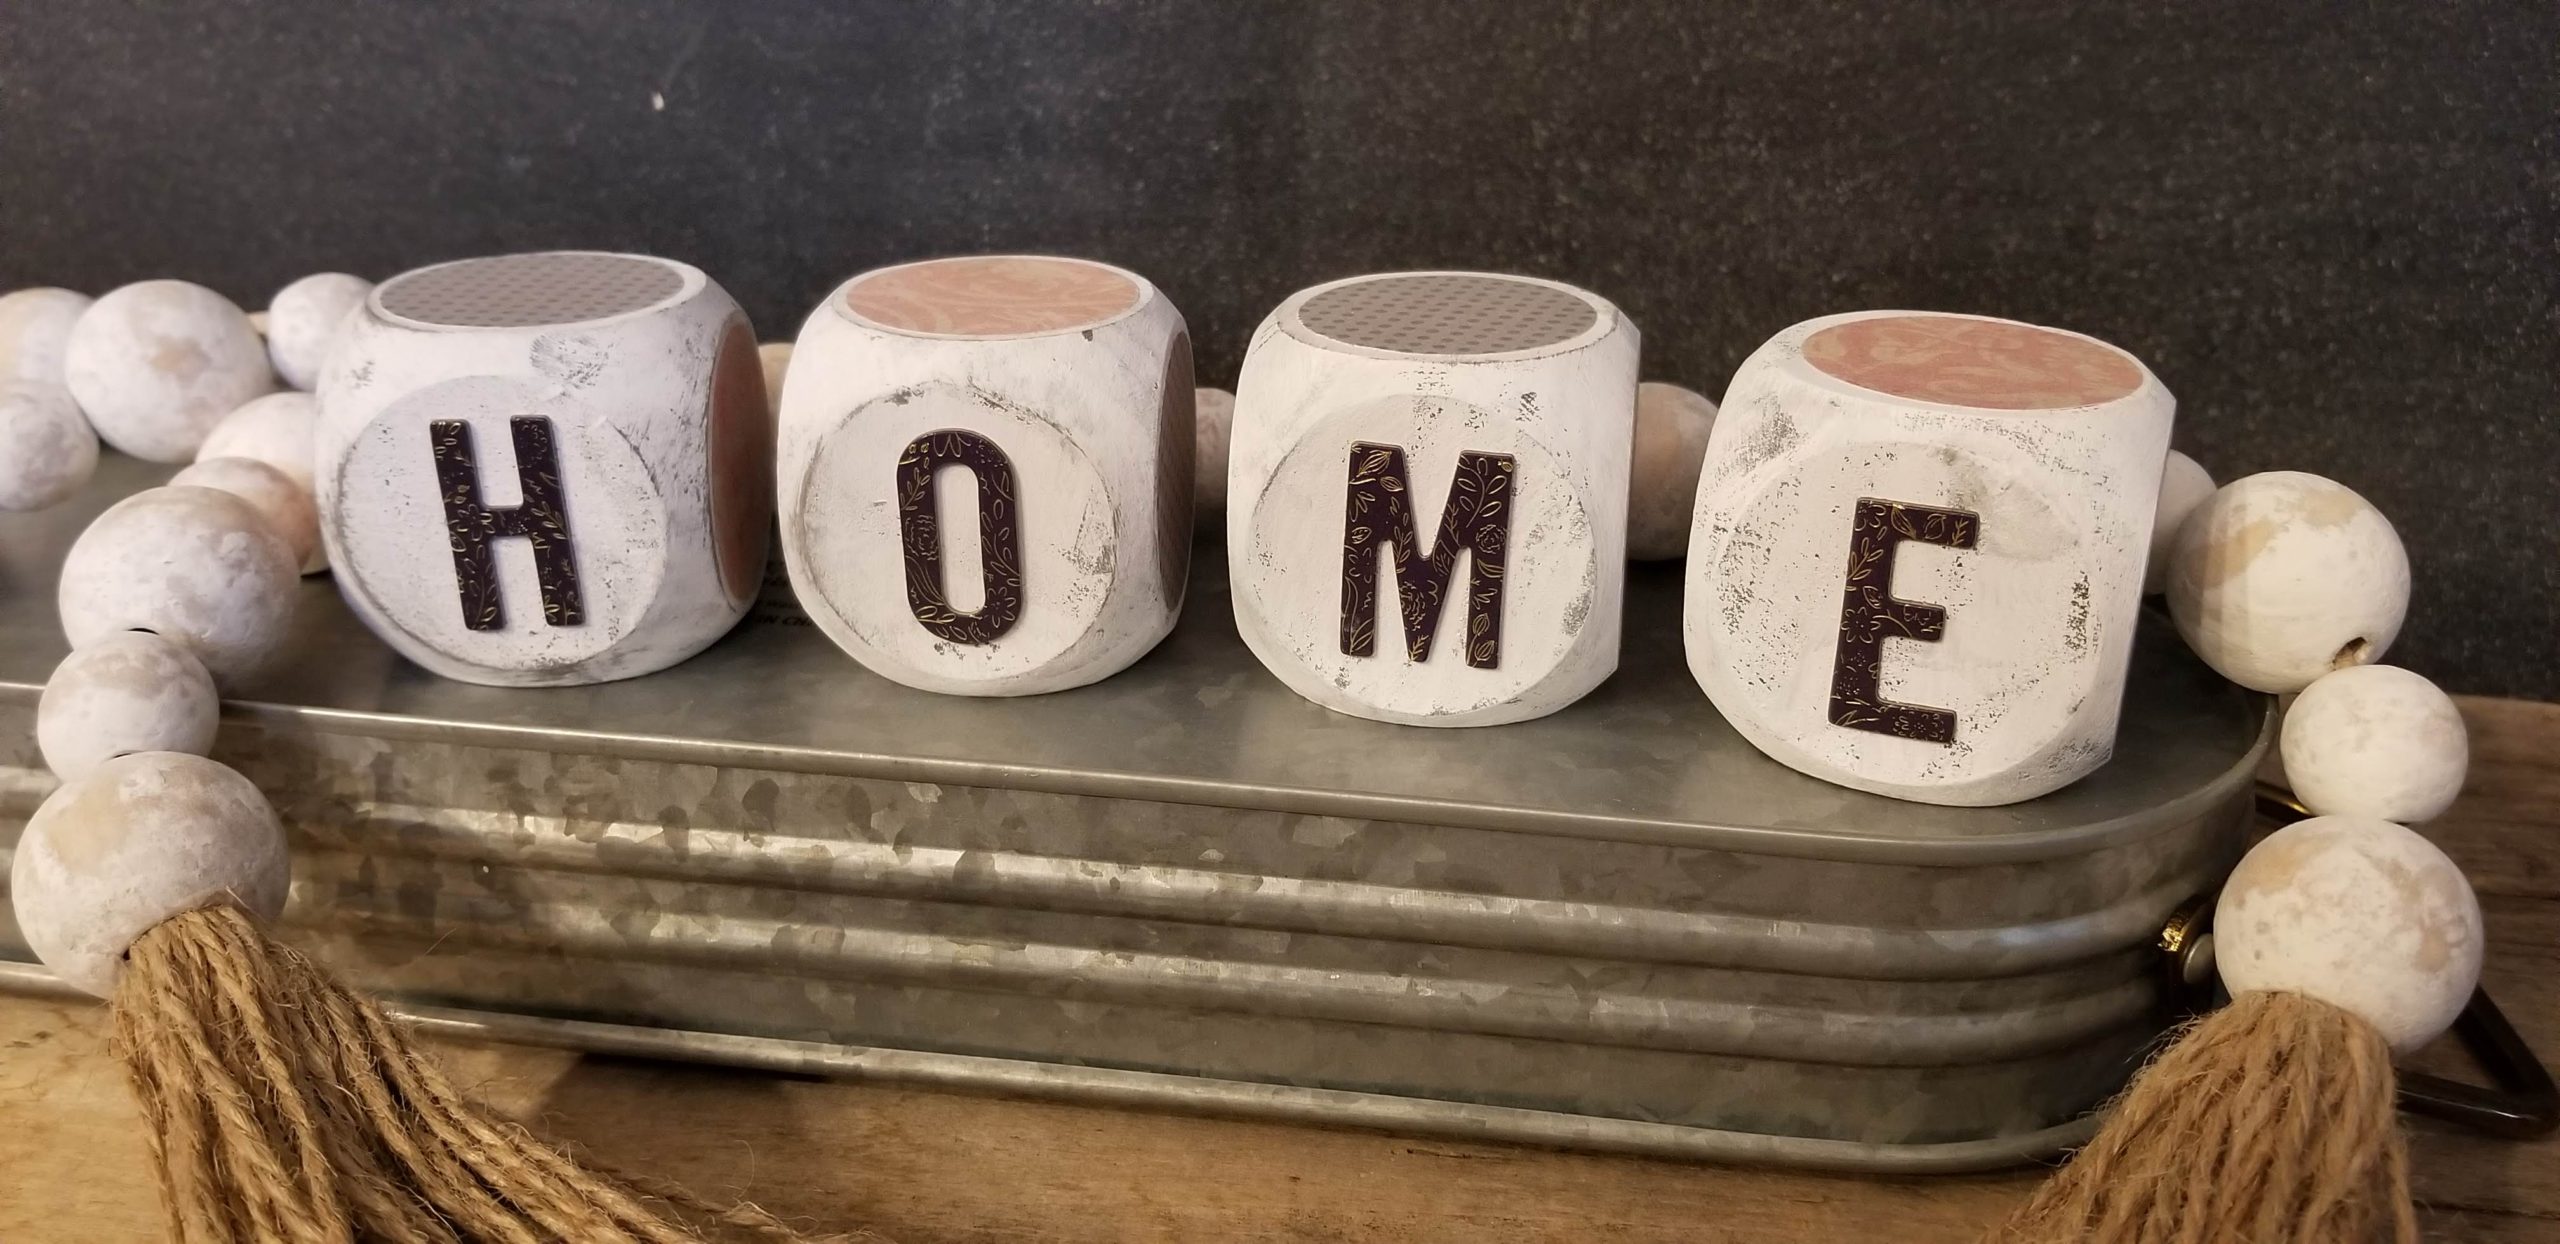
Next you will apply your letters to the front and back sides of your blocks. I spelled out LOVE one one side and HOME on the other. My letters were nice and sticky so they stay on just fine on their own. If needed you can reinforce your letters with glue or Mod Podge.


You can display your blocks on their own or on a tray like I am. You can also make a base for them by laying 4 paint stir sticks together. Cut another one to make cross braces to hold them together. Hot glue your cross braces to the back or your 4 paint stir sticks. Paint your base using the same technique you did for your dice.
If you like this tutorial and would like to see more tutorials like this click here.
If you would like to watch the full video tutorial of this DIY click here.

Great job! I love, love the blocks. Enjoy watching you. Keep doing what you’re meant to do.
Thank you Judy!