Chicken wire anything makes me a happy girl! Add some wood texture and a little pop of color and it’s magical to me! In this tutorial I’ll teach you how to create these super adorable flower yard stakes! Trust me, they are way easier then they look!

Her’s what you’ll need.
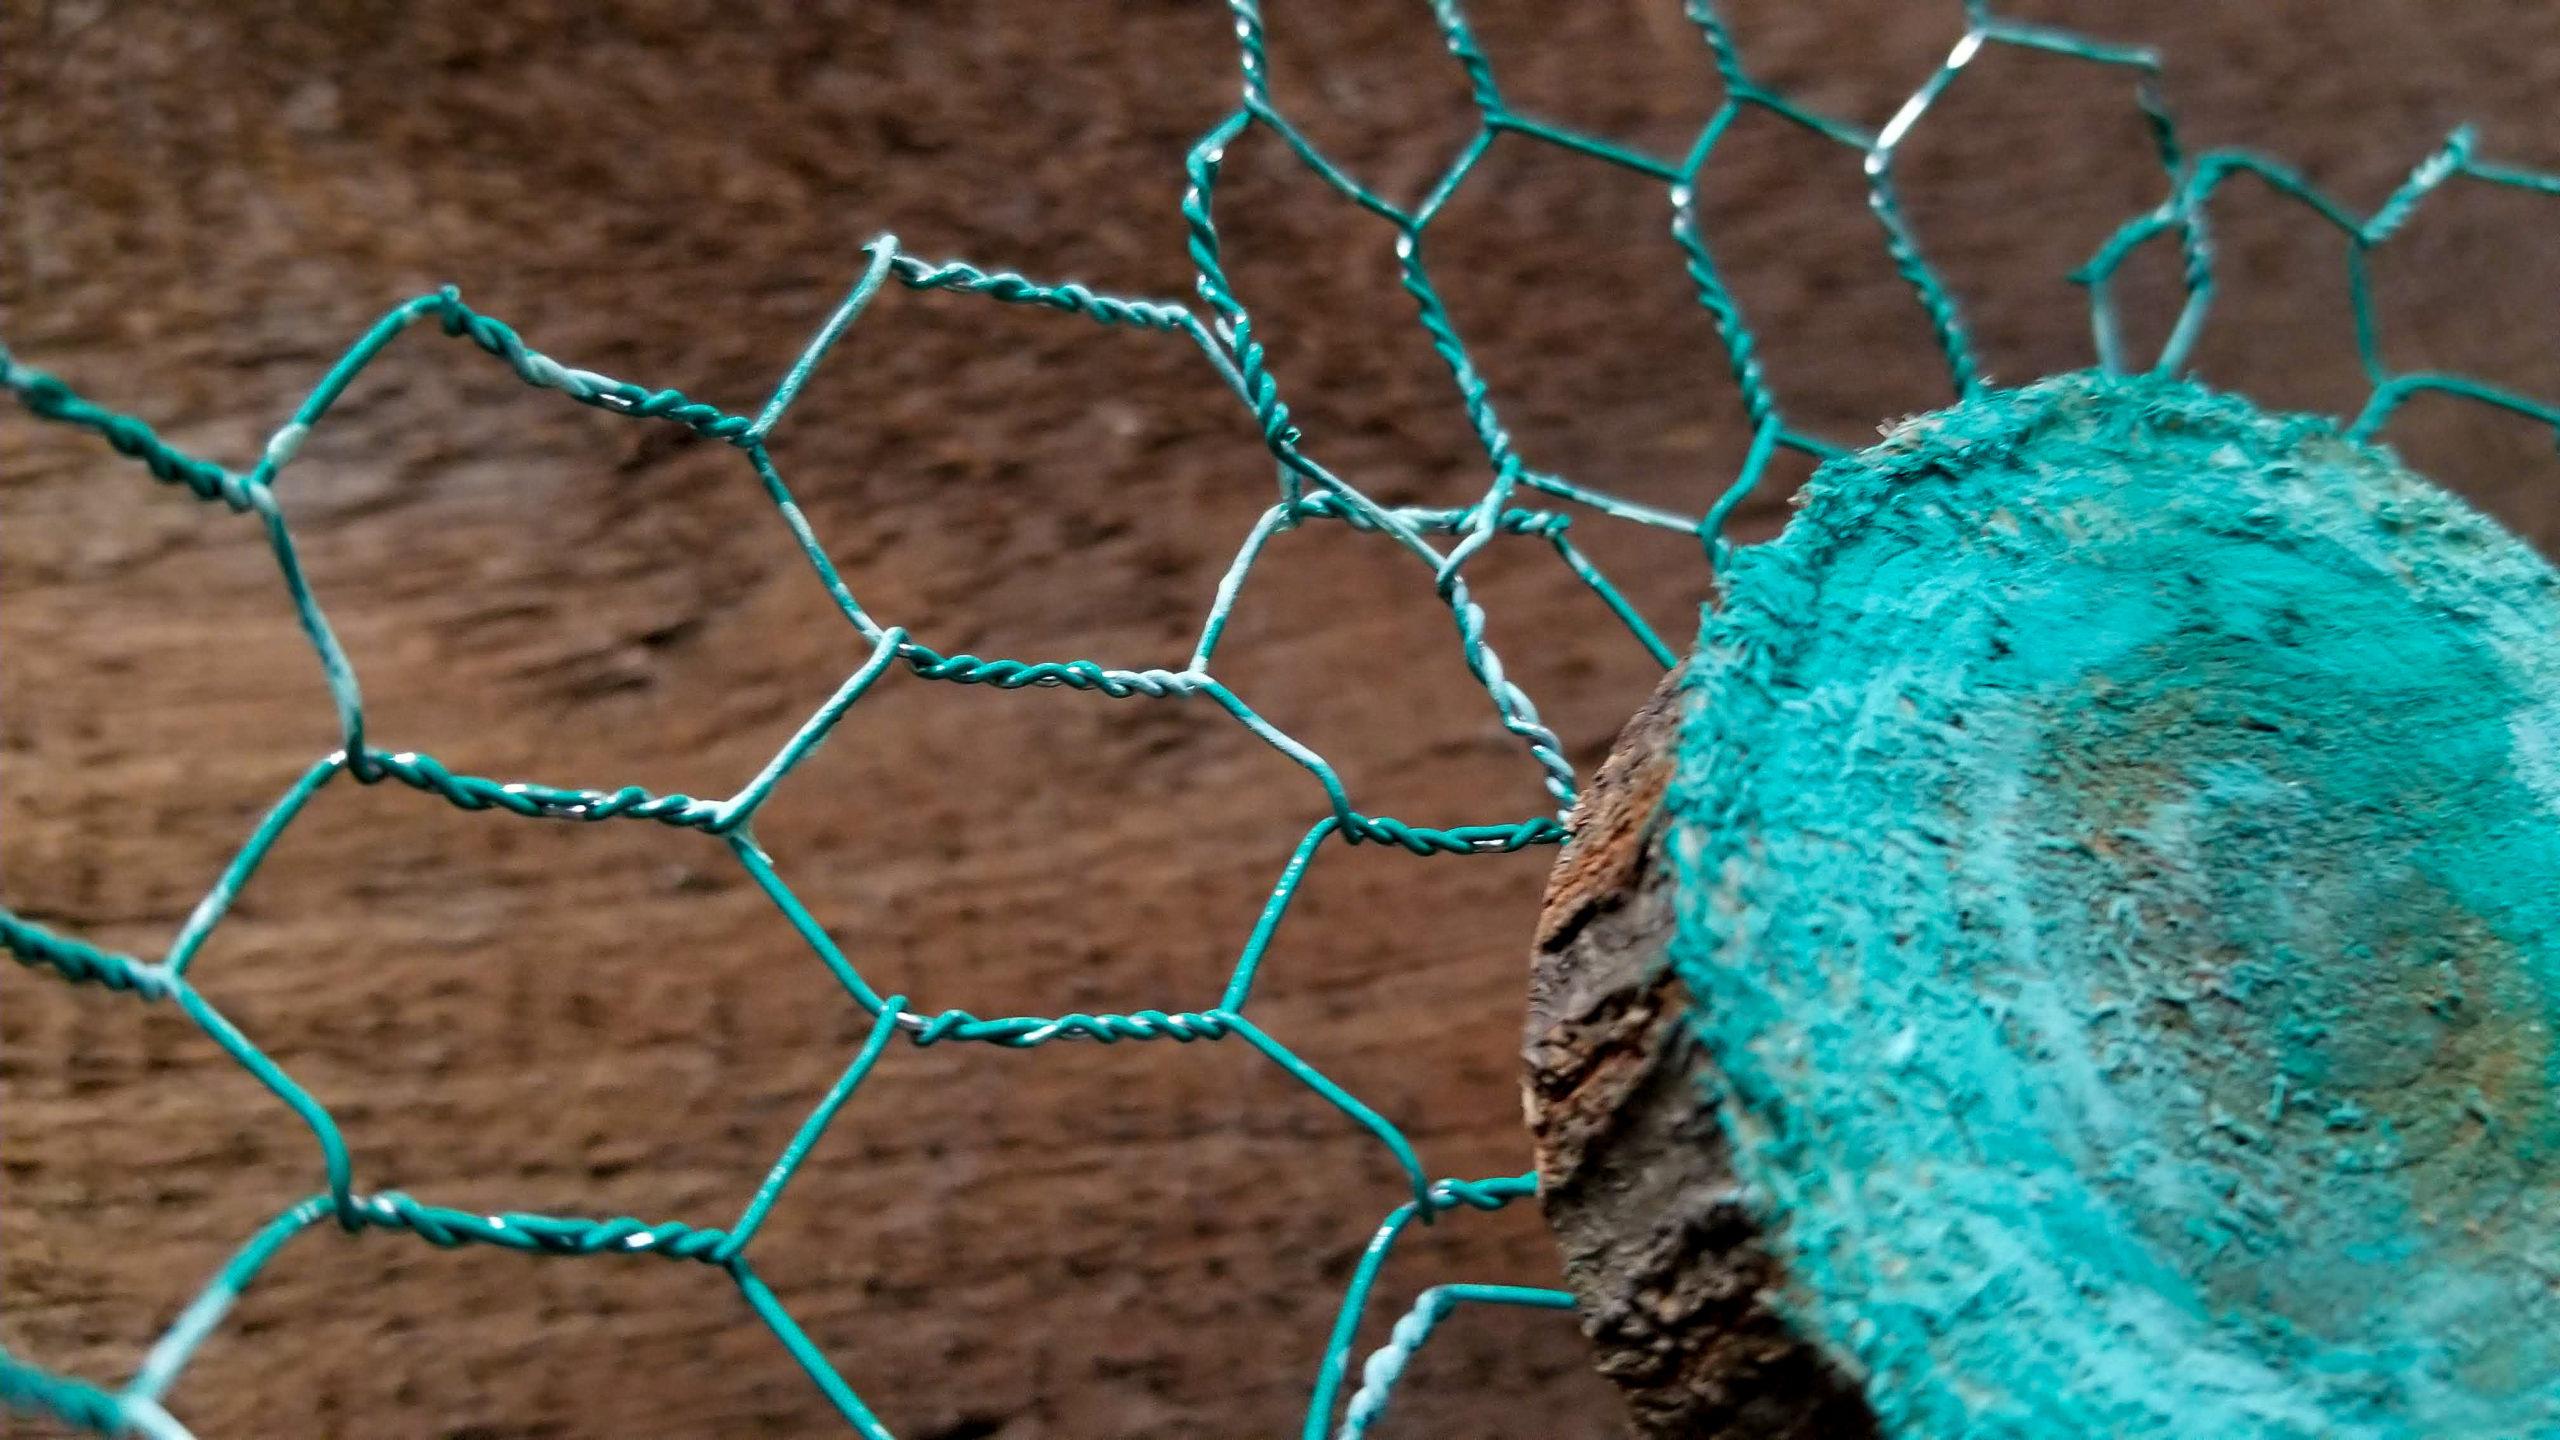
- Chicken wire
- Wood disk, about 2 inch
- Paint, I used chalk paint, but acrylic will work too.
- Wire cutters
- Stapler
- Drill, optional but recommended
- E6000 Adhesive
- Spray sealer. optional
- Hot glue gun and glue sticks
- Paint brush
- Dowel rod, I used a campfire marshmallow skewer

The first thing you will do is cut out your chicken wire flower petal. From top to bottom you will create a pattern with your honeycomb shapes. Top row 2, second row 3, third row 4, fourth row 3. You will want to leave the straight ends at the top and bottom intact as show. If you trim these off your honeycomb shapes will disconnect.


Once you have your first petal cut you can use it as a template to cut five more peddles out.

After you cut out your petals, go back and trim off any sharp ends from around your petal.


As show above you will use a pair of needle nose pliers to twist the top straight ends under. Leave the bottom straight pieces the way they are. Do this with all six of your flower petals.


Now you will curl the edges up along the sides and top of your flower petal. Repeat this with all your petals.

Using a drill bit slightly larger then your dowel rod, you will drill a hole into the side of your wood disk about 1/2 of an inch. My wood disk is from a large bag I got from Hobby Lobby. This disk is about 2 inches wide. If you are not comfortable with using a drill, you can use your E6000 adhesive to glue it to the back and add some hot glue to hold it in place until your E6000 sets. Please know that this will not give you as sturdy of a hold though. You could also use a paint stir stick and glue and/or staple it to the back of your disk.

Now that you have your hole drilled, add some E6000 into the hole, then add a small amount of hot glue into the top of your hole. The E6000 will give you a long term solid hold, while the hot glue will temporarily hold your dowel rod into place until your E6000 sets.

Insert your dowel rod before your hot glue cools and sets.

Trim your dowel rod to the length you like by using your wire cutters to pinch a little at a time as you turn your dowel rod until it separates.


You will now start stapling your petals to the back side of your wood disk. Start with one pointing straight up, one pointing straight down, then two on each side. Make sure to get at least two staples into each flower petal.


You can choose to paint your flower any color you choose or leave it natural. The first one I painted after it was assembled, the second one I painted before assembling it. I found it easier to paint before, but it doesn’t really matter which you choose. I used two colors on the flower itself and used brown to dry brush the stem to give it more of a rustic look.
I decided after the fact to add leaves to one of my flowers. To do this I pinched together the bottom of a flower petal and used silver floral wire to hold it together and to wire it to my stem. I added a little E6000 to the back side to keep it in place on my stem. The detailed instructions for this are included in the video tutorial below, you can watch by clicking on the link.
You now have a Farmhouse Chicken Wire Flower that can be used as a stand alone decoration or as a yard stake. If you choose to use it as a yard stake, I suggest spraying it with any clear sealer meant for outdoor use.
If you want to see the full video tutorial of this DIY click here. If you like this tutorial and would like to see more like it, click here to visit my Facebook page. Remember to click on the follow button while your there.


I Love these ❣️
Thank you Gwen!