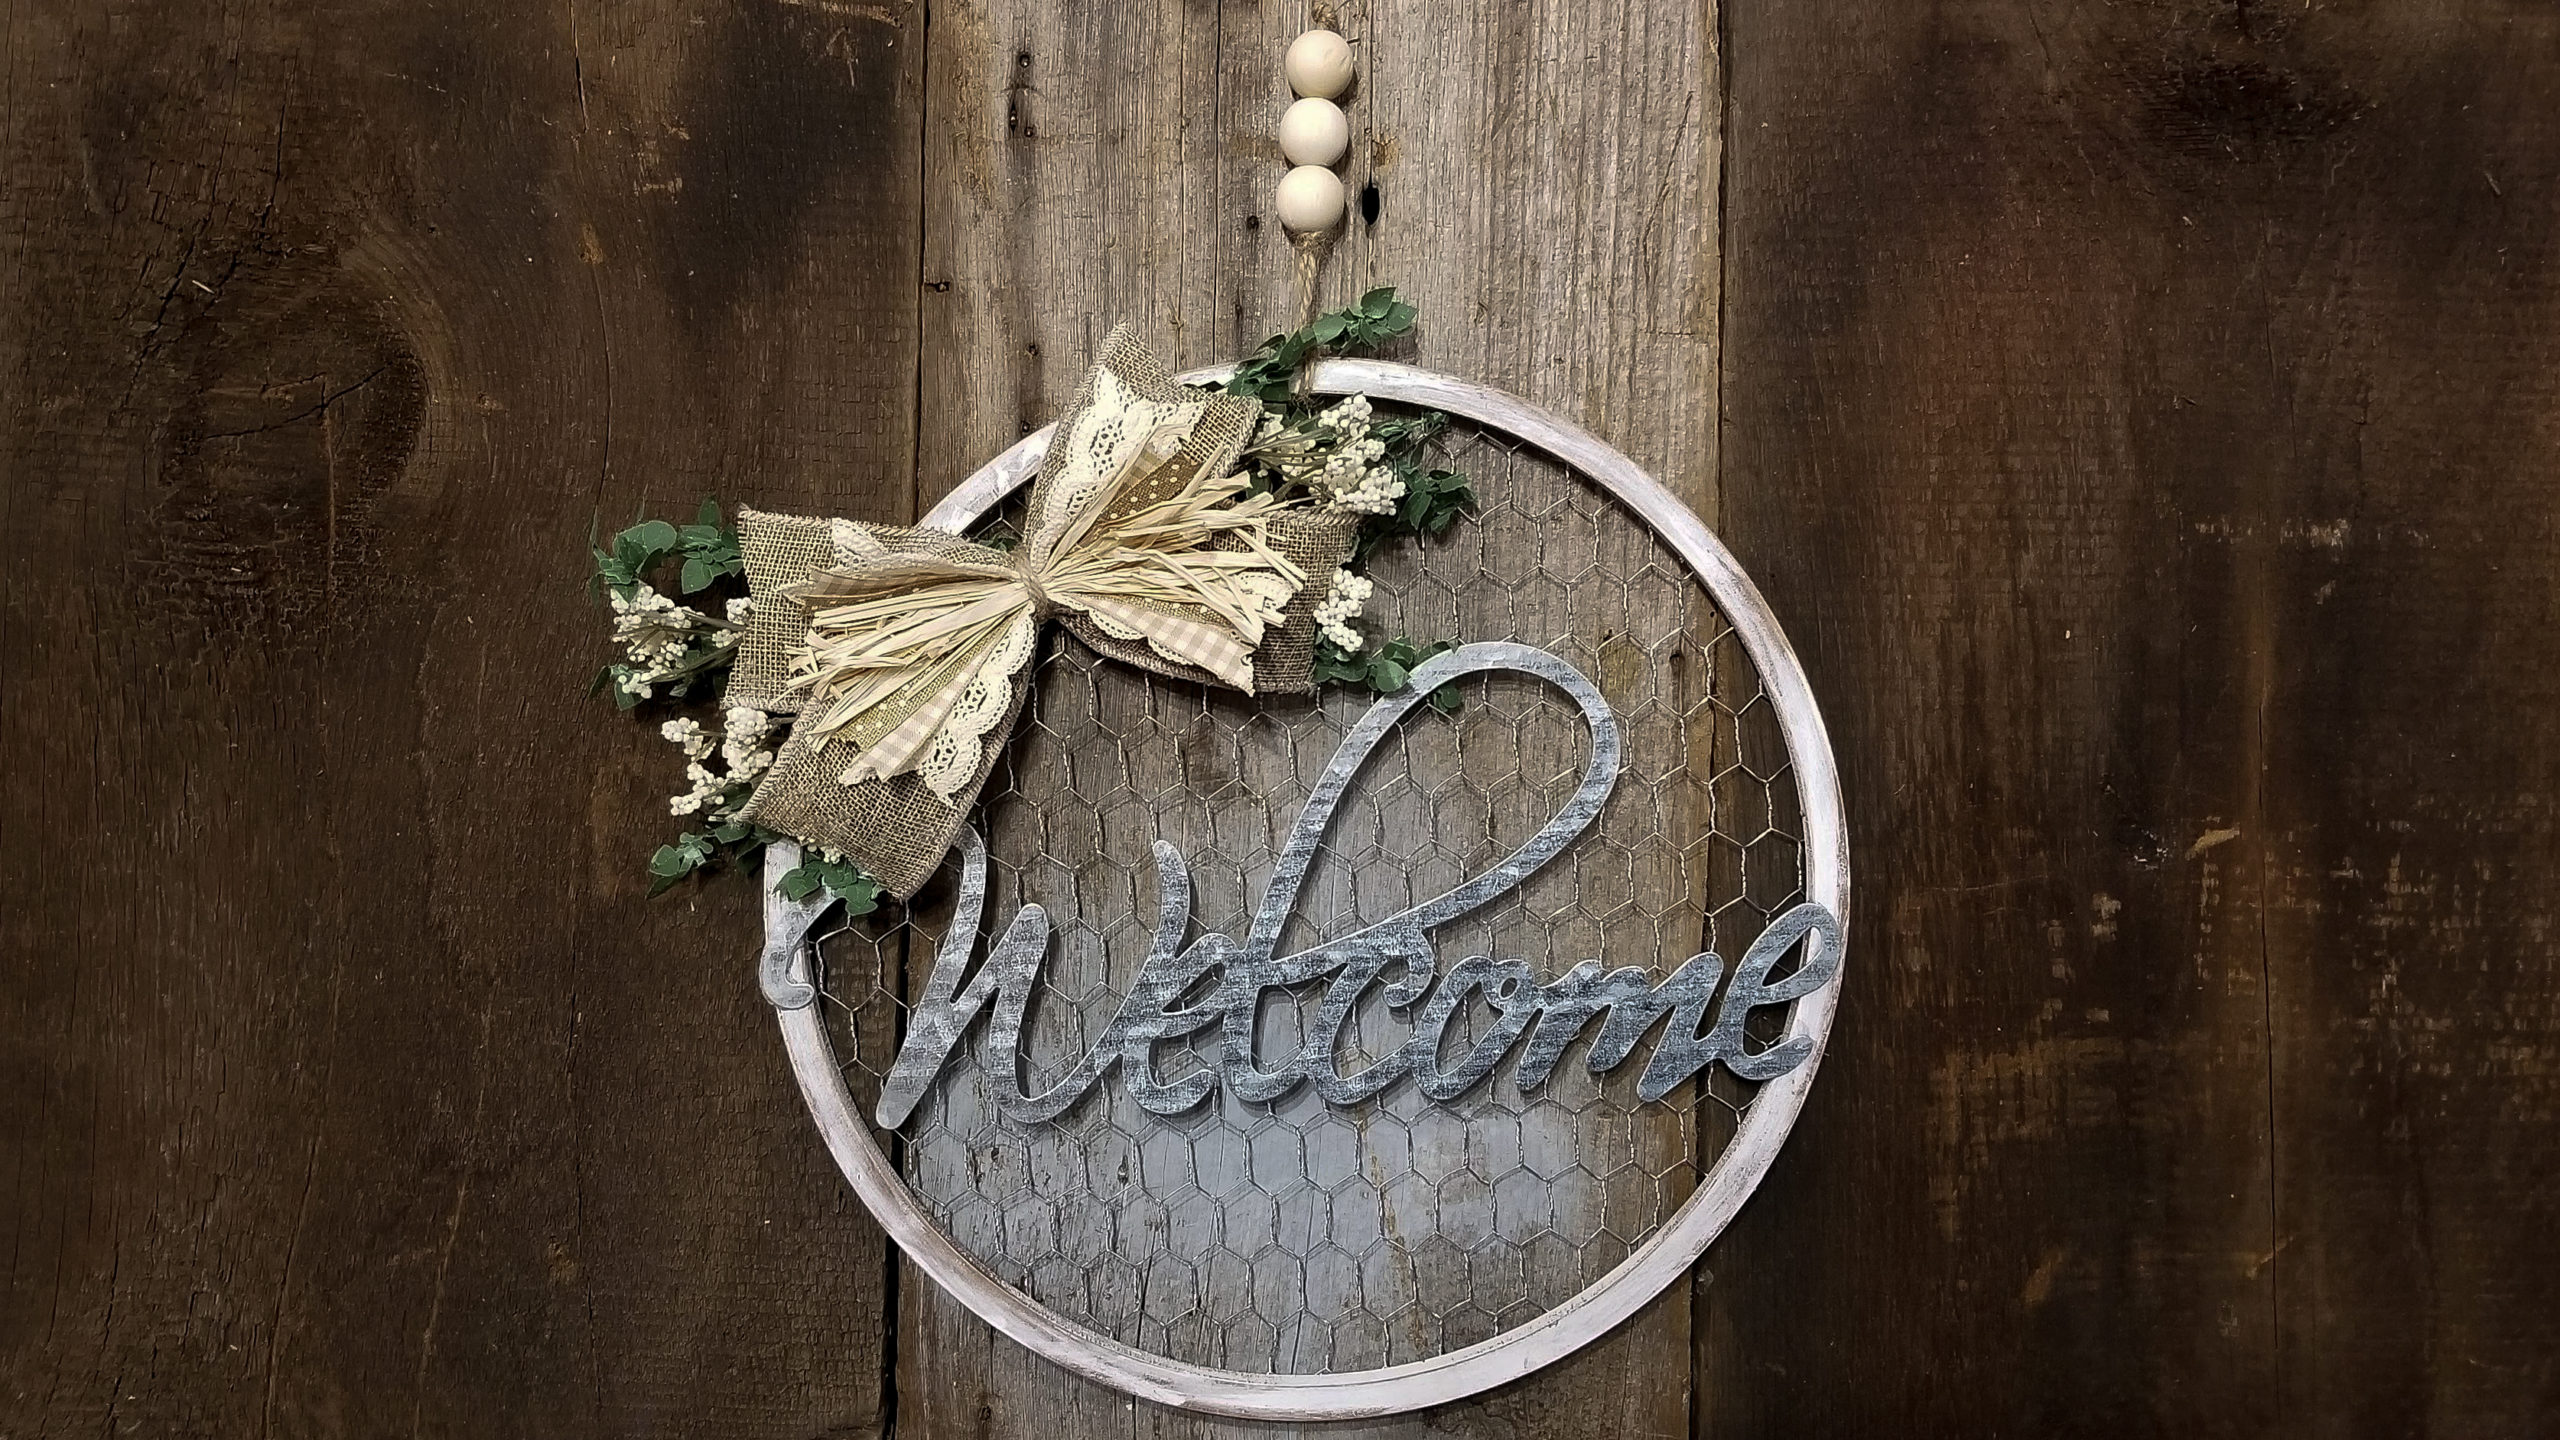

These are a few of my favorite things… galvanized metal, chicken wire and raffia! Yes, I totally sang that last sentence and I hope you did too! This is for sure on the top of my list of favorite DIY crafts! I hope you make it and it becomes a favorite of yours too!
There’s more photos and a link to the video tutorial at the bottom of this page.

What you will need for this craft
- 12″ floral ring
- Chicken wire
- Galvanized Welcome word, Hobby Lobby
- Acrylic paint, brown and white
- Ribbon
- Greenery garland, Hobby Lobby
- Baby’s breath or other small flowers
- Wood beads
- Twine
- Staple gun and staples
- Wire cutters
- Needle nose pliers
- Hot glue gun and glue sticks
- E6000


The First thing you will do to create your own Farmhouse Welcome Hanger is to paint your floral ring with brown acrylic paint. You may be asking, whats a floral ring? It is a round circle about a half inch thick that’s made out of a MDF type of material, like a pressed wood material. I got mine at Micheal’s but they should be available at any craft store.

After your brown paint is dry, you will dry brush some white paint onto your ring leaving some of the brown showing through.

Once your paint is dry you will go over your paint with a sanding block to add a little more distressing to it.

The next thing you will do is staple your chicken wire to the back of your ring. Make sure to add plenty of staples around your whole ring.


Once your chicken wire is securely fastened with staples you will use either side cutters or snips to trim the excess chicken wire around your ring. Trim closely to the edge of your ring.

Use a pair of needle nose pliers to fold over any sharp pointy edges of your chicken wire to prevent these edges from scratching you or the surface you will be hanging this on.

Now you will attach your galvanized Welcome word to the front of your ring. I used a combination of both hot glue (to immediately hold it in place) and E6000 adhesive (to give it a more durable long term hold). I plan to hang this on my front door and the hot glue does not hold up well in freezing temperatures.

I made a hanger by cutting a piece of twine about two feet long. Fold it in half. Tie a knot where your two ends come together.

Slip three wooden beads onto your twine and tie a knot about 4 inches from your looped end of twine. Slide your beads to this knot and tie another knot just above your beads.


Slide your looped end of your hanger through the top edge of your ring. pull your tied end along with the beads through your loop. You know have a hanger.


I then made a bow for my hanger. I Made a re-fabbed bow using variety of ribbons from several different stores. I stuck with neutral colors, but you can go with any colors that work well with your home’s decor. The key to a re-fabbed bow is to layer your ribbons widest on the bottom, working your way up to your thinner ribbons on the top. I topped this bow off with a little raffia. You will criss-cross each layer, using as many layers as you like. Tie all your layers of ribbon together with twine or thin ribbon.


While this bow is cute on it’s own I wanted a little extra pop to it so I added some baby’s breath form Dollar Tree and some strips of greenery garland from Hobby Lobby Tie these on with another piece of twine or ribbon leaving your ends long.


You can decide where you want your bow to be places and use the ends of your twine on the back of your bow to tie it through your chicken wire or around your ring.
Your Farmhouse Welcome Hanger is now complete! If you would like to see the video tutorial click here for part one and click here for part two. If you like this tutorial and would like to see more like it click here to visit my Facebook page. Make sure to click on the Follow button while your there to see future tutorials too!


