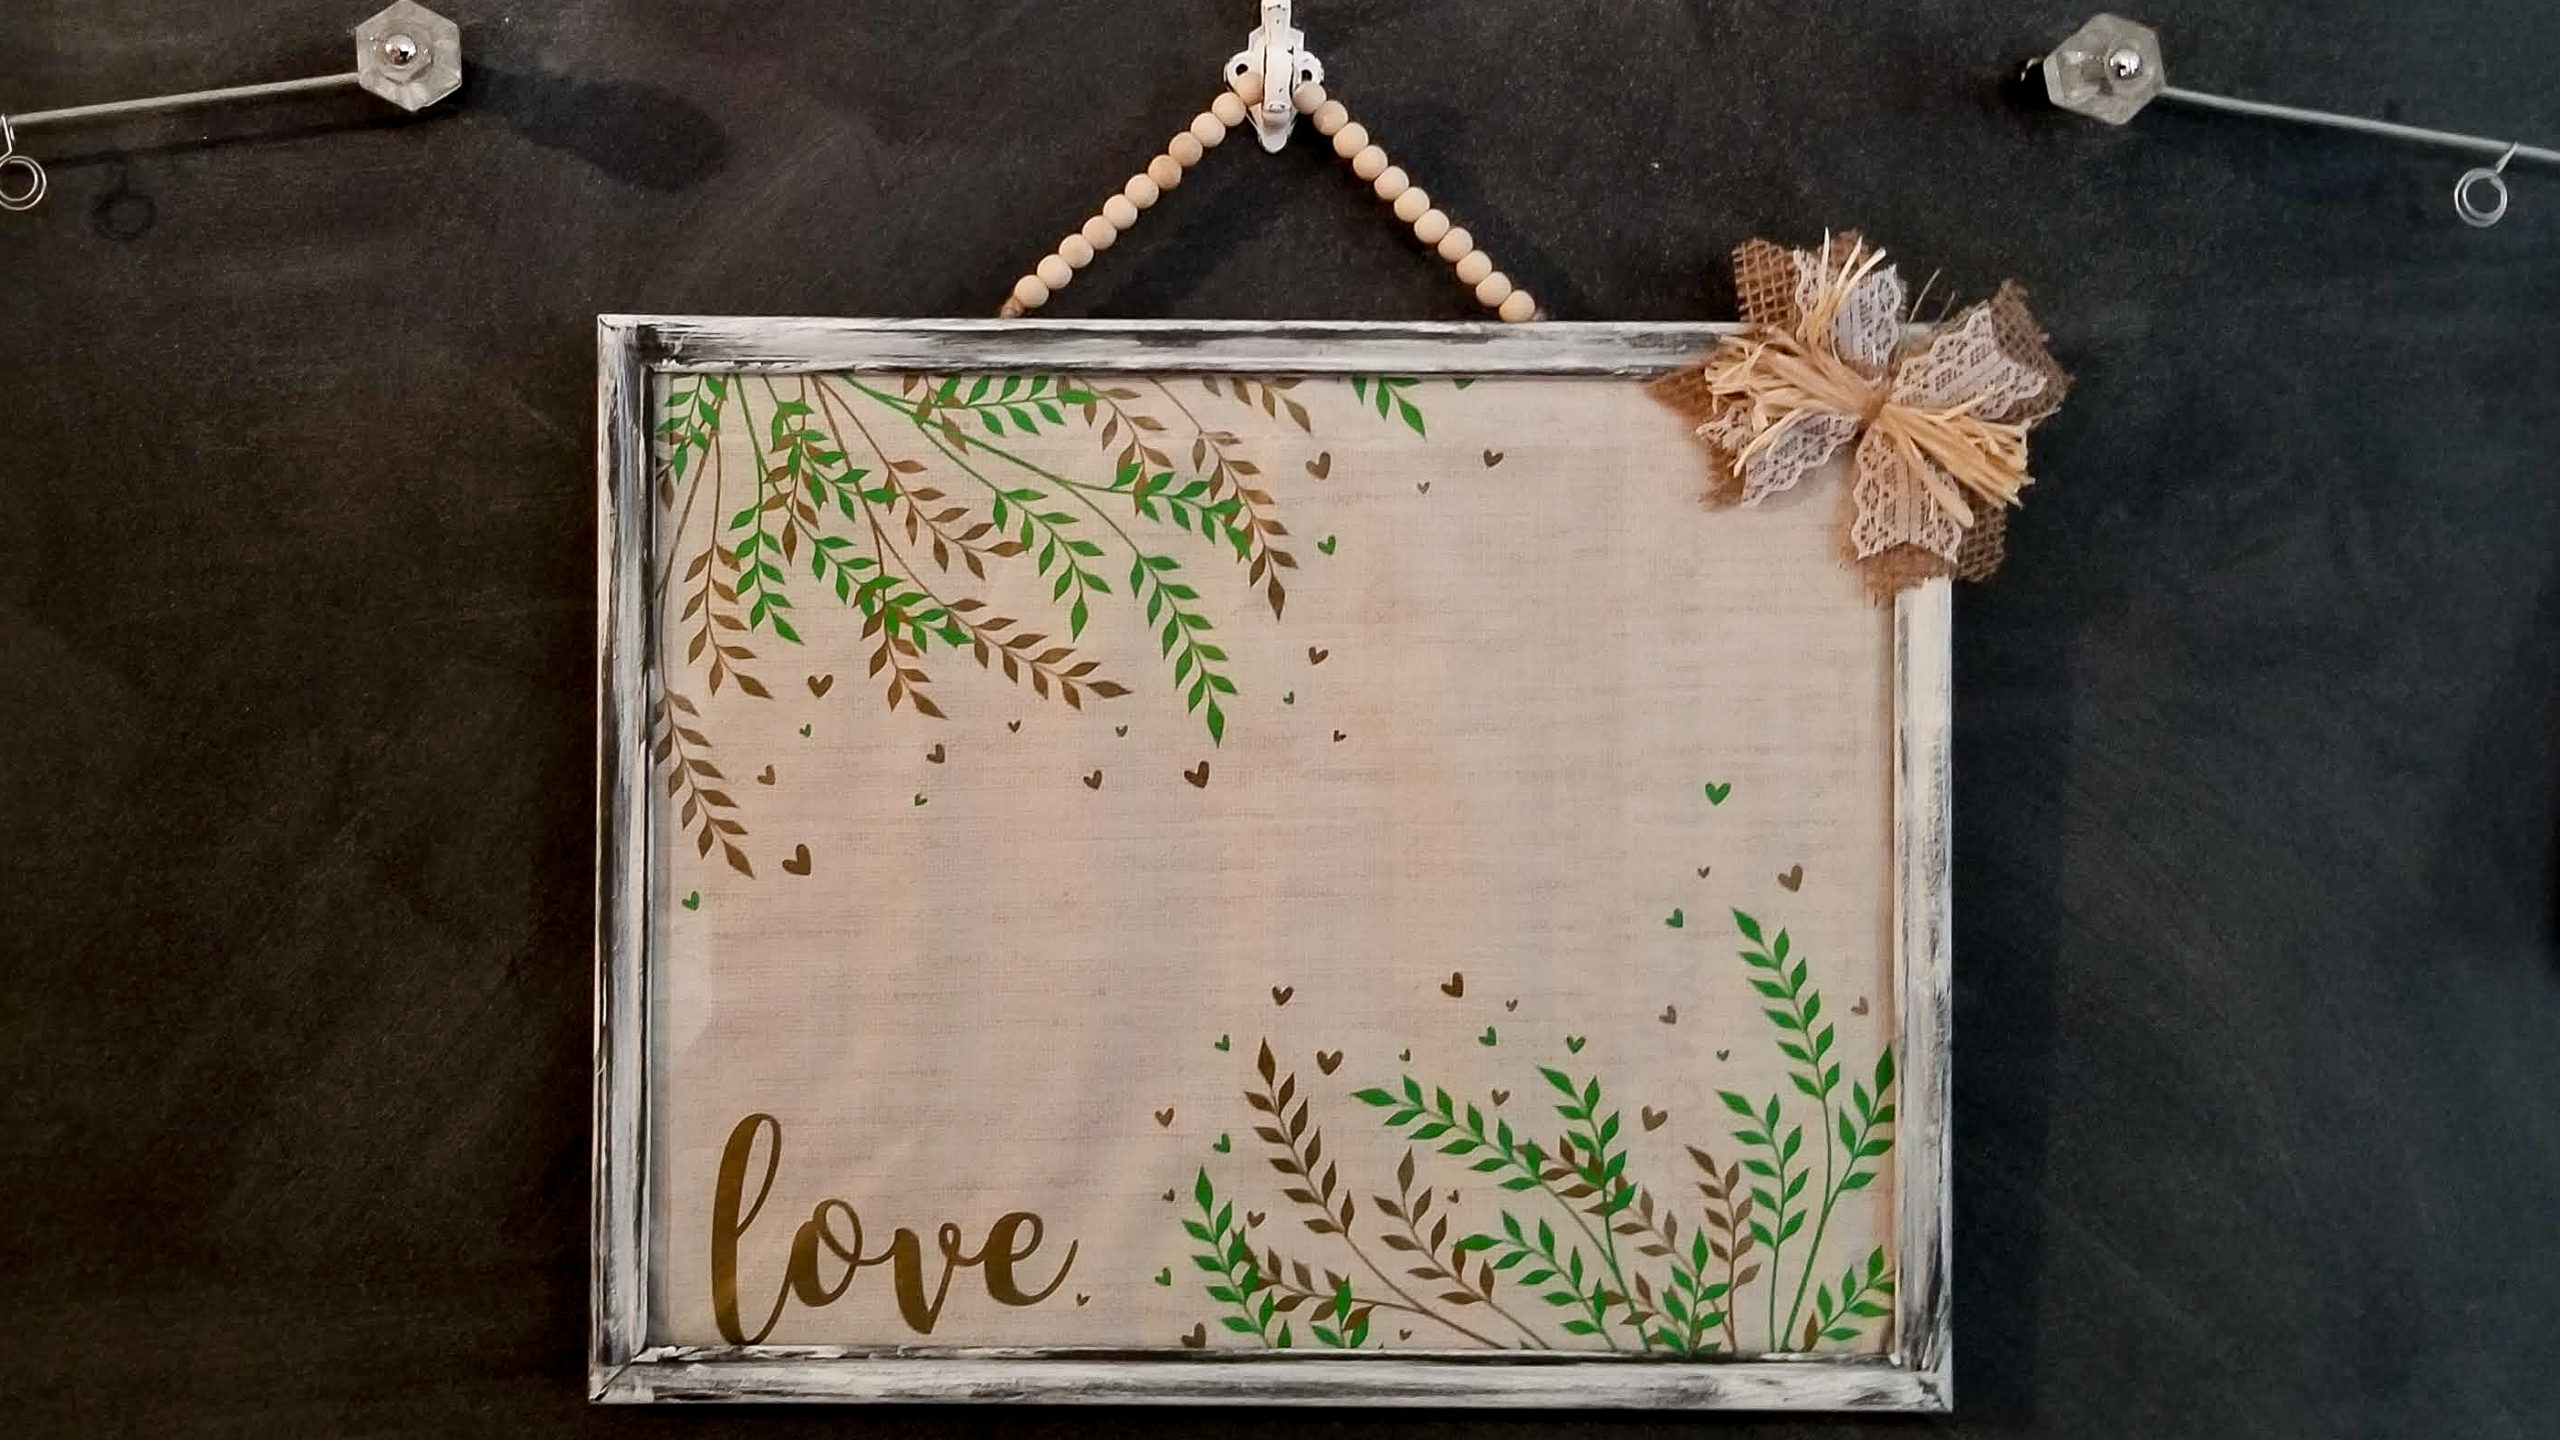

This super easy and budget friendly DIY is perfect for any home. It will look beautiful and help you stay organized. Everything, but the wooden beads came from Dollar Tree!
If you like this tutorial, there’s a link to the full step by step video at the bottom of this page.

Here’s what you need to create this fun Dry Erase Message Board.
- Plastic gift Bag, Dollar Tree
- 11″ x 14″ Picture frame, Dollar Tree
- White acrylic paint
- Twine
- Ribbon
- Wood beads
- Scissors
- Hot glue gun and glue sticks
- Paint brush
- Sanding block, optional

You will first take your picture frame apart. Once your frame is apart, you will dry brush some white paint onto your frame. Make sure to get around the inside and outside edges too. You can use a sanding block to distress your frame a little more if you’d like. If you added more white paint then you wanted you can remove some by lightly sanding some of the excess paint off.


Next cut your bag in half and cut the bottom panel off your bag.

Now lay your bag out flat, face up and lay your glass from your frame on top of your it. Make sure your photo is centered in your glass , now trace around your glass with a marker.

Cut out around your traced line.
Put you glass back into your frame. You will want to clean the inside of your glass to remove any dust or fingerprints.


Now put your bag into your frame. I used a couple dots of my cool temp hot glue to hold the edges of my bag in place.

Insert your frame backing and close the tabs to hold your back in place.

To make a hanger cut a piece of twine, tie a knot about three inches from the end and string small wood beads onto it. Tie another knot at the end of your beads. You can make yours as long as you’d like.

Hot glue your hanger to the back of your frame. If you are using a heavy frame you will want to reinforce your hanger with staples. Mine is a light weight frame from Dollar Tree so a generous amount of hot glue will hold it just fine.

To finish off my hanger I made a bow from some Dollar Tree ribbon. I first used the burlap ribbon. I cut a piece about 5 inches and cut it in half longways. Criss-cross them like an X.


Next I cut two pieces of the burlap ribbon with lace slightly shorter then my burlap ribbon. I trimmed the edges so that you only have the center portion with the lace. Criss-cross them on top of your burlap ribbon.


You will top off your bow with some raffia. Tie all your layers together with a piece of twine. Trim the ends of your raffia.

You can choose where you want your bow to go. I like it both tied on the hanger and hot glued on the corner. You can choose where yo like yours best.

You now have a beautiful Dry Erase Message Board to jot down notes, leave messages for your family, make grocery list, etc. You can use any dry erase marker and easily wipe it off with a rag or paper towel. If you would like to watch the full video tutorial of this DIY click here. If you like this DIY tutorial and want to see more like it click here to visit my Facebook page. Make sure to click on the Follow button while your there if you want to see more of my tutorials in the future!


