This simple yet adorable bunny will fool anyone into believing it’s real galvanized metal! In this tutorial I will provide you the bunny templet and all the detailed instructions. This post contains referral links to help you find the items you may need for this craft.

What you will need for this DIY craft.
- Paint stir sticks
- File folder or natural colored card stock
- Cotton balls
- Wood beads
- Ribbon
- Raffia
- twine
- Paint, Brown acrylic paint and FolkArt Silver Anniversary Metallic
- Paint brush
- Hot glue gun and glue stick


The first thing you will do is create tour sign board. To do this I lined up 7 paint stir sticks. I cut two additional paint stir sticks to use as braces for the back of my sign board. I used hot glue to secure my braces on the back of my sign. You can get all the details and purchase paint stir sticks by clicking here or buy them at any hardware store.


Once your sign board is built you will “stain” your board. I used brown acrylic paint and water. I mixed two parts paint to one part water. Brush it on then wipe it off with a rag or paper towel. I did half of my board at a time.


While you have your paint/stain out you will paint 6 wood beads for the hanger. Set aside to dry. I hot glue my wood beads to a BBQ skewer to keep them from rolling around on me.
We will now work on our bunny. You can print your free bunny templet below. I suggest you print it on card stock, this will make tracing it much easier for you.


You will paint the surface of your card stock or half of a file folder with your FolkArt Silver Anniversary. If you don’t have this paint, you can purchase it by clicking here. You will want to use a generous amount.

As your paint is drying you will dab the surface of your paint with your brush to give it texture.

Once your paint is dry you will trace your bunny templet onto your silver painted surface.


After you have your bunny traced out. you will fold your paper back and forth, flipping your paper with each fold. This will give you the corrugated look. make your folds about a 1/2 inch apart from each other.


Now flatten out your card stock and cut out your bunny. No worries, the folds will easily go back into place.


You will attach your bunny with hot glue, center your bunny on your board.


Your bunny needs a tail, I hot glued a single cotton ball on my bunny first.


I then took a second cotton ball, stretched it out to create a flat circle. Hot glue this cotton circle over your first cotton ball.


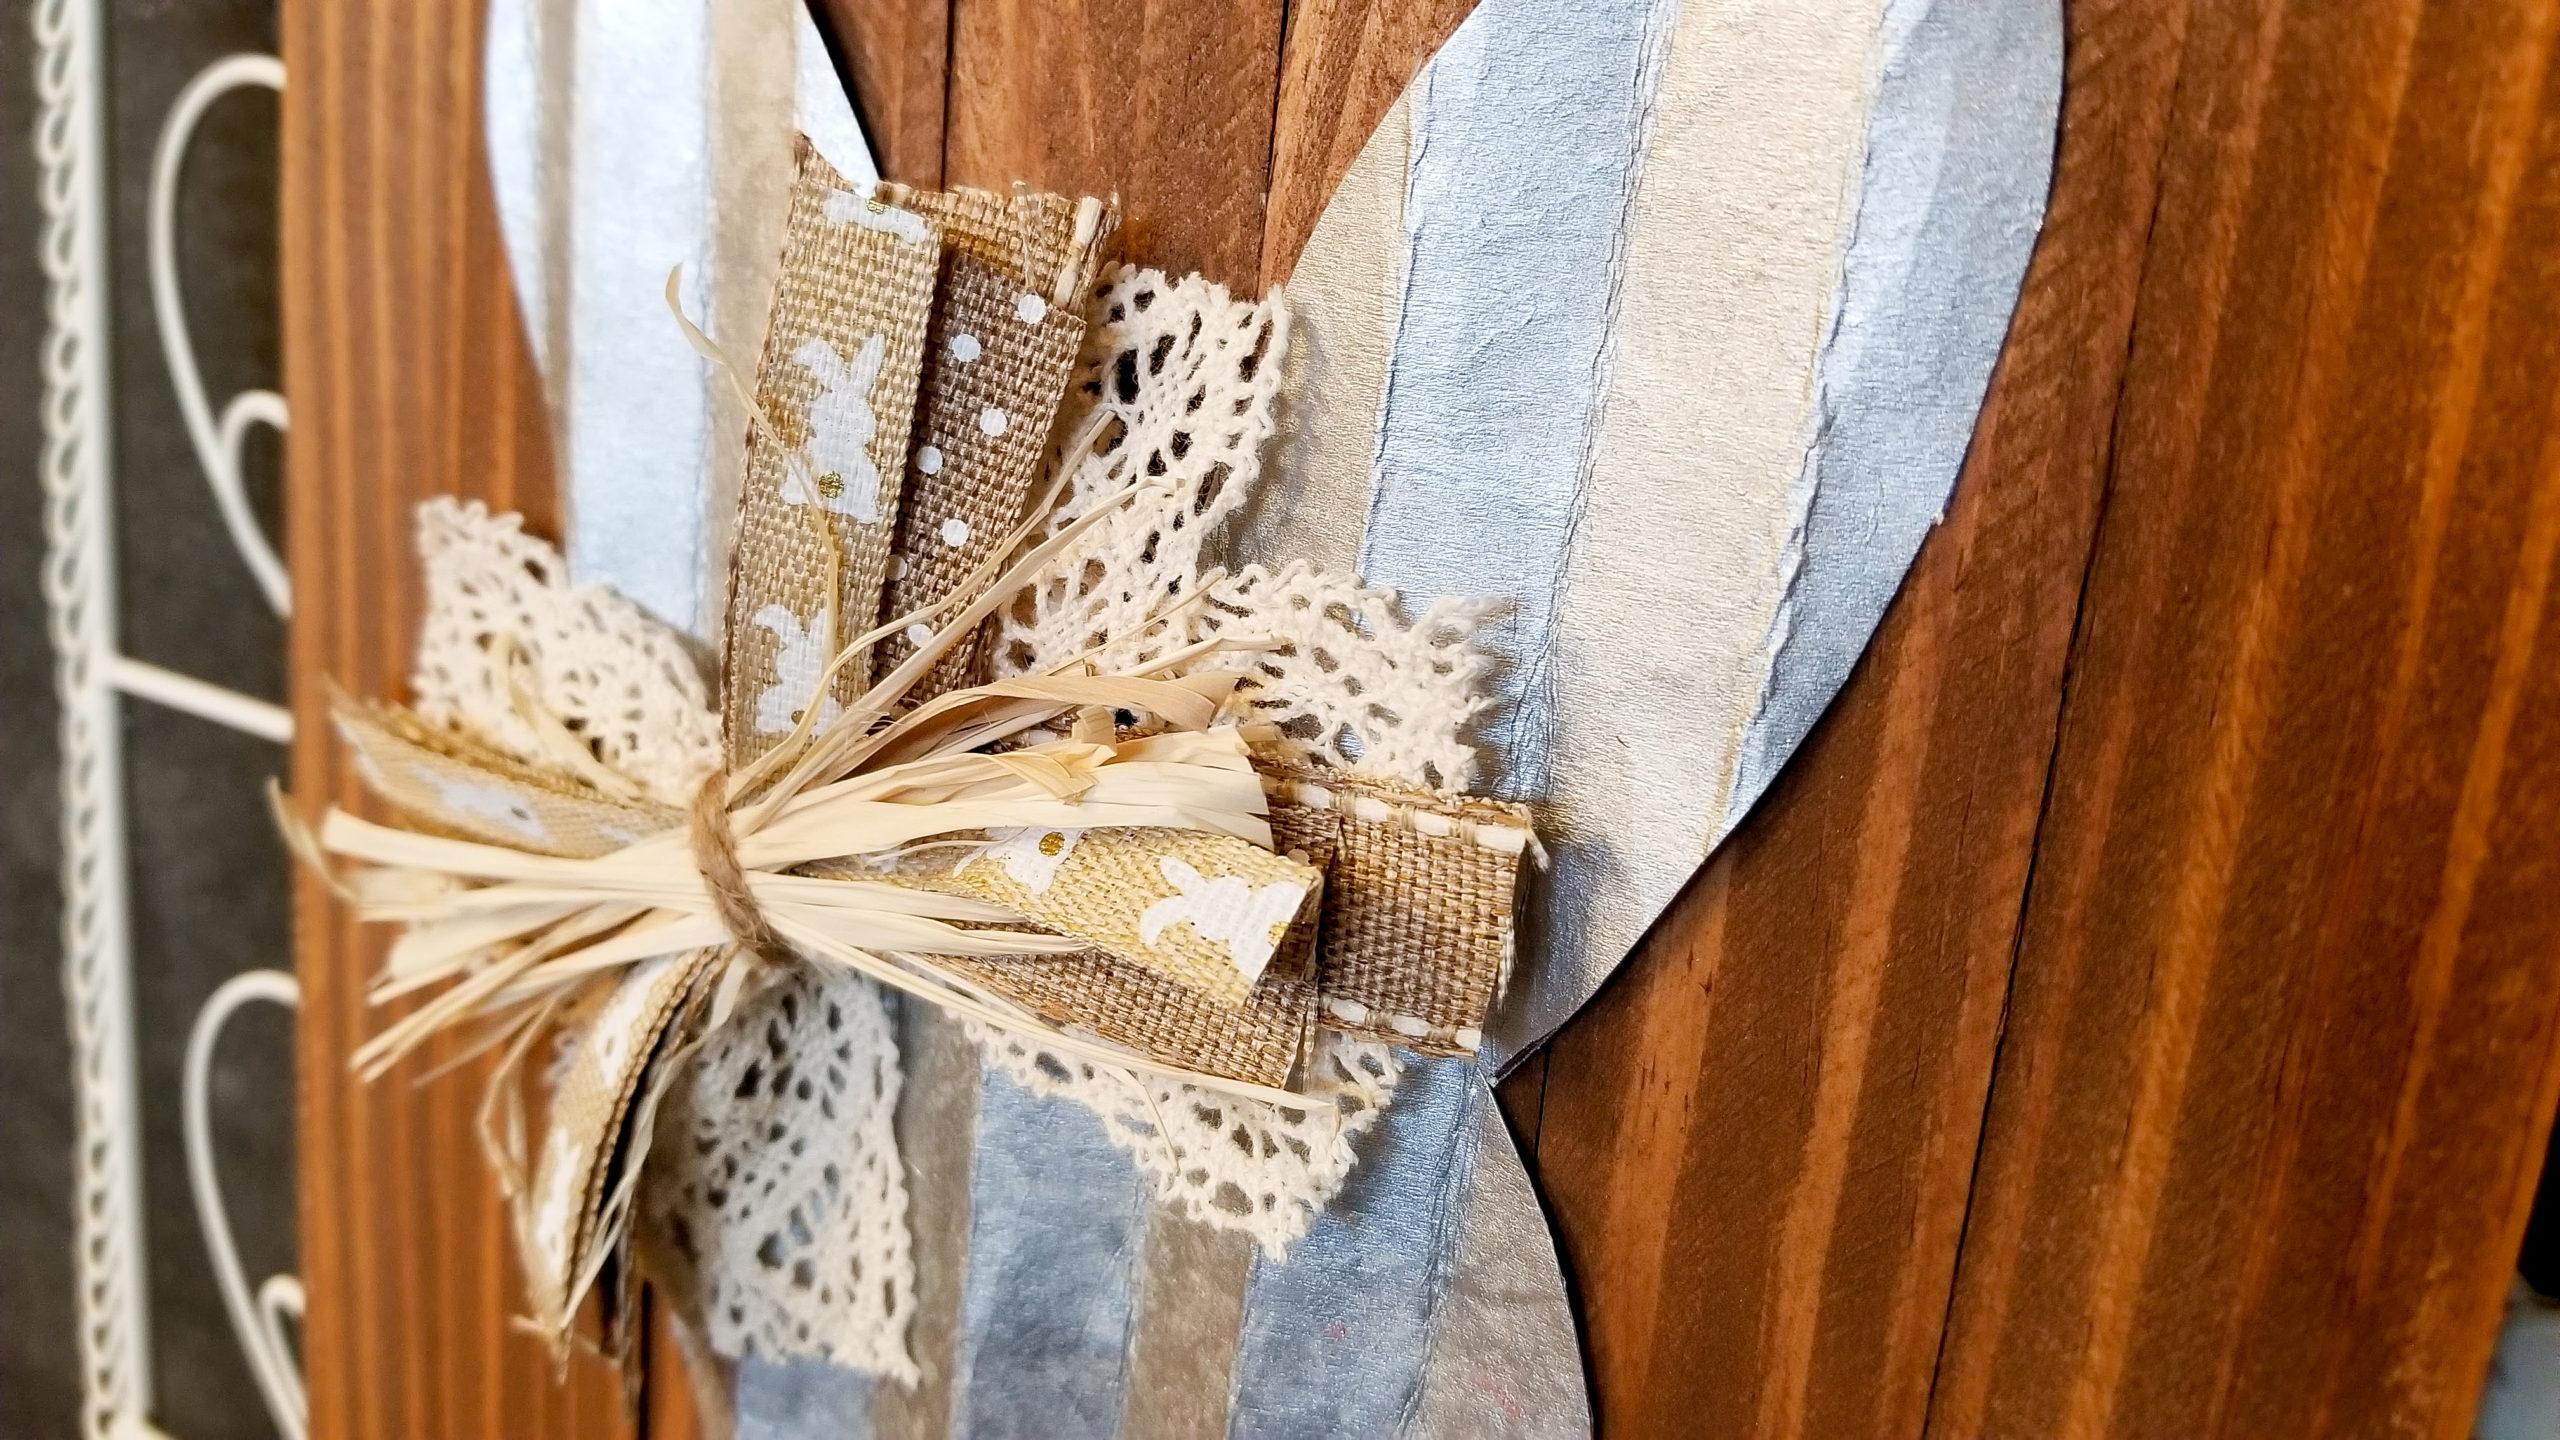
While your bunny is cute, she needs a little something else. You can create a Re-ffabbed bow for her. To do this layer several layers of ribbon, crisscrossing each layer and topping with some raffia.


Then tie all your layers together with a piece of twine or ribbon. O used hot glue to attach it to her ear.


The last thing left to do is to create a hanger. To make your hanger you will string your painted/stainded wood beads onto a piece of twine 12-14 inches long.

Tie a knot at each end of your beads.

Now hot glue your hanger to the back of your sign and trim off the extra ends of twine.
Your Faux Galvanized Bunny hanger is now complete! If you would like to watch the full video tutorial of this craft click here. If you like this tutorial and would like to see more like it click here to visit my Facebook page. Make sure you click the follow button while your there!
