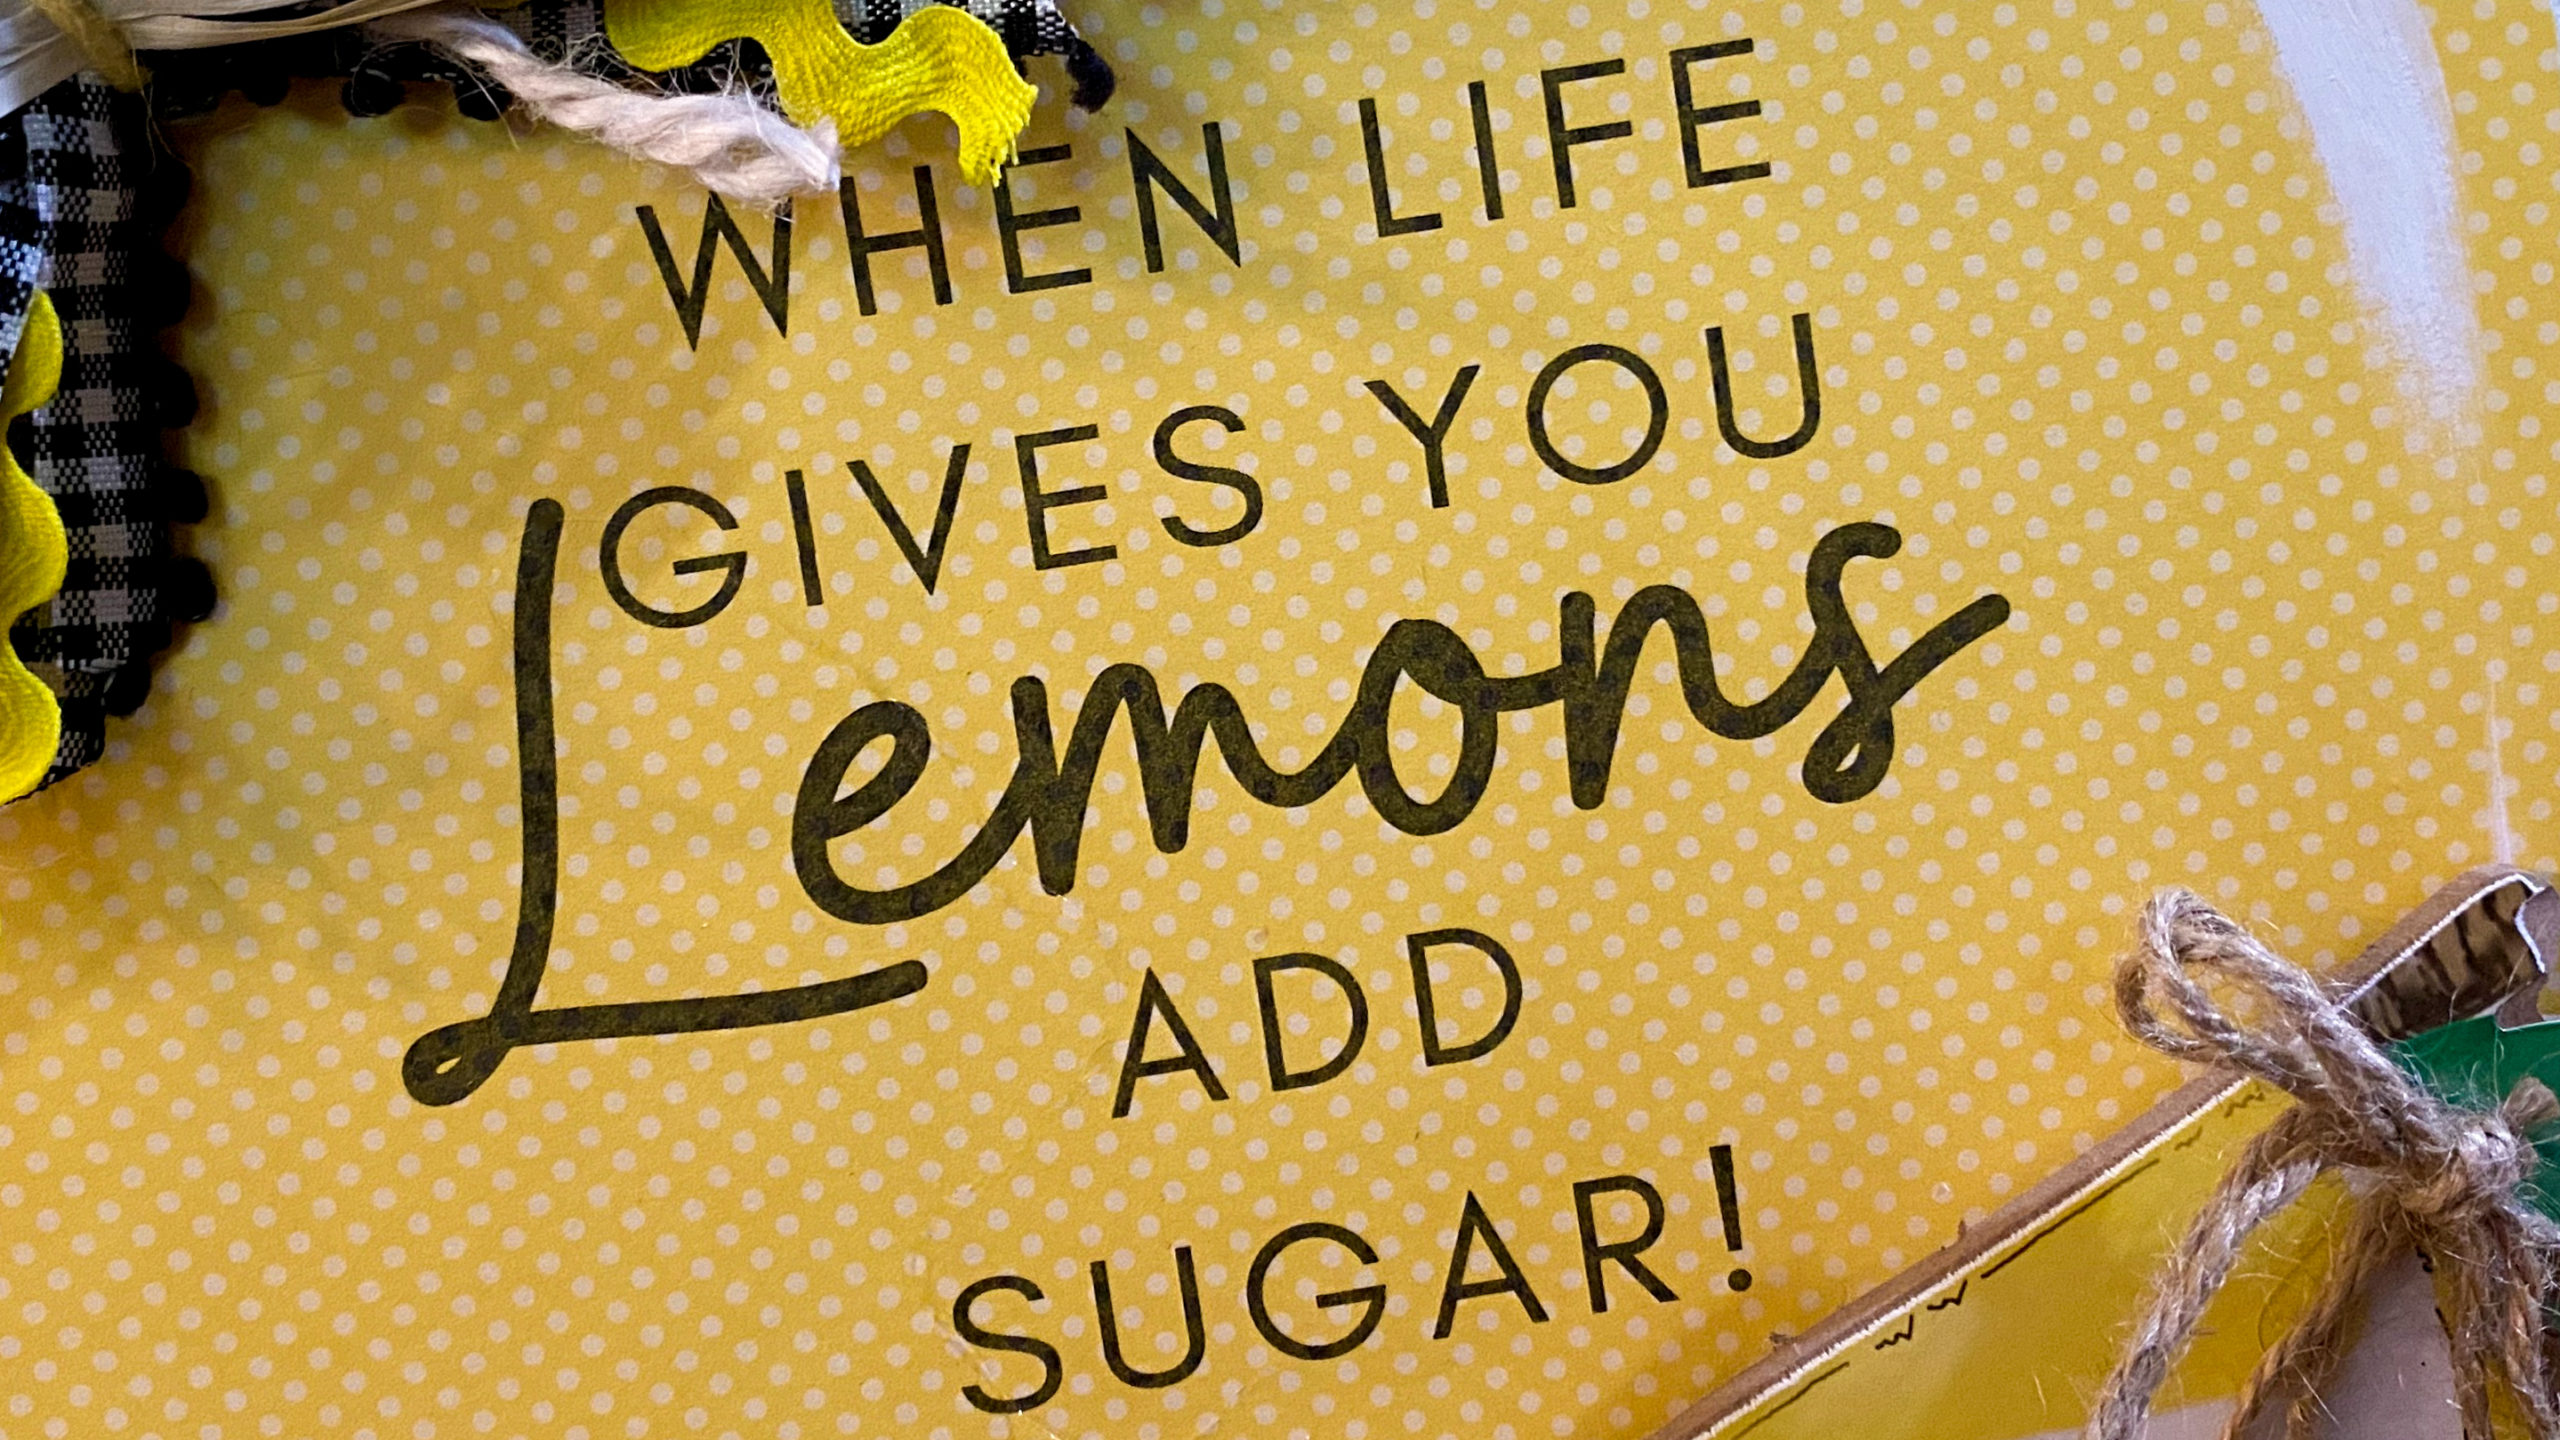
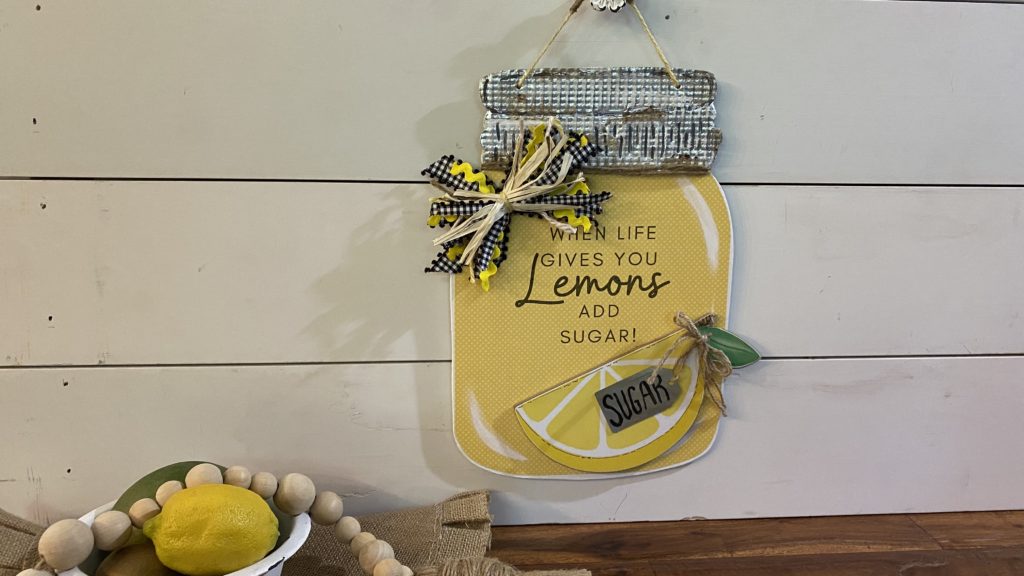
I’m loving how this Lemon wall-hanging turned out. I will show you how to create your own in this tutorial. I’ve also included the free download for the “When life gives you lemons…Add sugar” templet to make it easy for you!
What you will need
- Mason Jar Sign from Dollar Tree
- Lemon wedge from Dollar General
- Scrapbook paper
- Disposable aluminum cookie sheet
- Ribbon
- Twine
- Acrylic paint (white, gray. black)
- Waverly Antiquing Wax
- Paint brush
- Mod Podge
- Scissors
- Hot glue gun and glue sticks
- Printer
- Sanding block
The first thing you will do is remove your original hanger and sand off the glitter surface with a sanding block.
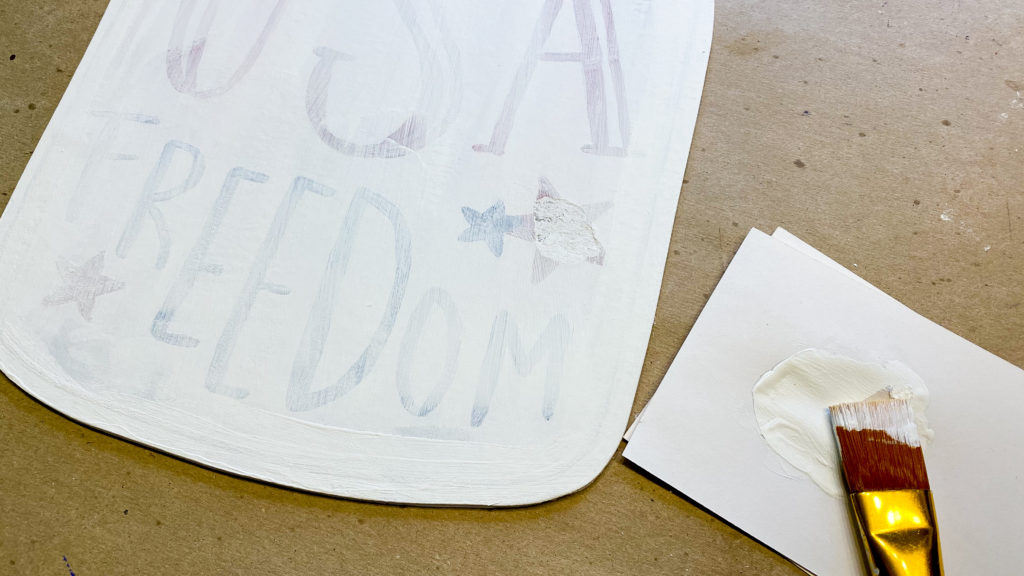
You will now paint the edges and surface of your jar white. I did a light coating of paint over the letters so they wouldn”t show through my scrapbook paper.
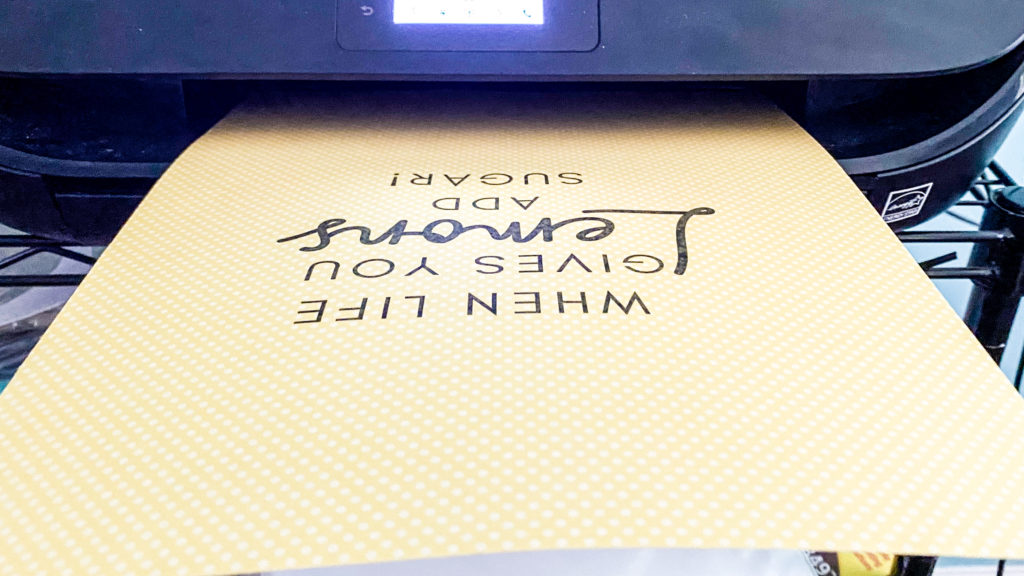
While your paint is drying you can print your lettering on your scrapbook paper. If your scrapbook paper is 12 x 12 inches, then first cut it down to 8.5 x 11 inches to fit into your printer and to get the right placement on your jar. Below is the free download. Just download it to your computer and print it on your 8.5 x 11 inch scrapbook paper.
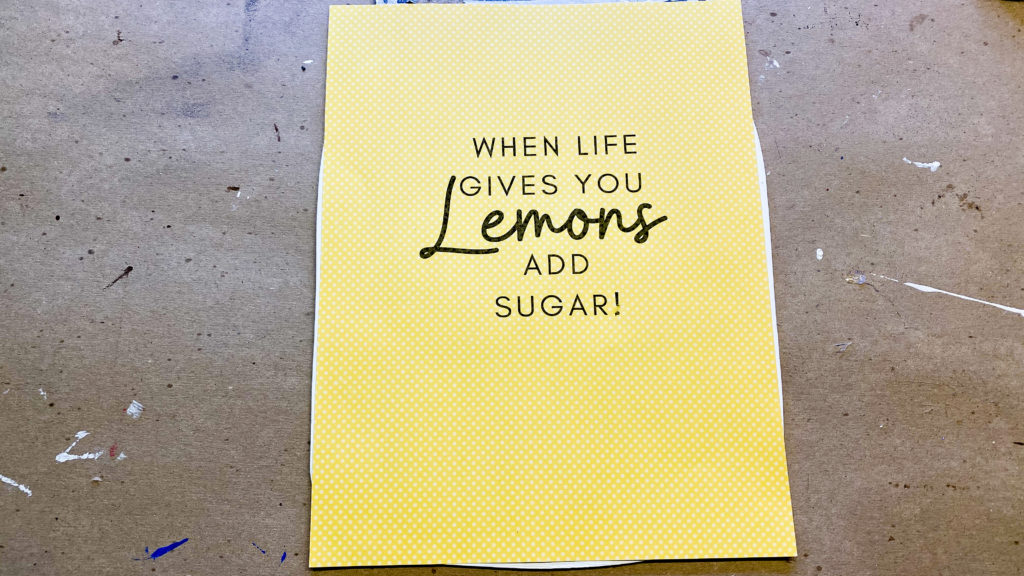
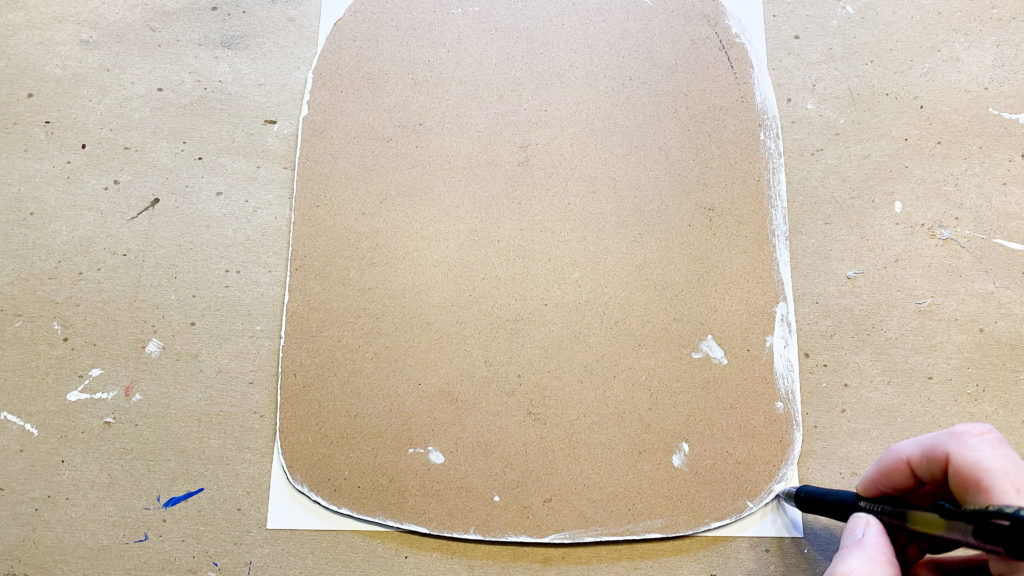
You will notice your paper is slightly smaller then your jar. That’s OK, we want to have some of the edges of our jar showing anyways. Center your paper on your jar, then carefully flip it over and trace your jar.
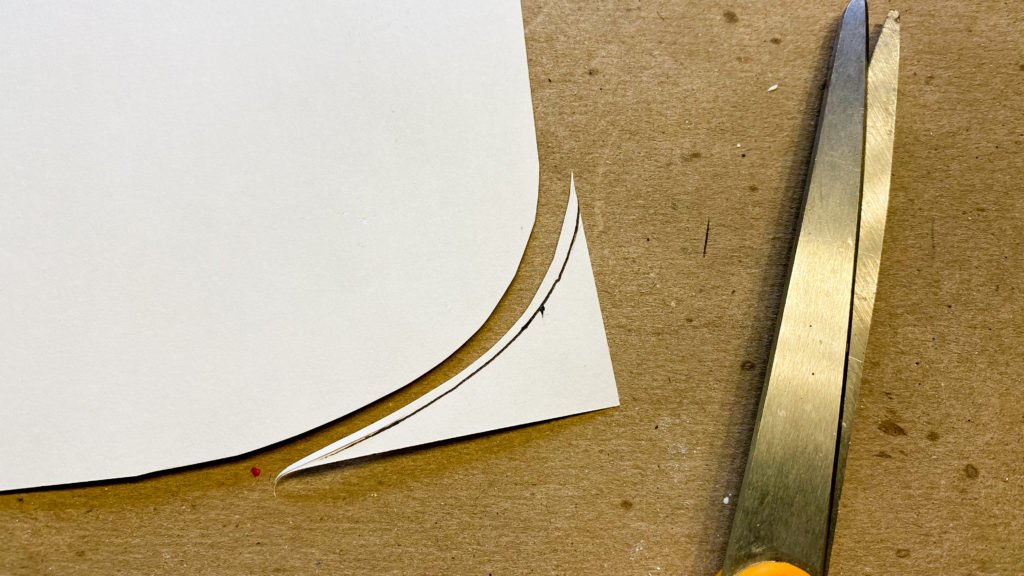
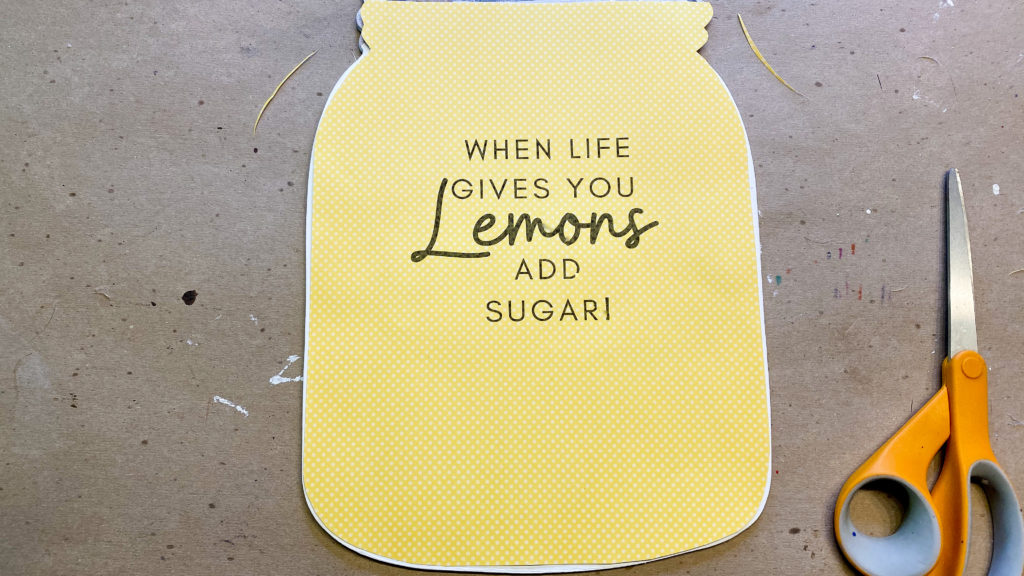
You will then cut out your jar shape inside the lines about an 1/8th of an inch. Lay your cut out paper on your jar and do any further trimming you think you may need.
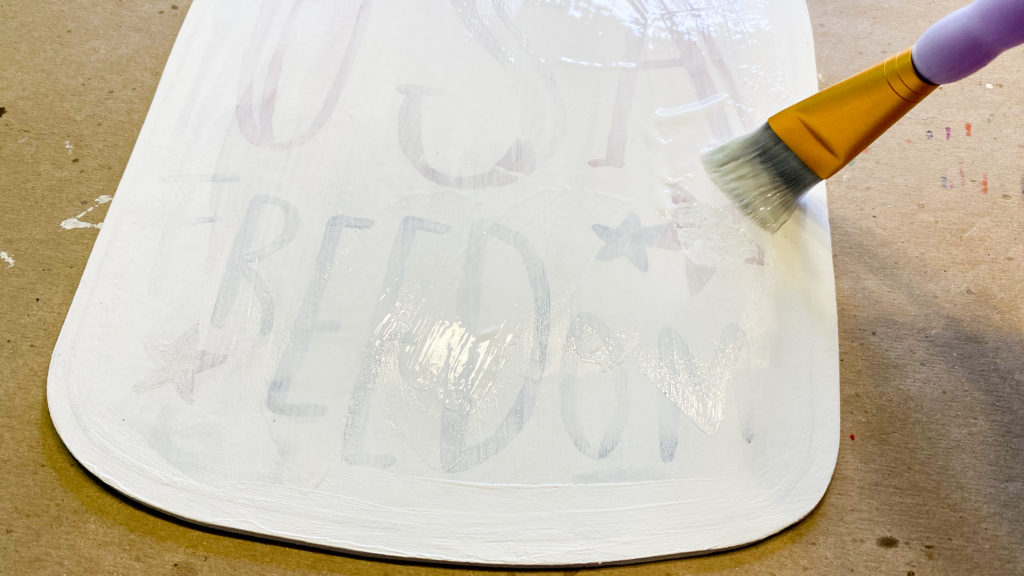
Now Mod Podge your scrapbook paper onto your jar hanger, making sure to get the edges good.
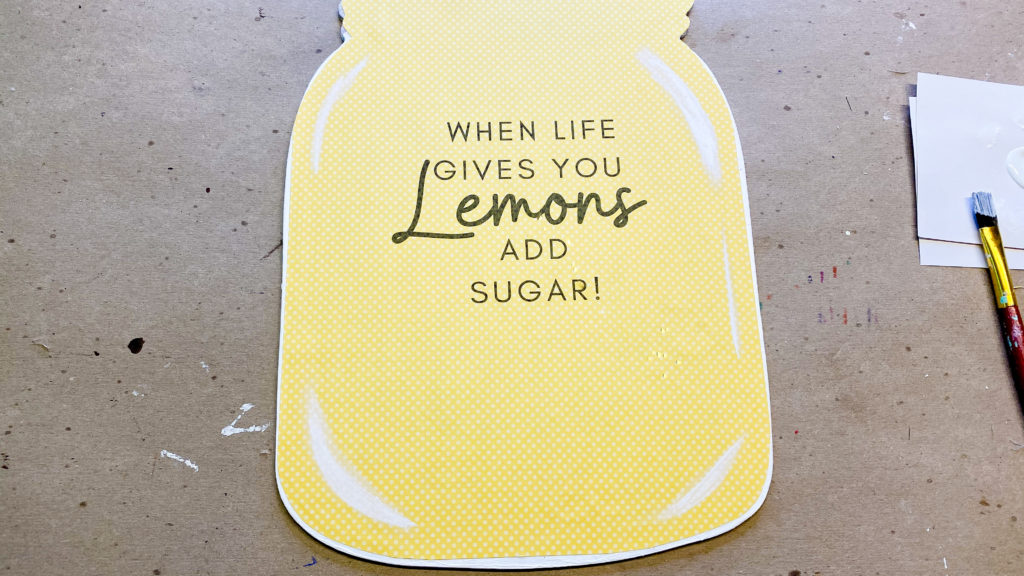
Once your Mod Podge is dry you will use some white paint to dry brush a little accent paint around the edges of your jar. Make your brush strokes a little wider around the corners. This will really give your jar a three dimensional look.
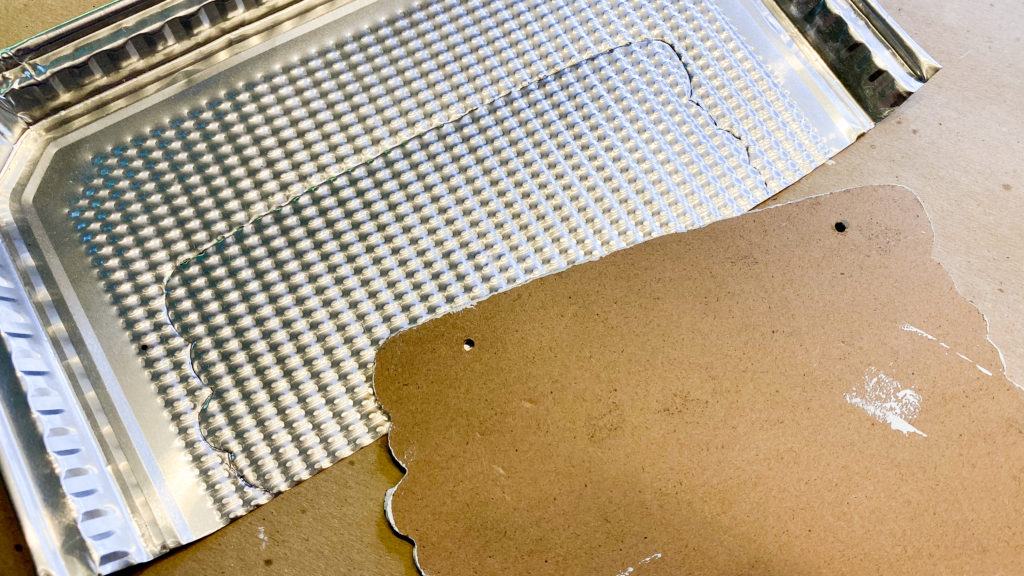
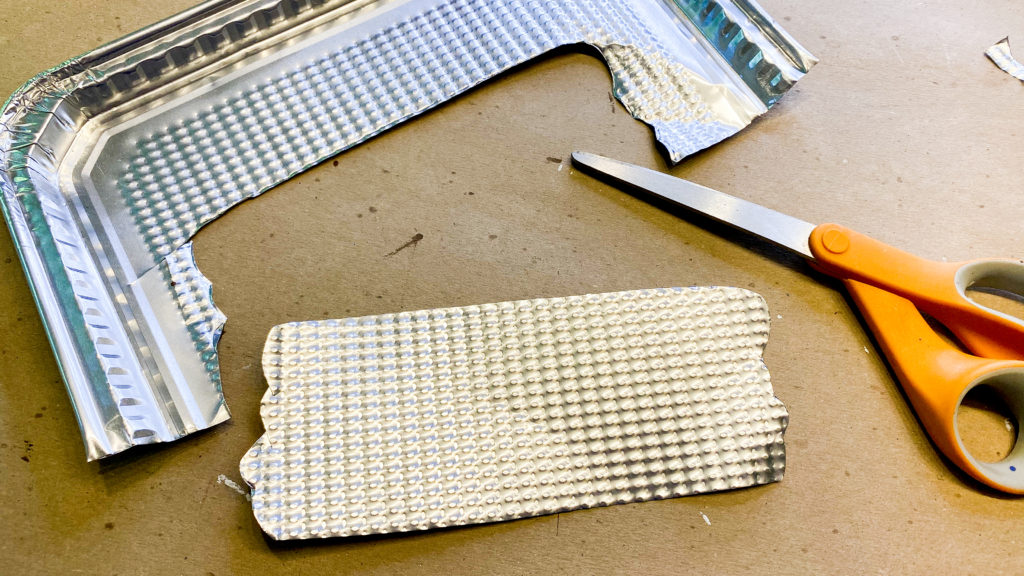
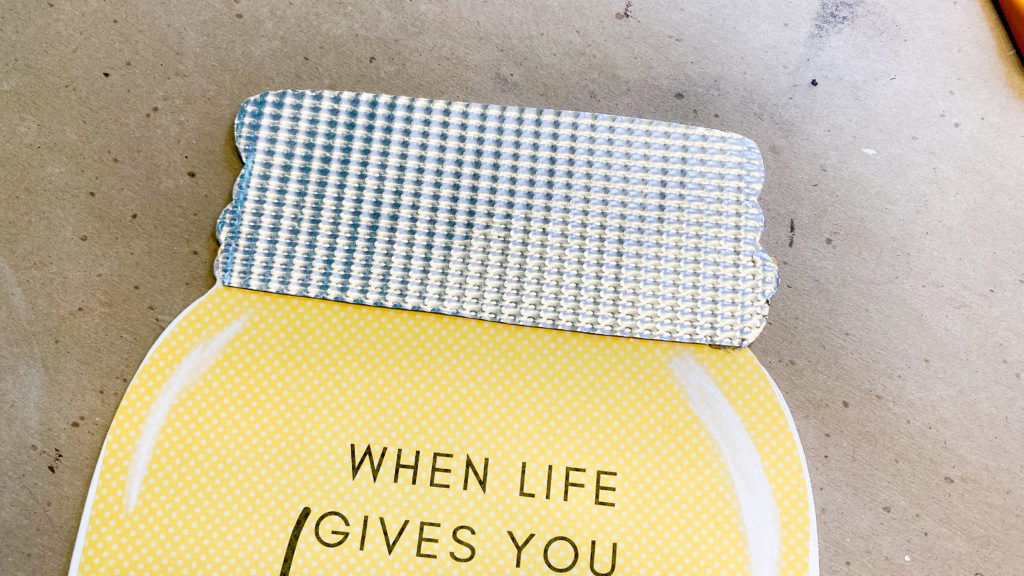
After your white accent paint is dry you will trace out the top of your jar onto an aluminum cookie sheet from Dollar Tree. Cut it out on the lines and hot glue it to the top of your jar.
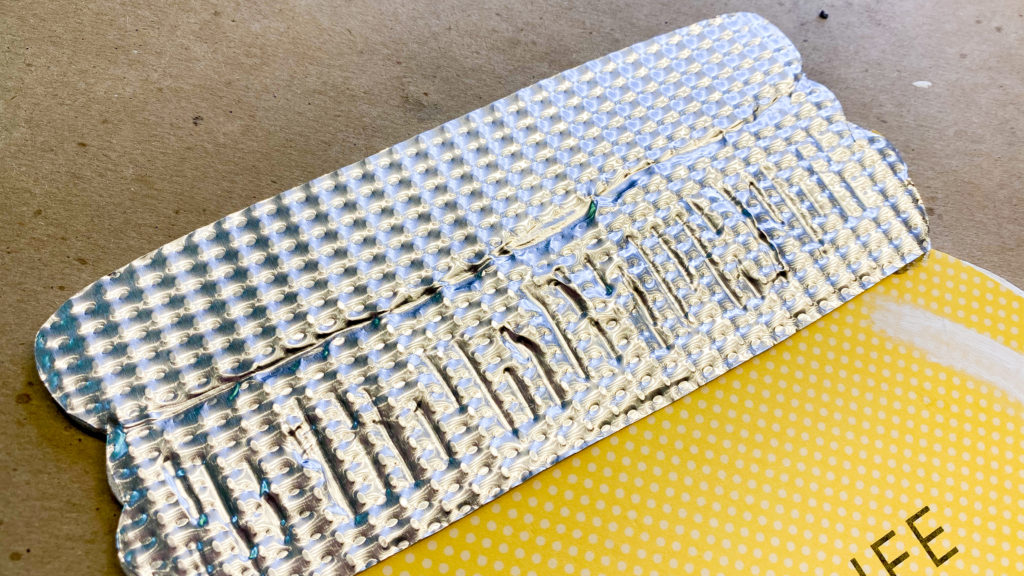
To add some accent to your lid, use the end of a paint brush to score a rounded look to the top, and lines on the bottom.
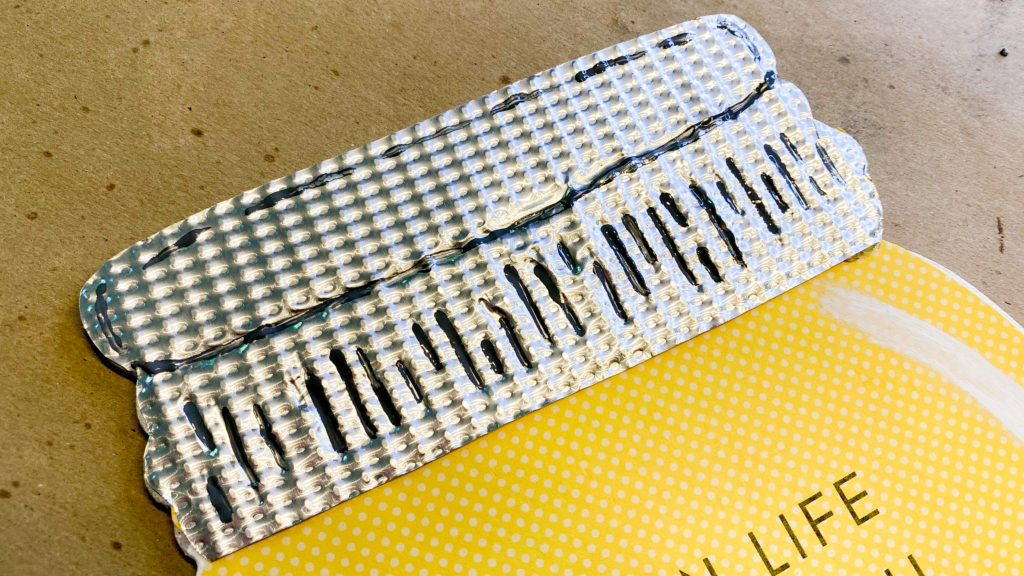
Use gray paint to highlight these lines you scored into the jar lid.
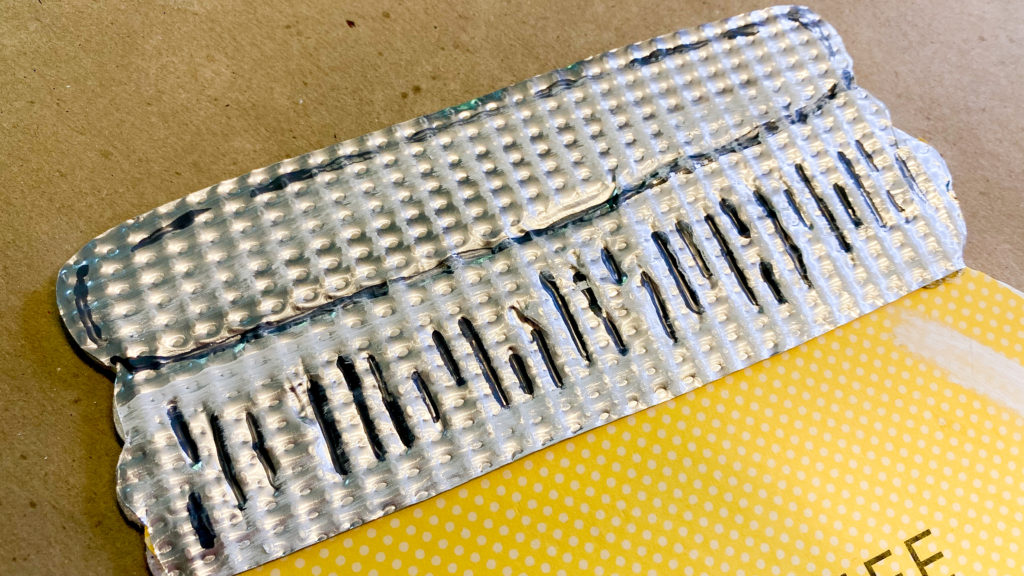
You can further accent your lid by dry brushing a small amount of white paint , this will soften the shininess of your lid.
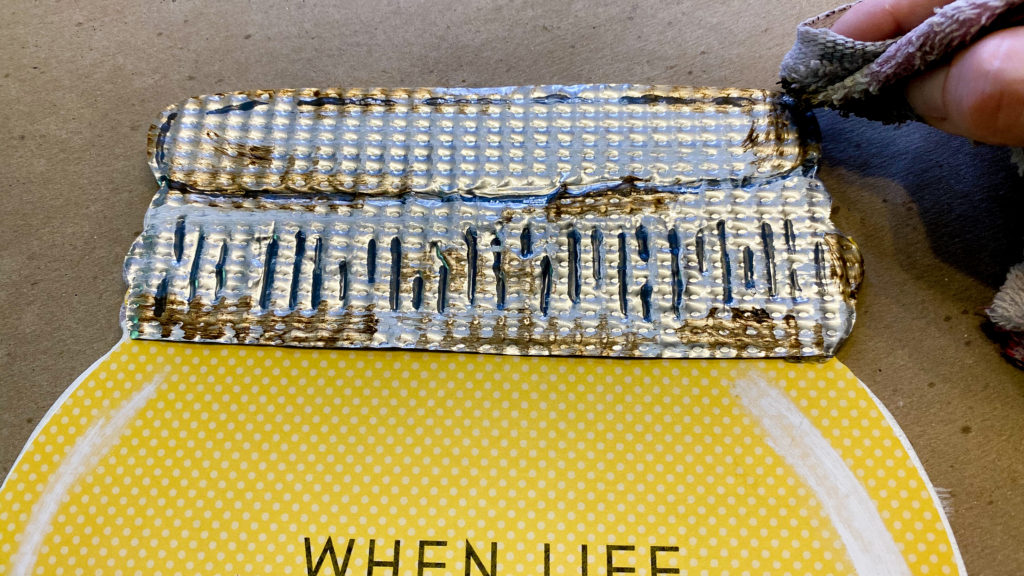
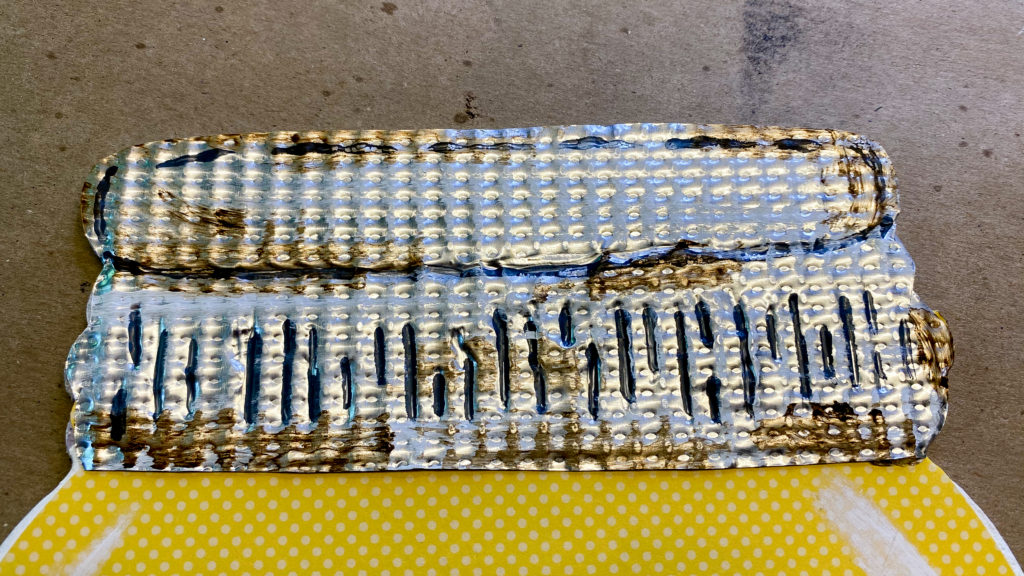
To add a bit of an aged look, use a damp rag and add a small amount of antiquing wax here and there around your lid.
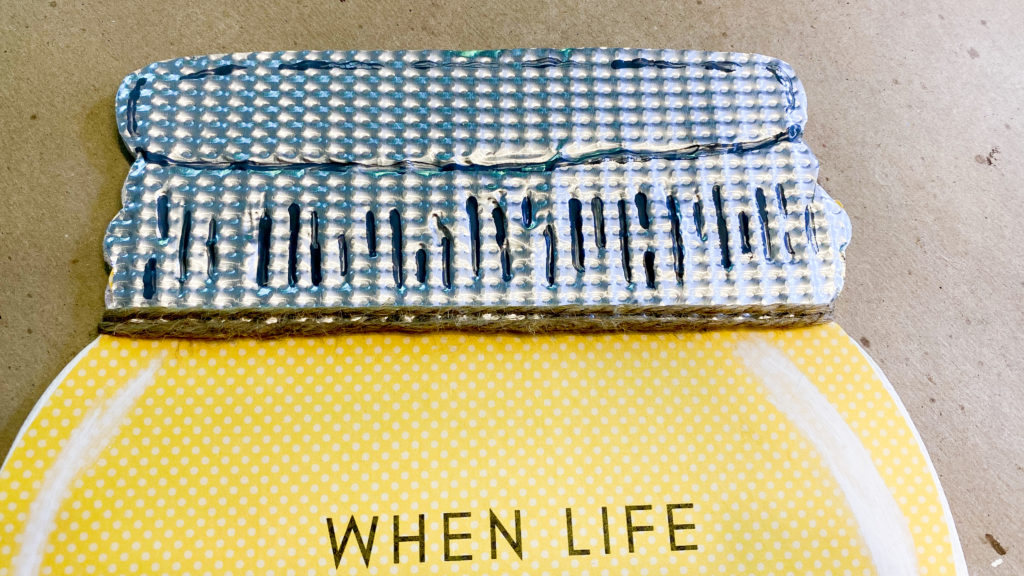
Hot glue a couple pieces of twine around the top of your jar.
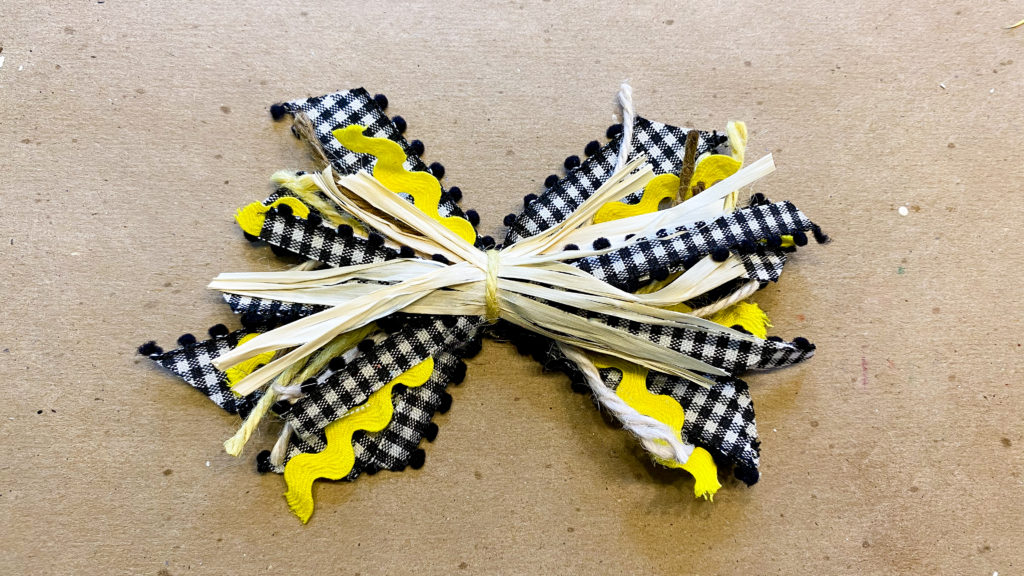
Next you can create a Refabbed bow by layering several different layers of ribbon criss-crossed and tied together in the center. Hot glue your bow at the top of your jar near your twine.
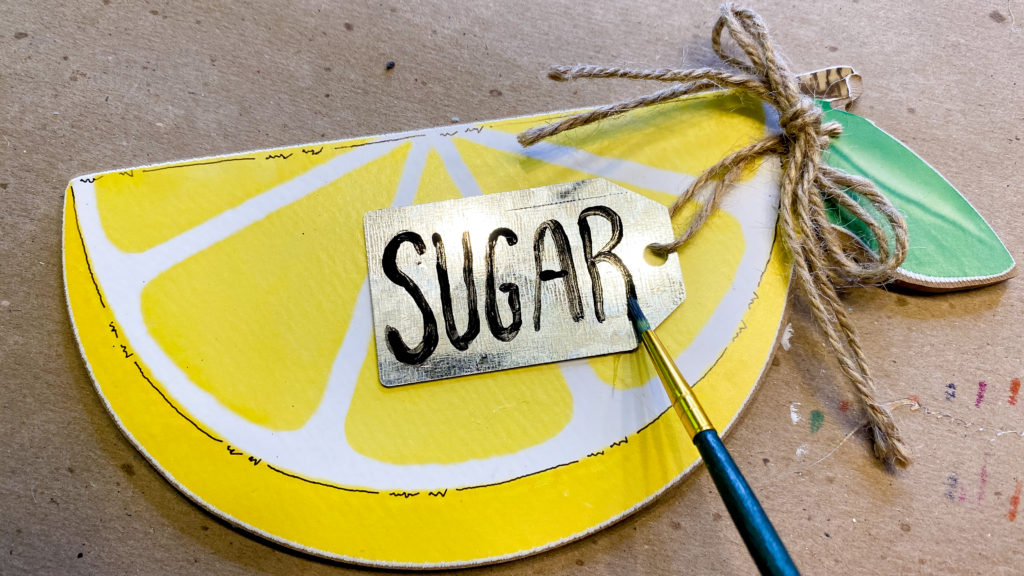
Now to add the lemon wedge. I flipped my tag over and painted the word “SUGAR” on it to go with the theme of the jar. Use a dab of hot glue to secure your tag into place.
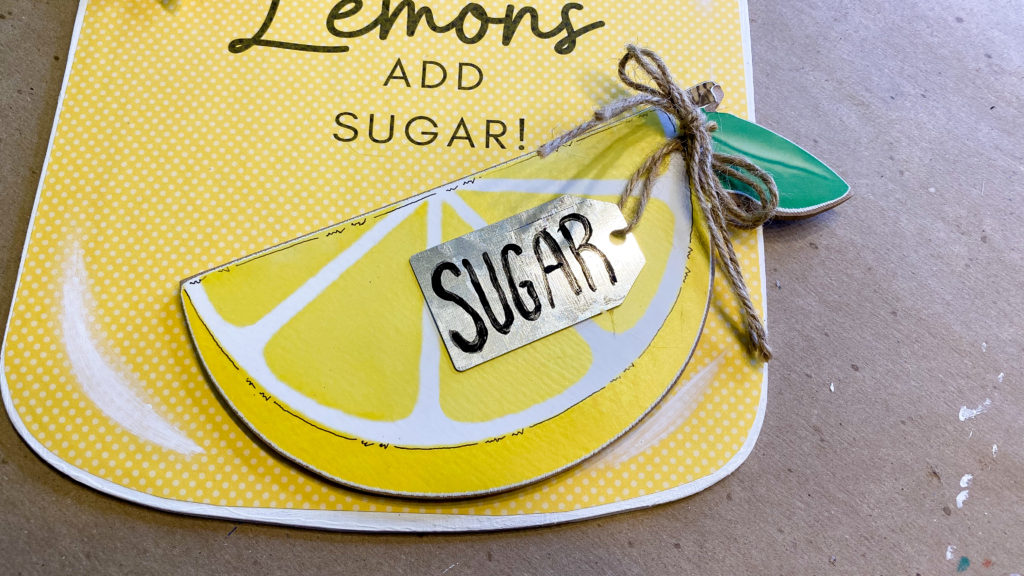
Hot glue your lemon wedge on the bottom right side of your jar.
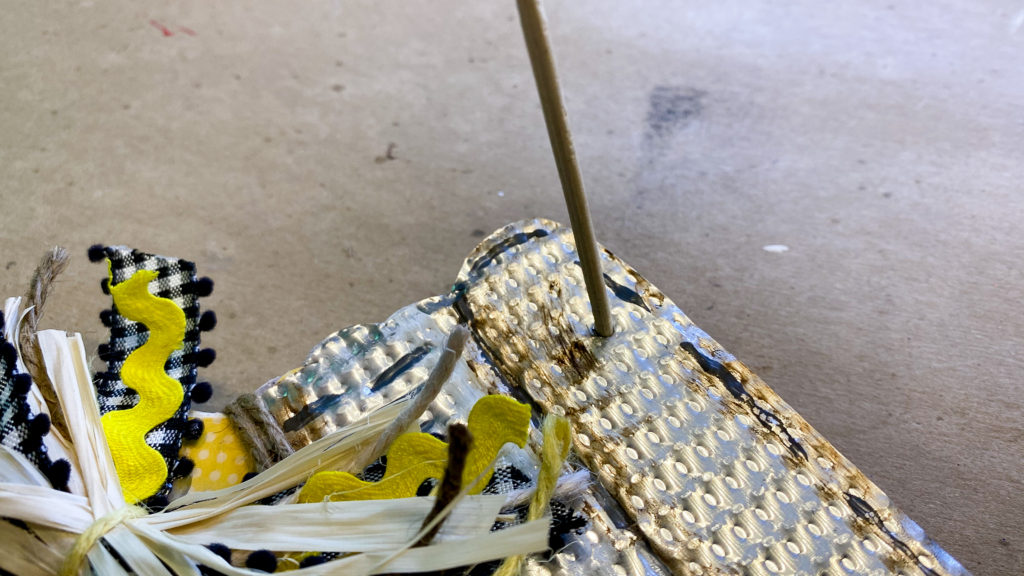
Last you need a hanger. Use something sharp and pointy to poke your hanger holes through your lid. I used a BBQ skewer.
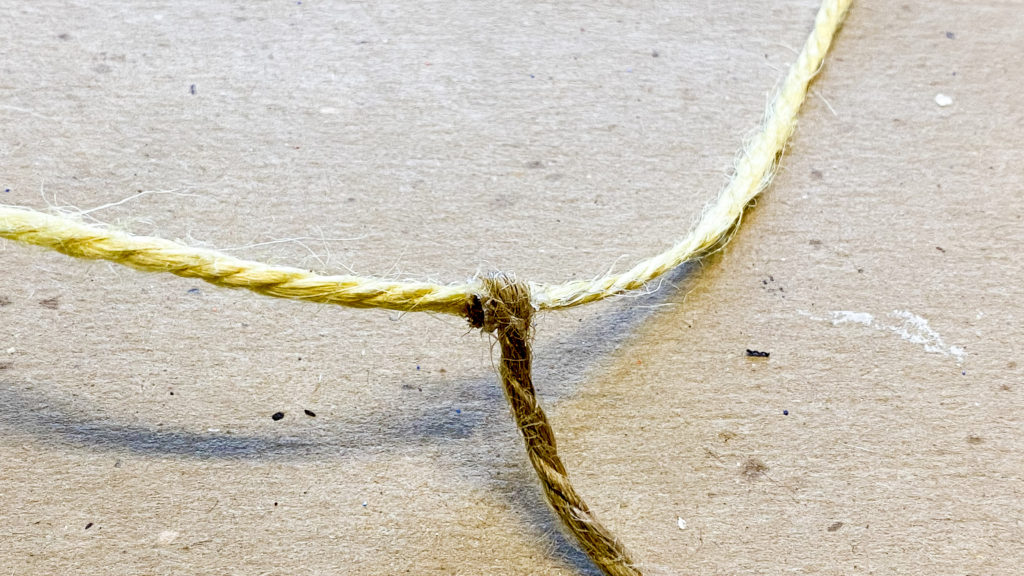
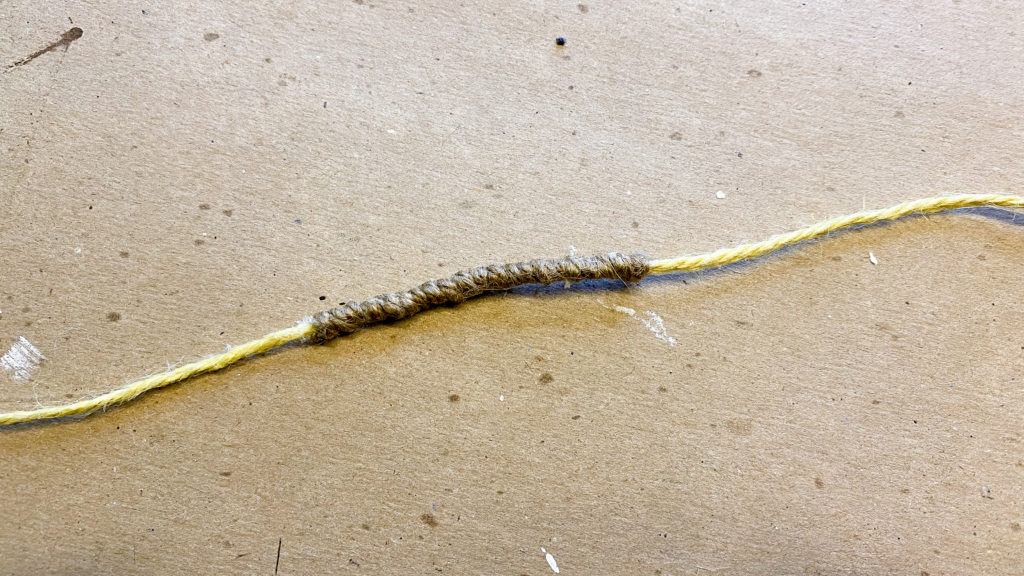
For my hanger I used a piece of yellow twine. I wrapped brown twine around the center of my yellow twine using hot glue. This just adds a little extra character and gives the look of a handle.
Your new Lemon Mason Jar is now complete. If you would like to see the full video tutorial of this craft click here, for part two, click here. If you like this tutorial and would like to see more like it click here to visit my Facebook page.

Kristy! That is beautiful! I didn’t see the ending last night. So I watched it today.
Thank you for the download – I’m going to hobby lobby tomorrow to see if I can find the paper. We don’t have a dollar general nearby but I’m determined to find the jar and lemon slice. !!!
I hope you were able to find the supplies!