This adorable little Chicken Wire Basket came to life out of the desire to not just throw away the left over metal from my Spring Hanger DIY. You can find that tutorial by clicking here. I takes a little time, but completely doable for any crafter!

Here’s what you’ll need to create this DIY.
- “Flowers & Garden” Metal Bucket, Dollar Tree
- Chicken Wire
- Silver floral wire
- Drill and small drill bit
- Needle nose pliers
- Tin snips
- Block of scrap wood
- Twine
- Wood beads


If your are making this for the first time you will need to cut the side panels out. I measured 7 inches across and marked it out with a Sharpie and used a pair of tin snips to cut out the panels.


When your panels are out you can start to create your new basket. You will use your needle nose pliers to fold over the edges of your metal. Once you fold over the edges, go over them again pinching together the folded metal to give you a clean smooth edge.

Now you will cut out two pieces of chicken wire slightly wider then your opening. Make sure on the ends of your pieces, you leave the long ends of the wire so you can use these to help attach it to your bucket. I used the clean edge of the chicken wire across the top edge of my basket. Use wire cutters or your tin snips to cut your chicken wire.

You will now lay your chicken wire pieces over your opening in your bucket and mark where each end of your wire lines up with the sides of your bucket. Place a small dot to guide you where to drill your holes. Do this on all four side openings.


You will drill a small hole in each mark on the sides of your bucket. You will also drill small holes about every inch across the bottom edges of your bucket along the openings. it is helpful to use a block of wood to support your metal while you are drilling to keep your metal from bending. It will also protect your work surface.


While we are drilling you will also drill two holes on each end of your bucket about 2 1/2 inches apart about a 1/2 inch down from the top rim of the bucket.
Now that all your holes are drilled, congratulations on using power tools! Take a break and grab a well deserved cup of coffee or a glass of wine ; )

The next step will be to insert the ends of your chicken wire into the holes you drilled on one side of your opening.


Use a pair of needle nose pliers to to bend over the ends to help hold your chicken wire in place. Repeat this step on the remaining three sides.


After you have all four of your sides attached into the holes. You will take a long piece of silver floral wire and thread it through the holes and chicken wire all the way along both sides and the bottom to permanently secure your chicken wire. You will thread it through as if you would if you were sewing. Twist the ends of your wire at each end around itself to hold it into place. Trim the excess end of wire.

Last you will string four wood beads through a piece of twine tying a knot at each end of your beads.

Slip each end of your twine through the holes you drilled on the sides of your bucket.


Tie a knot inside the bucket to hole the twine handle in place. Trim off the excess twine.
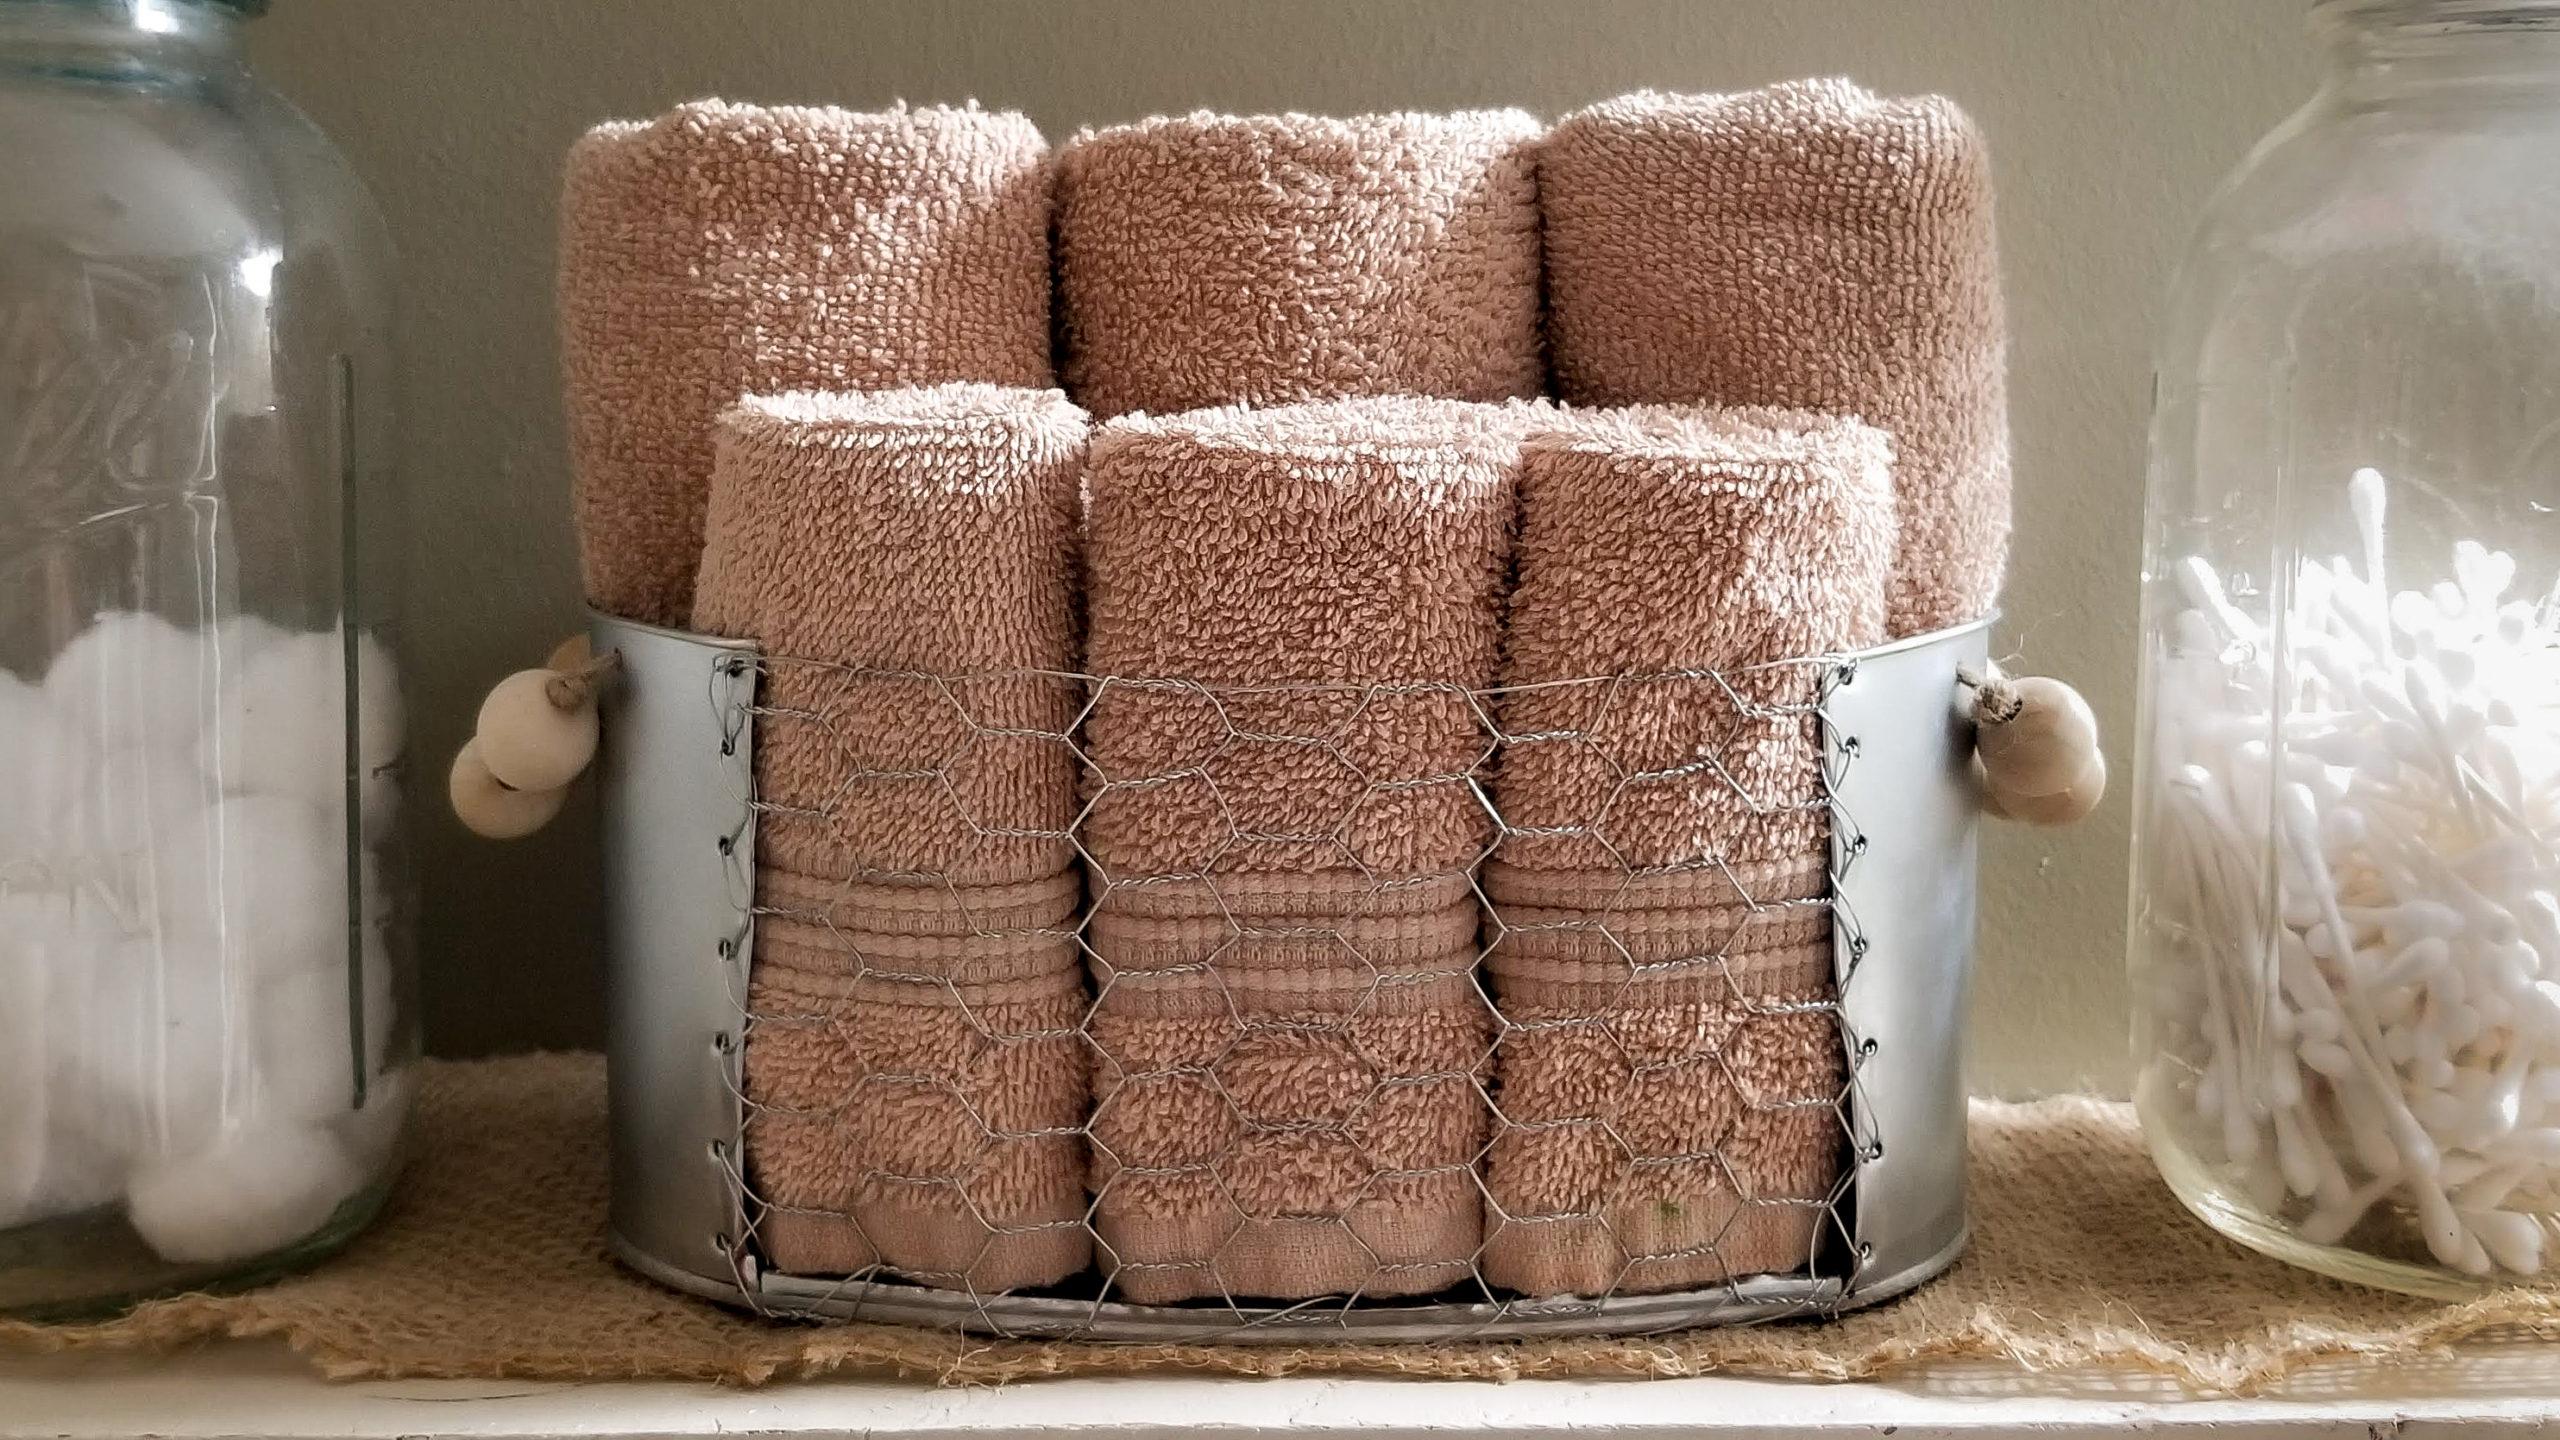
Your Farmhouse Chicken Wire Basket is now complete! If you would like to watch the full video tutorial click here. If you like this DIY and want to see more like it, visit my Facebook page by clicking here.


I LOVE this!!I have already got my stuff to make it.
That’s great! Have fun making it!!