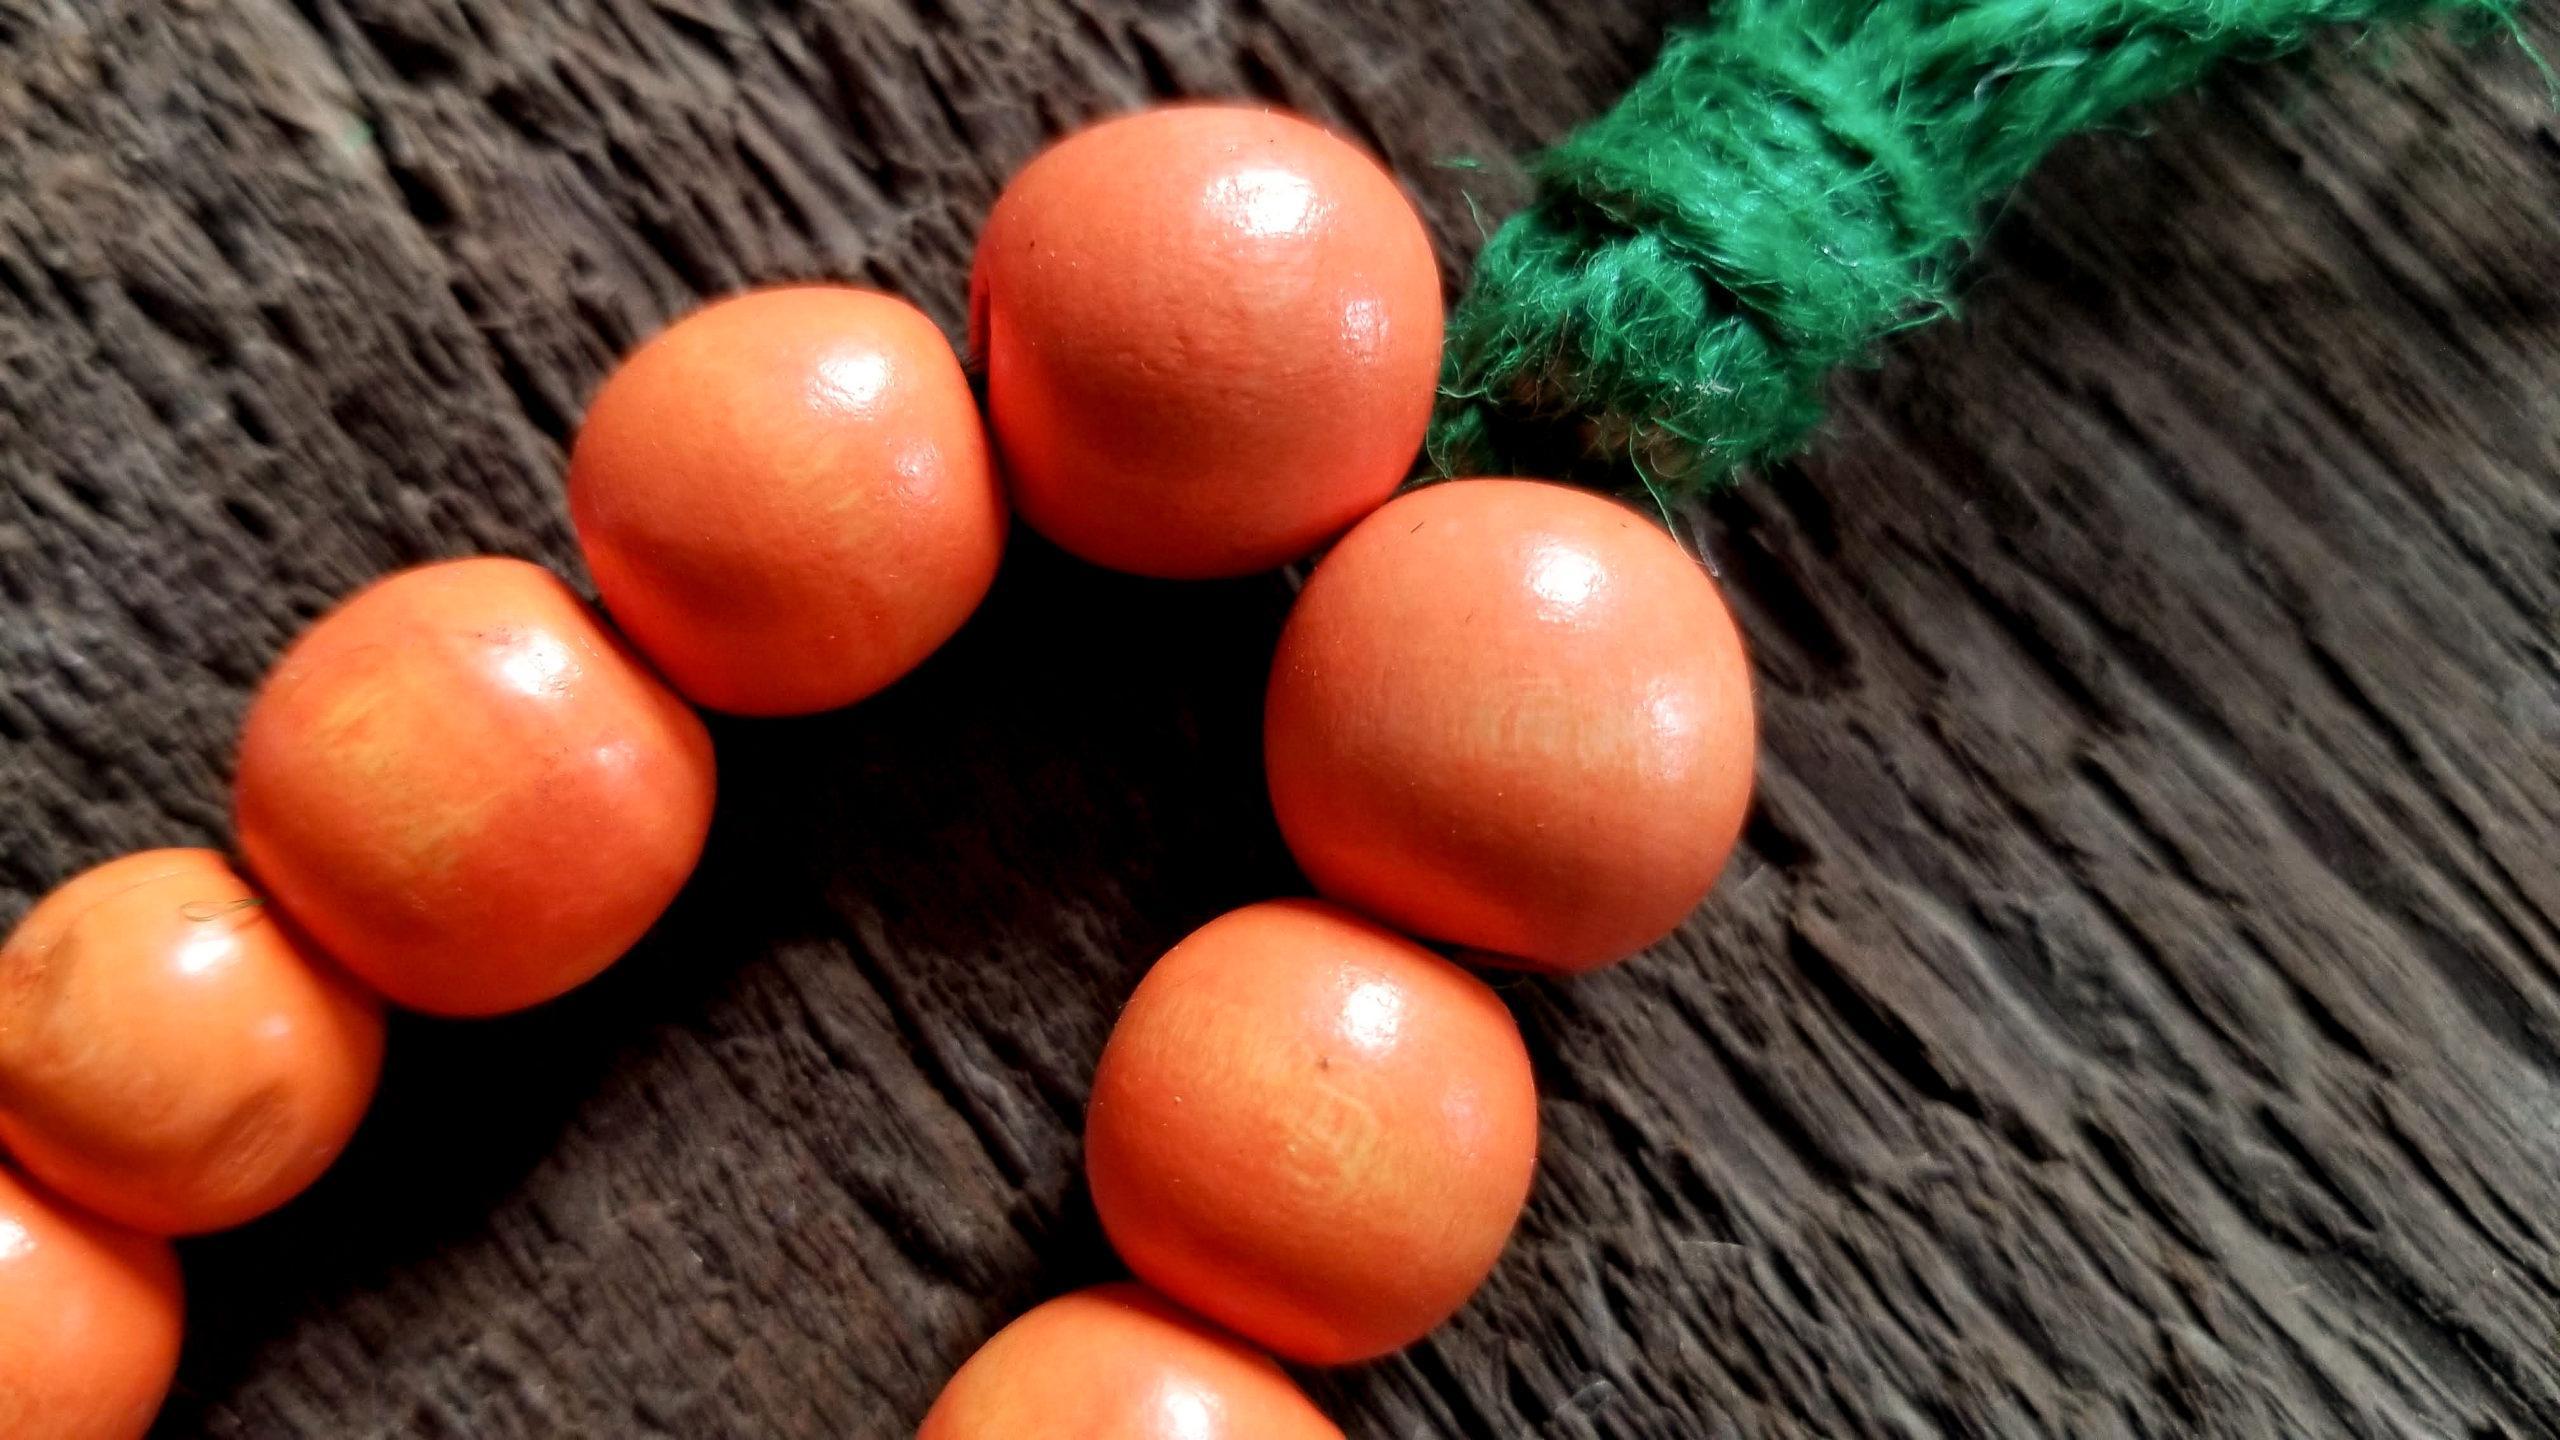
These Wood Bead Easter Carrots are so stinking cute! You won’t want to stop at just making one! They were so easy and inexpensive. This would be a great craft to incorporate the kids or grand kids into!

Here’s what you’ll need fro this easy DIY!
- Wood Beads
- Green Twine
- Scissors
- Hot glue gun and glue sticks
The first thing you will do is pick out your beads you want to use. The wood beads I used were found at Dollar Tree. They are a variety of colors and sizes. I chose the orange beads, I use some of all the sizes, totaling 15 beads.

You will measure and cut a piece of green twine from Dollar Tree about 28 inches long. Folded in half it will measure 14 inches.

With your twine folded in half you will tie a knot close to the folded end.

You will now slide both ends of your twine through your smallest bead.

I used the next side up bead, sliding one bead onto each piece of twine.

With the next size bead, I slid three of each onto each piece of twine.

I repeated the previous steps with one of each of the next three sizes. You may or may not have the exact number and sizes in your package as I do. The main thing is to start with your smallest beads at the bottom working your way to the larger beads and to make sure the beads that are lined up next to each other are the same size.

Once you have all your beads on your twine, you will tie you two pieces of twine together at the top of your carrot.

You will now loop together several layers of twine about 5 inches long. I had 6-6 loops.

You will find the center of your loops and tie it to the top of your carrot using the two long ends of your twine left over from stringing your beads.

Now bring all your loops together and trim off the long ends you used to tie your loops on with.

Next you will take another piece of twine about 12 inches long and tie your loops together close to your carrot. Leave one end longer then the other.


Wrap your twine around the base of your loops where you tied it several times creating a collar. Use hot glue to secure it into place. Trim the excess length off.

You now have a choice. You can leave your looped ends as your carrot top or you can cut all your loops like I did. I left one loop off to the side to use as a hanger and cut all the other loops.

My ends were varying lengths, so I trimmed them up to even them out. Be careful not to cut you loop for your hanger.

If you can’t find these beads at your Dollar Tree you can also use natural wood beads for this craft. If you have multiple sizes, great! If no, that’s OK, it still turns out super cute using all the same size beads as well!
I hope you enjoyed this DIY tutorial! If you would like to see the full video of this tutorial click here. If you like this tutorial and want to see more like it, click here to go to my Facebook page.


