In this tutorial I’ll show you how you can take a few simple items from Dollar Tree and turn them into a costume Spring Hanger that will welcome spring into your home!

Here’s what you’ll heed for this DIY Craft.
- Metal Garden Flower, Dollar Tree
- Spring metal word, Dollar Tree
- Sign board, Dollar Tree
- Scrapbook paper, Hobby Lobby
- Raffia
- Twine
- Wood beads
- White paint
- Metallic Silver Anniversary, FolkArt Paint
- Mod Podge
- Paint brush
- Hot glue and glue sticks
- Sanding block
- Scissors

The first thing you will do is remove the hanger from your sign board. Set it aside so you can reuse it.


Now trace your sign board onto the back of you scrapbook paper. I used a left over valentines sign that I had. You can use any square shaped sign board you have available to you.

Once you sign board is traced, cut it out. cut outside the lines. It’s better to have a little overlapping the edges of your sign then to be cut too small.


Now brush some Mod Podge onto your sign board and place your cut out piece of scrapbook paper onto the sign board. press out any air bubbles and set aside to dry.

Once your mod Podge has dried completely, use a sending block to sand the edges of your sign. This will trim off any excess overlapping paper and add a bit of distressing to your sign. If you’d like additional distressing, sand some spots on the surface of your sign board.


Now we will work on the flower transformation. My flower was a garden steak from the spring section from Dollar Tree. To remove the flower I simply bent the steak it was attached to back and forth until it broke off.


First I used my sanding block to remove some of the shiny surface of my flower and wiped away any dust created from sanding.


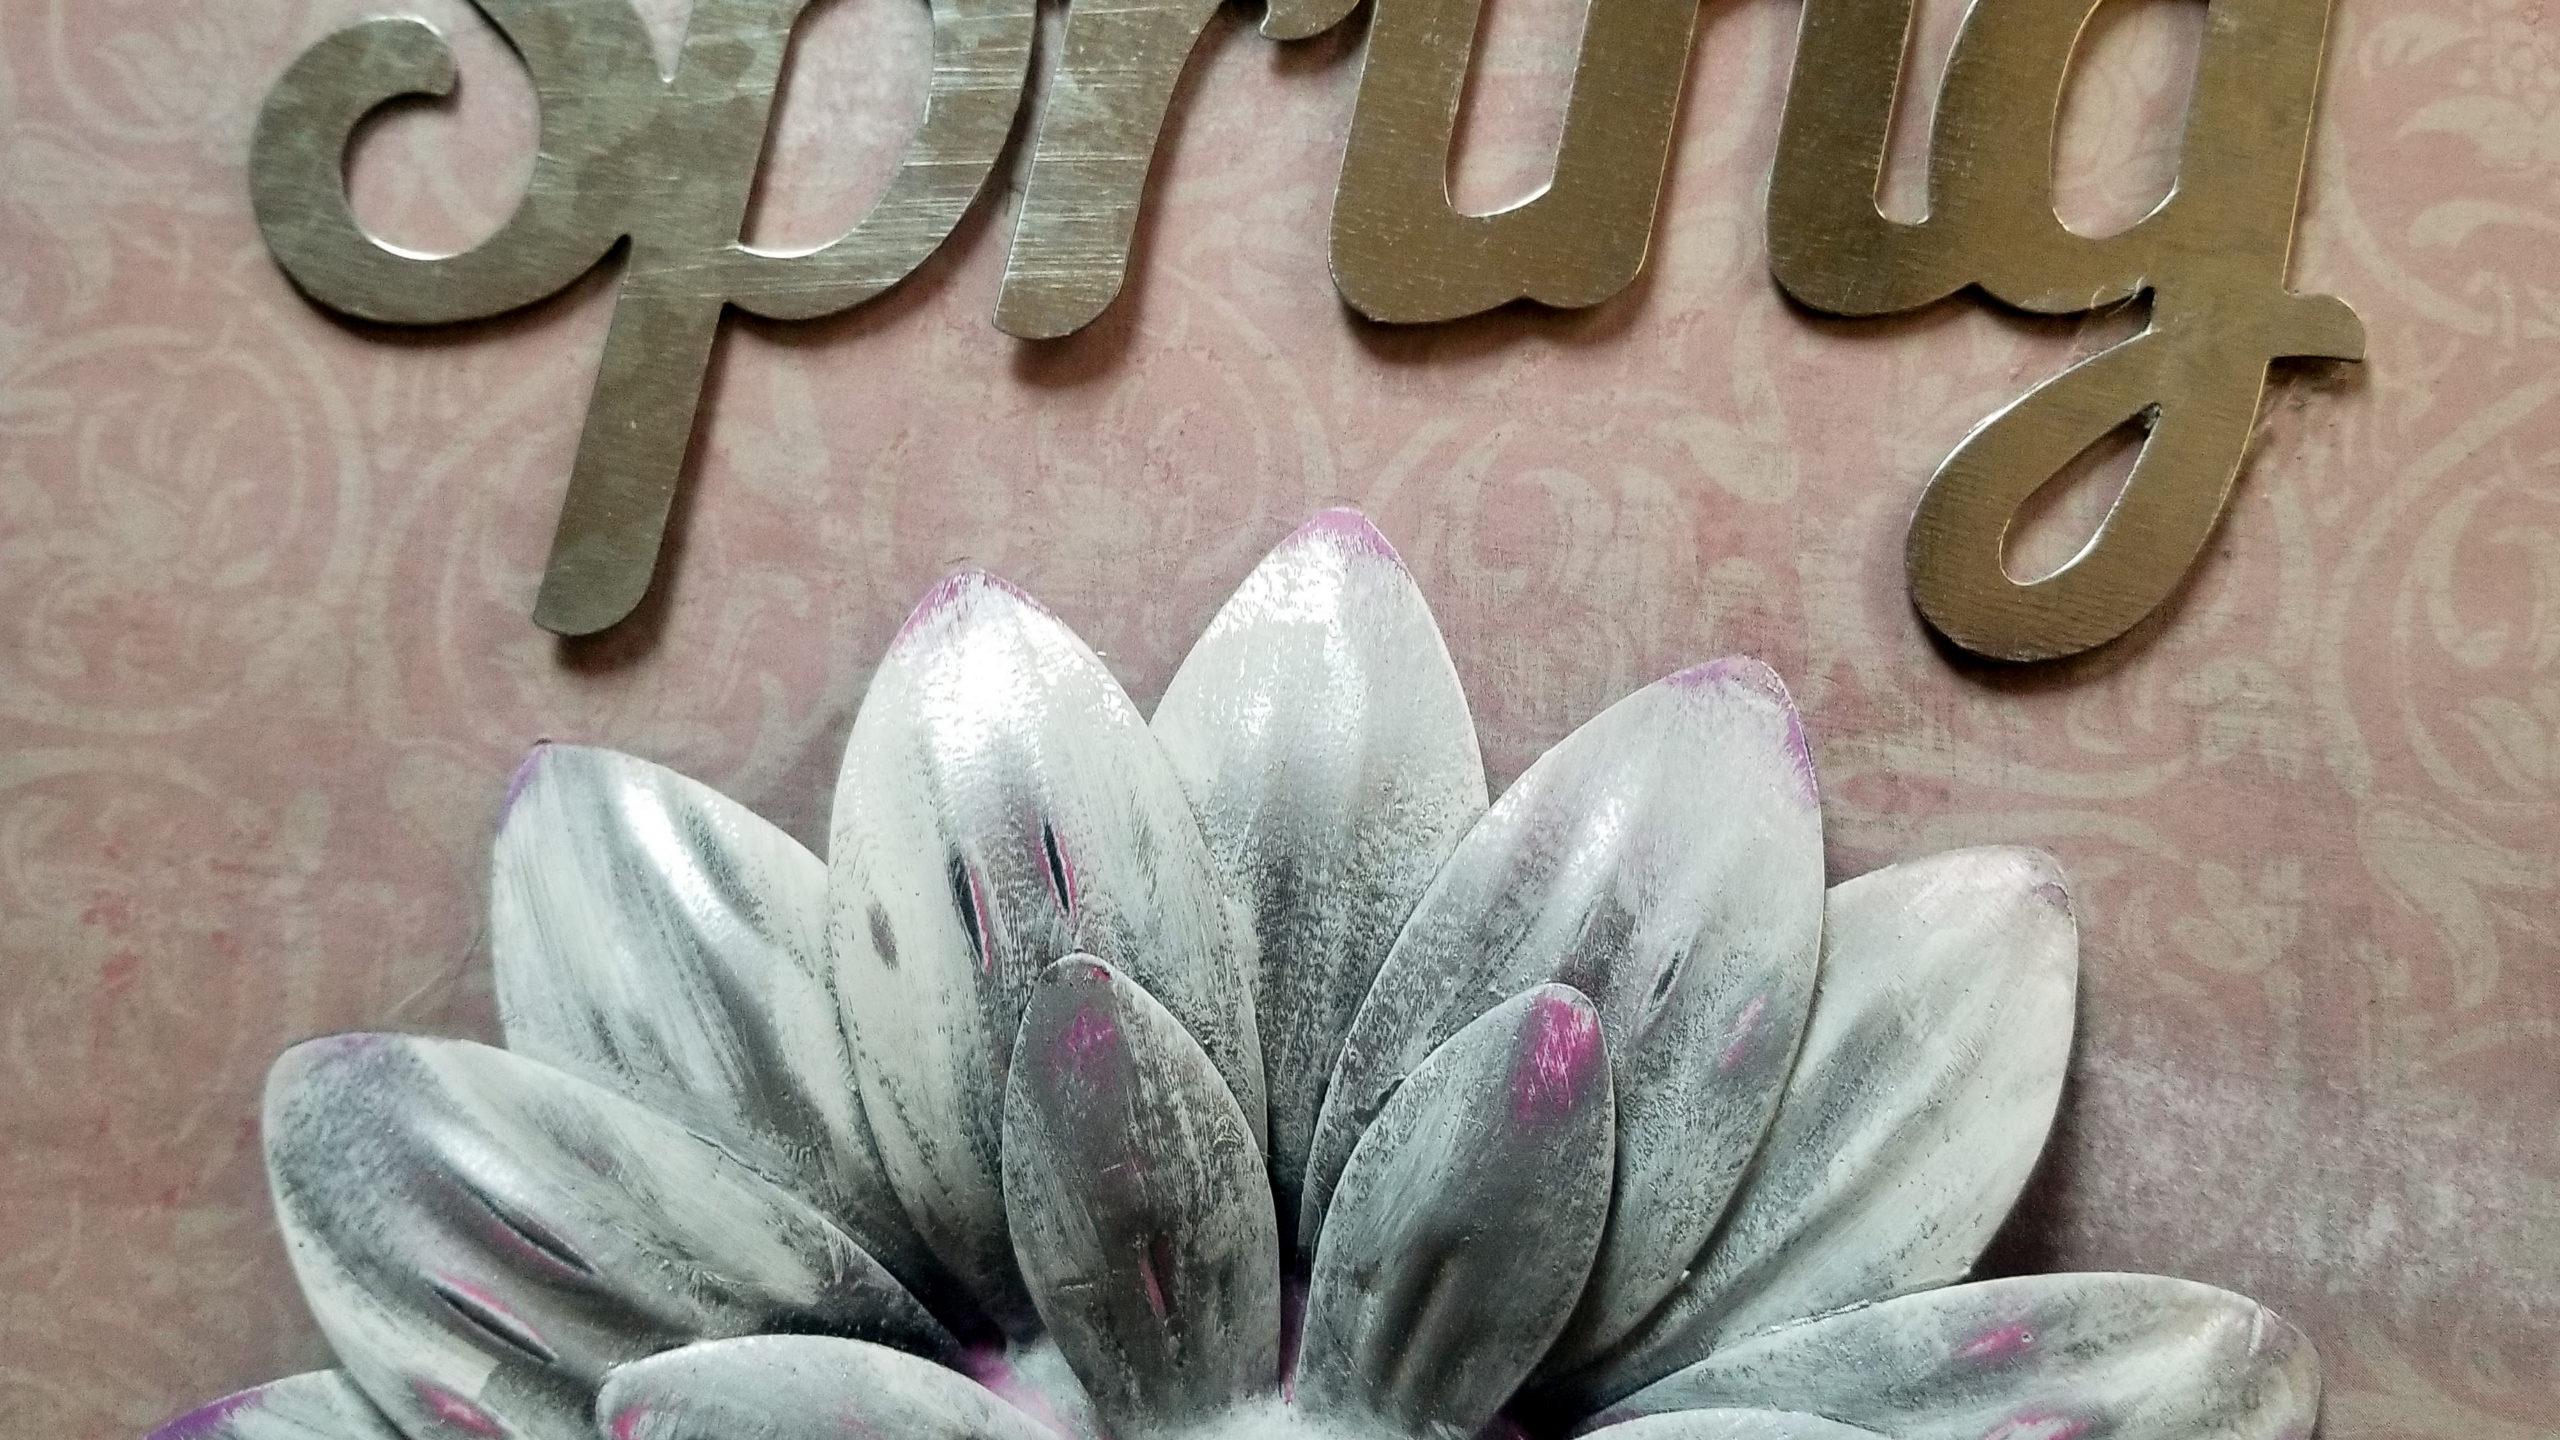
Then I used my Metallic Silver Anniversary FolkArt Paint and painted two coats of paint on the entire surface of my flower. It’s OK if a little of the flower color shows through.

After your silver paint is dry, you will brush on some white paint over the surface of your flower. Let your paint dry completely.

Once your paint is completely dry you will use your sanding block to sand your flower revealing some of your silver and and the origional flower color.

Now lay out your spring word, your flower and your raffia to get your placement right.


To attach your raffia to your sign you will wrap it around the bottom of your sign securing it with hot glue. I added a small raffia bow to finish it off.


The last thing I did was add a hanger. I used the twine hanger my sign came with, I slipped eight wood beads onto it. I spaced the beads placing four on each end. I used a BBQ skewer to poke a hole through my paper to insert my hanger back into the original holes. I used a small dot of hot glue to keep the bottom bead from slipping down too far.
Your Spring Hanger is now complete! If you would like to see the full video tutorial click here. If you like this tutorial and want to see more you can check out my Facebook page by clicking here.

I’m so glad you reposted this, have everything to make this.
That’s awesome, have fun making it!
I lov it great idea ????
Thank you Rosemarie!
Love this Kristy. However I love all your creations!
Thank you Benita!