This super simple carrot can be made using only two crafting supplies and two crafting tools!

What you will need.
- Yarn, orange and green
- Card stock or similar material
- Scissors
- Hot glue gun and glue sticks
- You DO NOT need a Sharpie… not sure why I have that pictured.


The first thing you will do is roll your card stock longways into a cone shape. Secure your cone using hot glue both at the bottom and along the edge.

Trim the top of your cone so the card stock goes straight across. Leave the V shape notch about 1 1/2 – 2 inches deep.

Now fold the tops of your V shape together and secure with hot glue.

Next cut two notches about 1 1/2 inches deep and two inches apart on the opposite side of your cone from the V shape you had. This will create a flap.

Fold your flap in towards the center of your cone. Now fold the card stock on the outside of the cuts you made over the flap and secure them together with hot glue.
You now have the shape of a carrot. Don’t worry if it’s not perfect. Carrots come in all shapes and sizes! You can make any adjustments you want to help shape your carrot at this point, Remember to leave an opening at the top of your carrot! You will need this opening later.

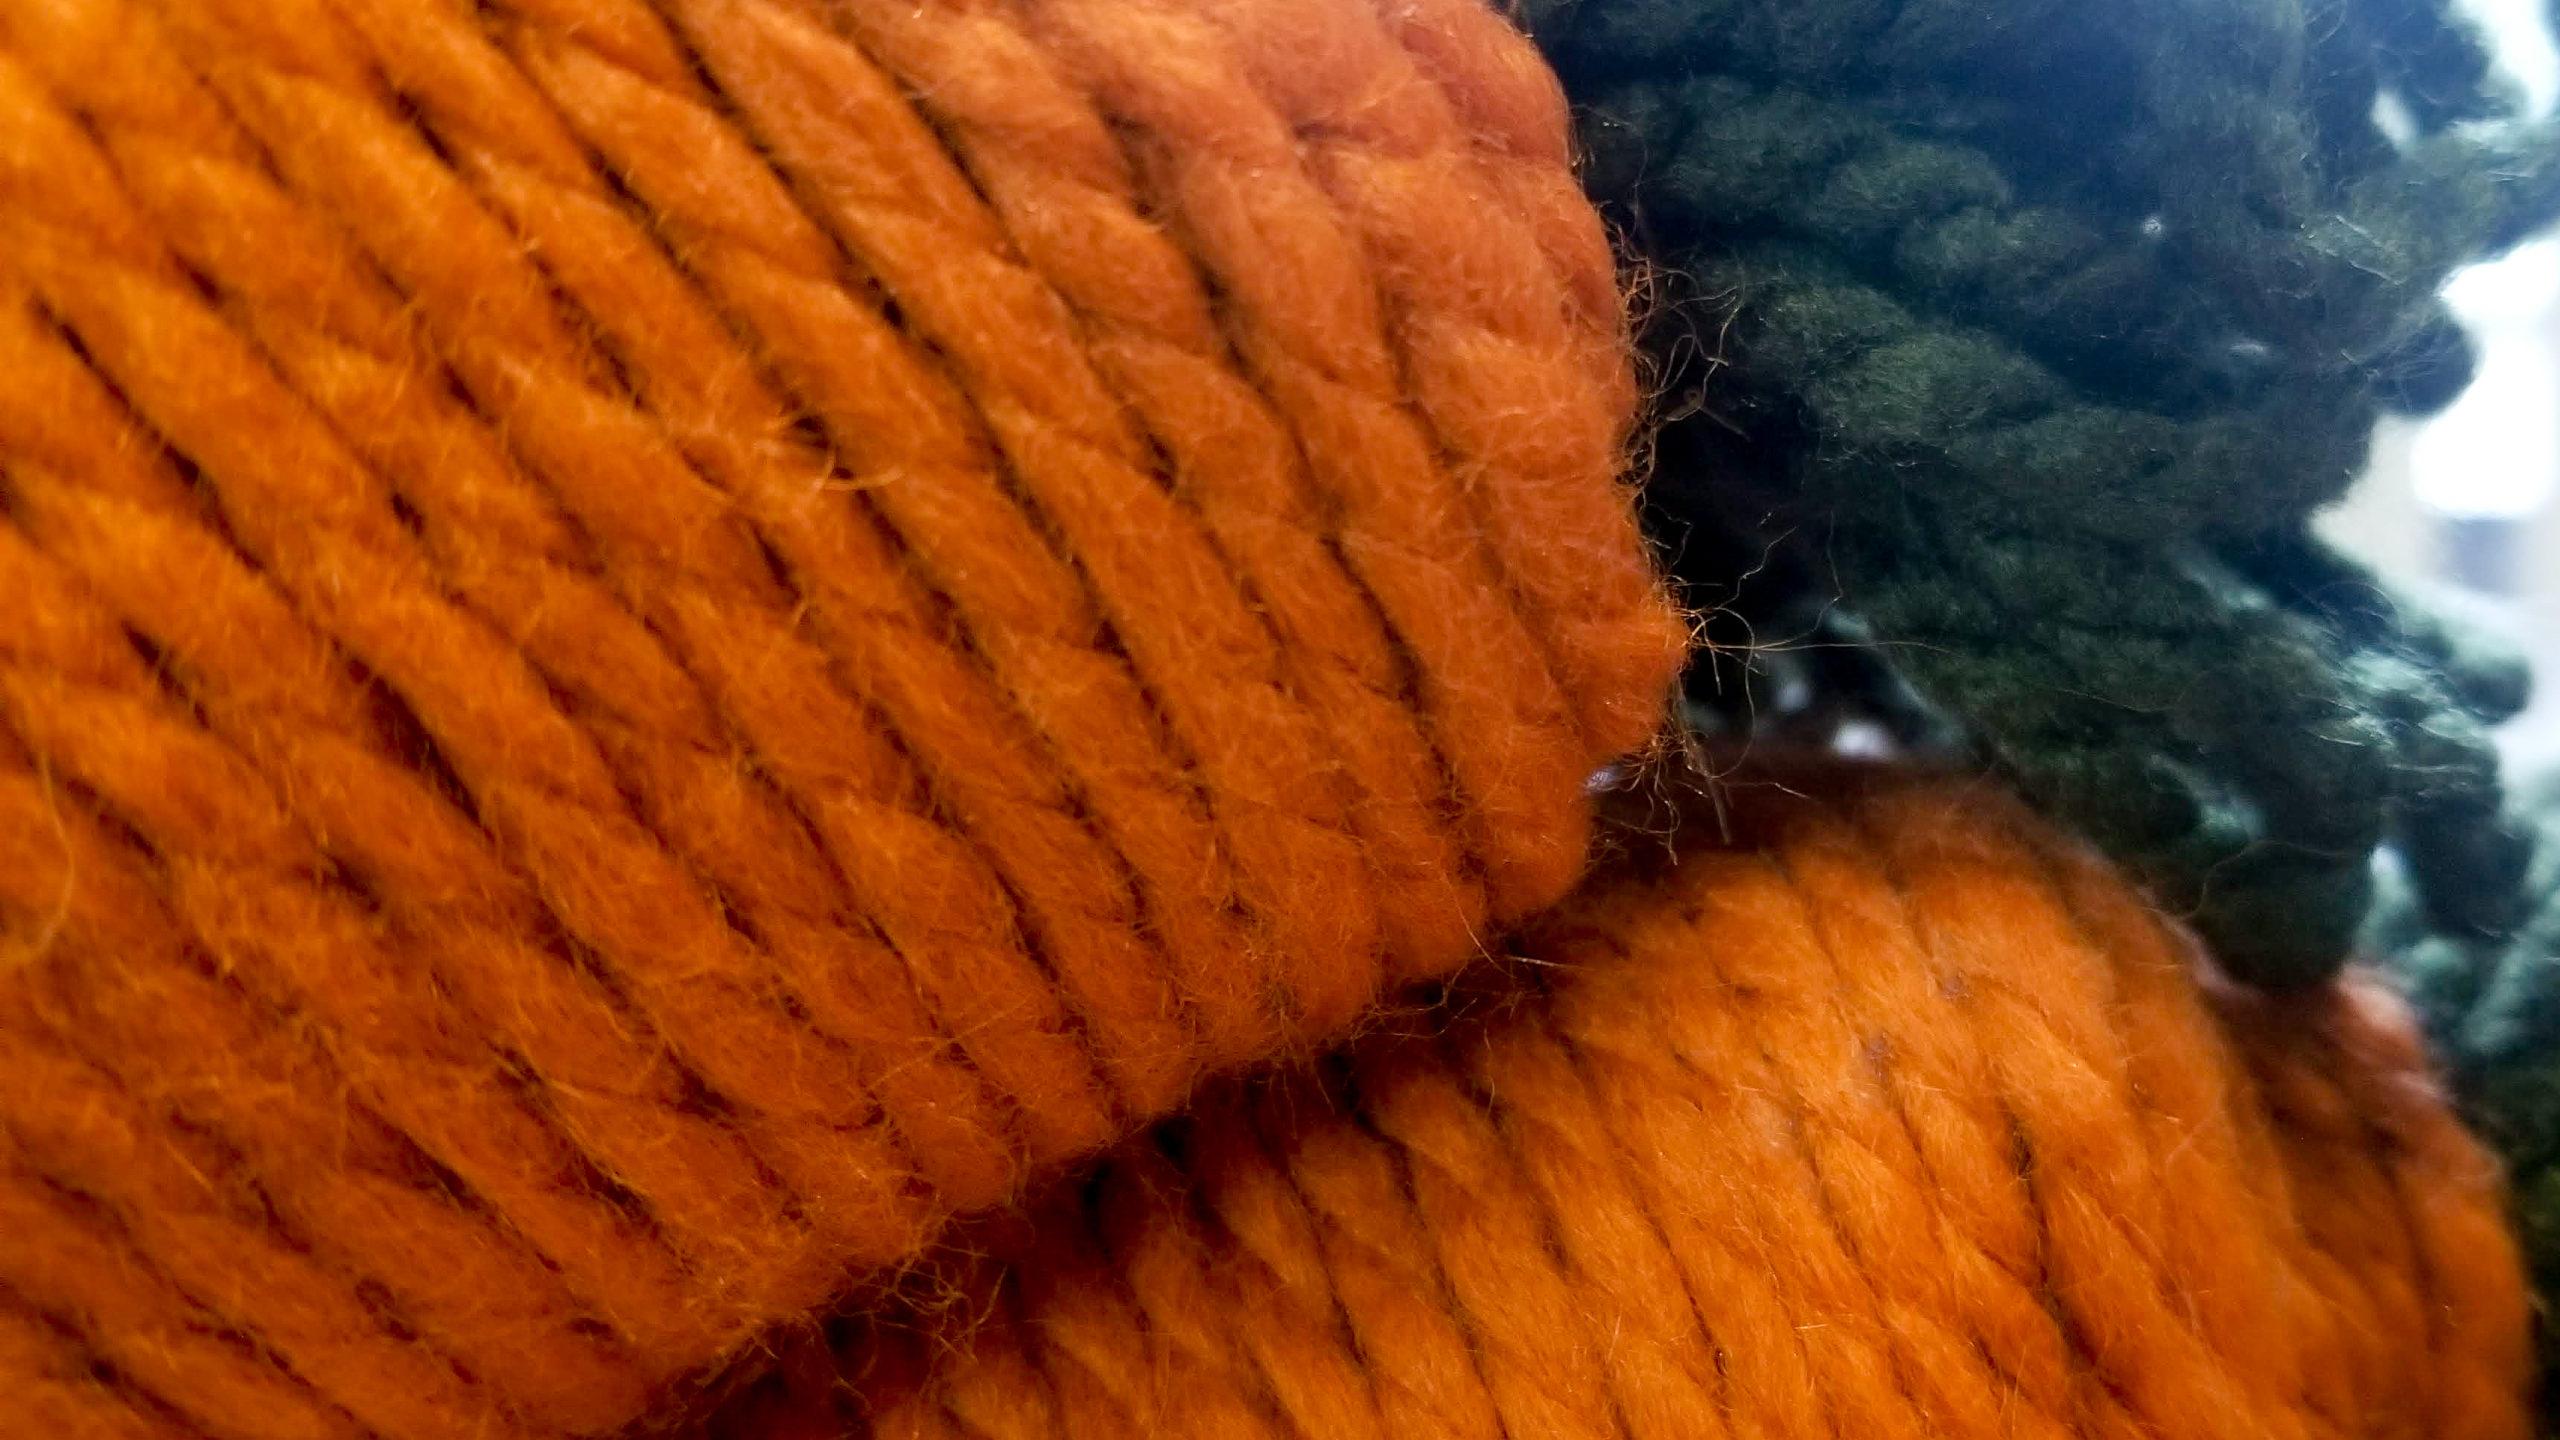
It’s time to dress this carrot up! Place a line of hot glue about 1 inch long at the pointy tip of your carrot. attach the end of your orange yarn to the glue and let it set.

Next you will put more hot glue all the way around the tip of your carrot and wrap your yarn around the tip of your carrot two times. Hold your yarn in place until it is well set.

Once your yarn on the tip has set you will add another line of glue about an inch long and continue to wrap your orange yarn around your carrot. Repeat these steps until you get to the top where it starts to curve in. Set your carrot aside for a moment.


You will now make your carrot top. Take your green yarn and wrap it loosely around your hand with your fingers spread wide apart about 30 times.


Cut another piece of green yarn about 10 inches long. Lay it on the table and lay your loops over top of it about an inch from one end.


Tie your piece of yarn tightly around your loops. Trim off the excess ends from your yarn you used to tie your knot.


Here is where the hole in the top of your carrot will come into play. You will stuff the short end of your loops into the hole and use some hot glut to secure your loops into place.

Now that you have your carrot top in place, you will continue wrapping your orange yarn around your carrot. As you curve around the top, you will need to use more hot glue to keep your yarn in place.

Once your entire card stock carroris covered you will secure cut and secure the end of your orange yarn.

You can make your carrot this size or use smaller pieces of card stock to make smaller carrots. In place of card stock you can use thin cardboard like from a soda or cereal box, a file folder or anything that has that thickness and structure. In place of yarn you can use jute rope or burlap!
I hope you enjoyed this DIY craft! If you would like to see the full video tutorial click here. If you like this craft and want to see more like it, visit my Facebook page by clicking here. Remember to hit the follow button while your there!

